How to install ClockReportsXE Basic Time & Attendance Software
ClockReports Installation Requirements
ClockReportsXE software requires a Windows Operating System environment. The following operating systems running a desktop environment are known to be supported:
Windows 10
Windows 8 / 8.1
Windows 7
Windows Vista
Windows XP
Windows Server 2003
Upwards Note on server setups: The software cannot be run in a console window, only a desktop environment.
Things you will need for the software installation
Once you have purchased ClockReportsXE Basic and received your invoice, you will be able to install the software and start using the time & attendance software. You can purchase the software online here: ClockReportsXE Basic Time & Attendance software
Please note: ClockReportsXE basic is licensed per PC, therefore an additional software activation key is required for any additional PC or server installations. ClockReportsXE basic is also licensed per device, therefore if you will be using more than one clocking device, you will need an additional product activation key per any additional device.
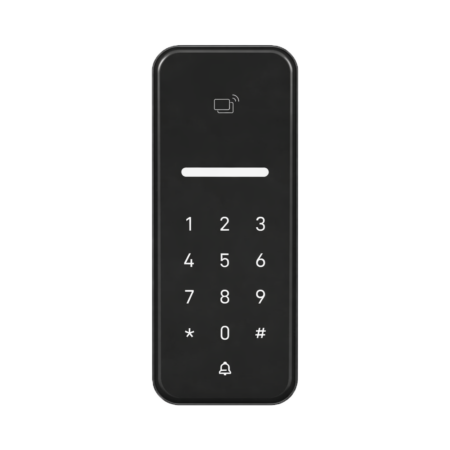
Your Time & attendance device/s
A network/Ethernet cable
Supplied power unit
Access to PC/server software will be installed (connected to same network as the clocking device)
A free IP address on the network to assign to the device
Note: The software is licensed to an individual user on a single PC/Server, so please ensure that you’re installing it in the correct place. During the install, it gives you the option to create a desktop shortcut which is recommended.
Step 2: Open ClockReports as administrator (right click desktop icon & select ‘Run as Administrator‘)
When your computer asks for permission for the network/firewall access you must allow the software to access otherwise you will not be able to activate the software.
Step 3: The admin account password is blank by default, so press Login to continue. You can add a password later.
Configuring the clocking device in ClockReports
The device must be powered up and configured to network before proceeding. For instructions on how to do this, visit the device product page listing where you will find the setup guides under its ‘user guides & manuals’ tab.
Step 1: Click “Setup Device” and enter details; Device ID, Device Name, Device IP, Device Port, Device serial number, Device type, and Connection Method.
Step 2: Test Sync to device.
If you get a red error message, try closing ClockReports and opening it back up. If that doesn’t work open the ‘Setup Device‘ button and check that you have entered the correct details.
Step 3: Now that the device is on the network and it’s connected to ClockReports you will need to configure the Auto Syncs.
Step 4: Once the auto sync settings are set, close the window and just leave ClockReports running.
We recommend that you create a procedure that ClockReports is opened on startup. This will eliminate any failed synchronisations to the clocks.
Support
If you have any issues whilst following these instructions and already have an SLA with us or purchased our support package, you can email support@idency.com to book in a remote support session.