1: Download Anviz CrossChex from the Anviz CrossChex website and run the program
2: Allow the application to make changes by clicking ‘yes‘ on the prompt
3: Accept the following prompts and the licence agreement by scrolling to the bottom of the page and ticking ‘I Accept‘.
4: When the program opens register by filling all the prompts when asked with the relative information.
5: After completing the register tab, skip until you are on the device tab and press the search button to search for your device/s.
6: If the device is connected then it should appear. Select it and add the device/s.
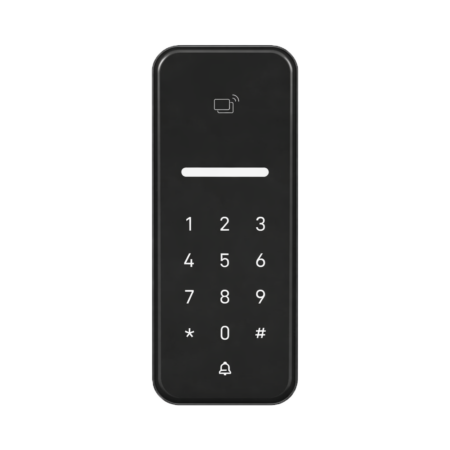
7: Sign into Anviz CrossChex, the default username is ADMIN and there is no password
8: Navigate to the ‘Device‘ window and add a new device
9: Fill in the Device No. and Device ID boxes with 1
10: Name the device in the ‘Device Name‘ box just below the Device No. box
11: Navigate to the LAN box and you will see the IP and a port sections
12: It is recommended to use static IP addresses of your choosing for example: IP ‘192.168.1.197‘ and the port ‘5010‘
13: If you have more than one device it is required that all IP addresses are unique and it is recommended that you start from port ‘5011‘ and add sequentially e.g. ‘5012‘, ‘5013‘
12: Finally add the device
For more information and general guidance on our products & services, please contact us.
Search all Knowledegebase articles
Send a Support Request to the Idency Support Team