



































How to Register Employees on the Uni-Ubi Terminals
This article outlines the process of registering your employees on the Uni-Ubi terminals. You will need to be at the device to complete this process.
Section 1 | Standard Registration
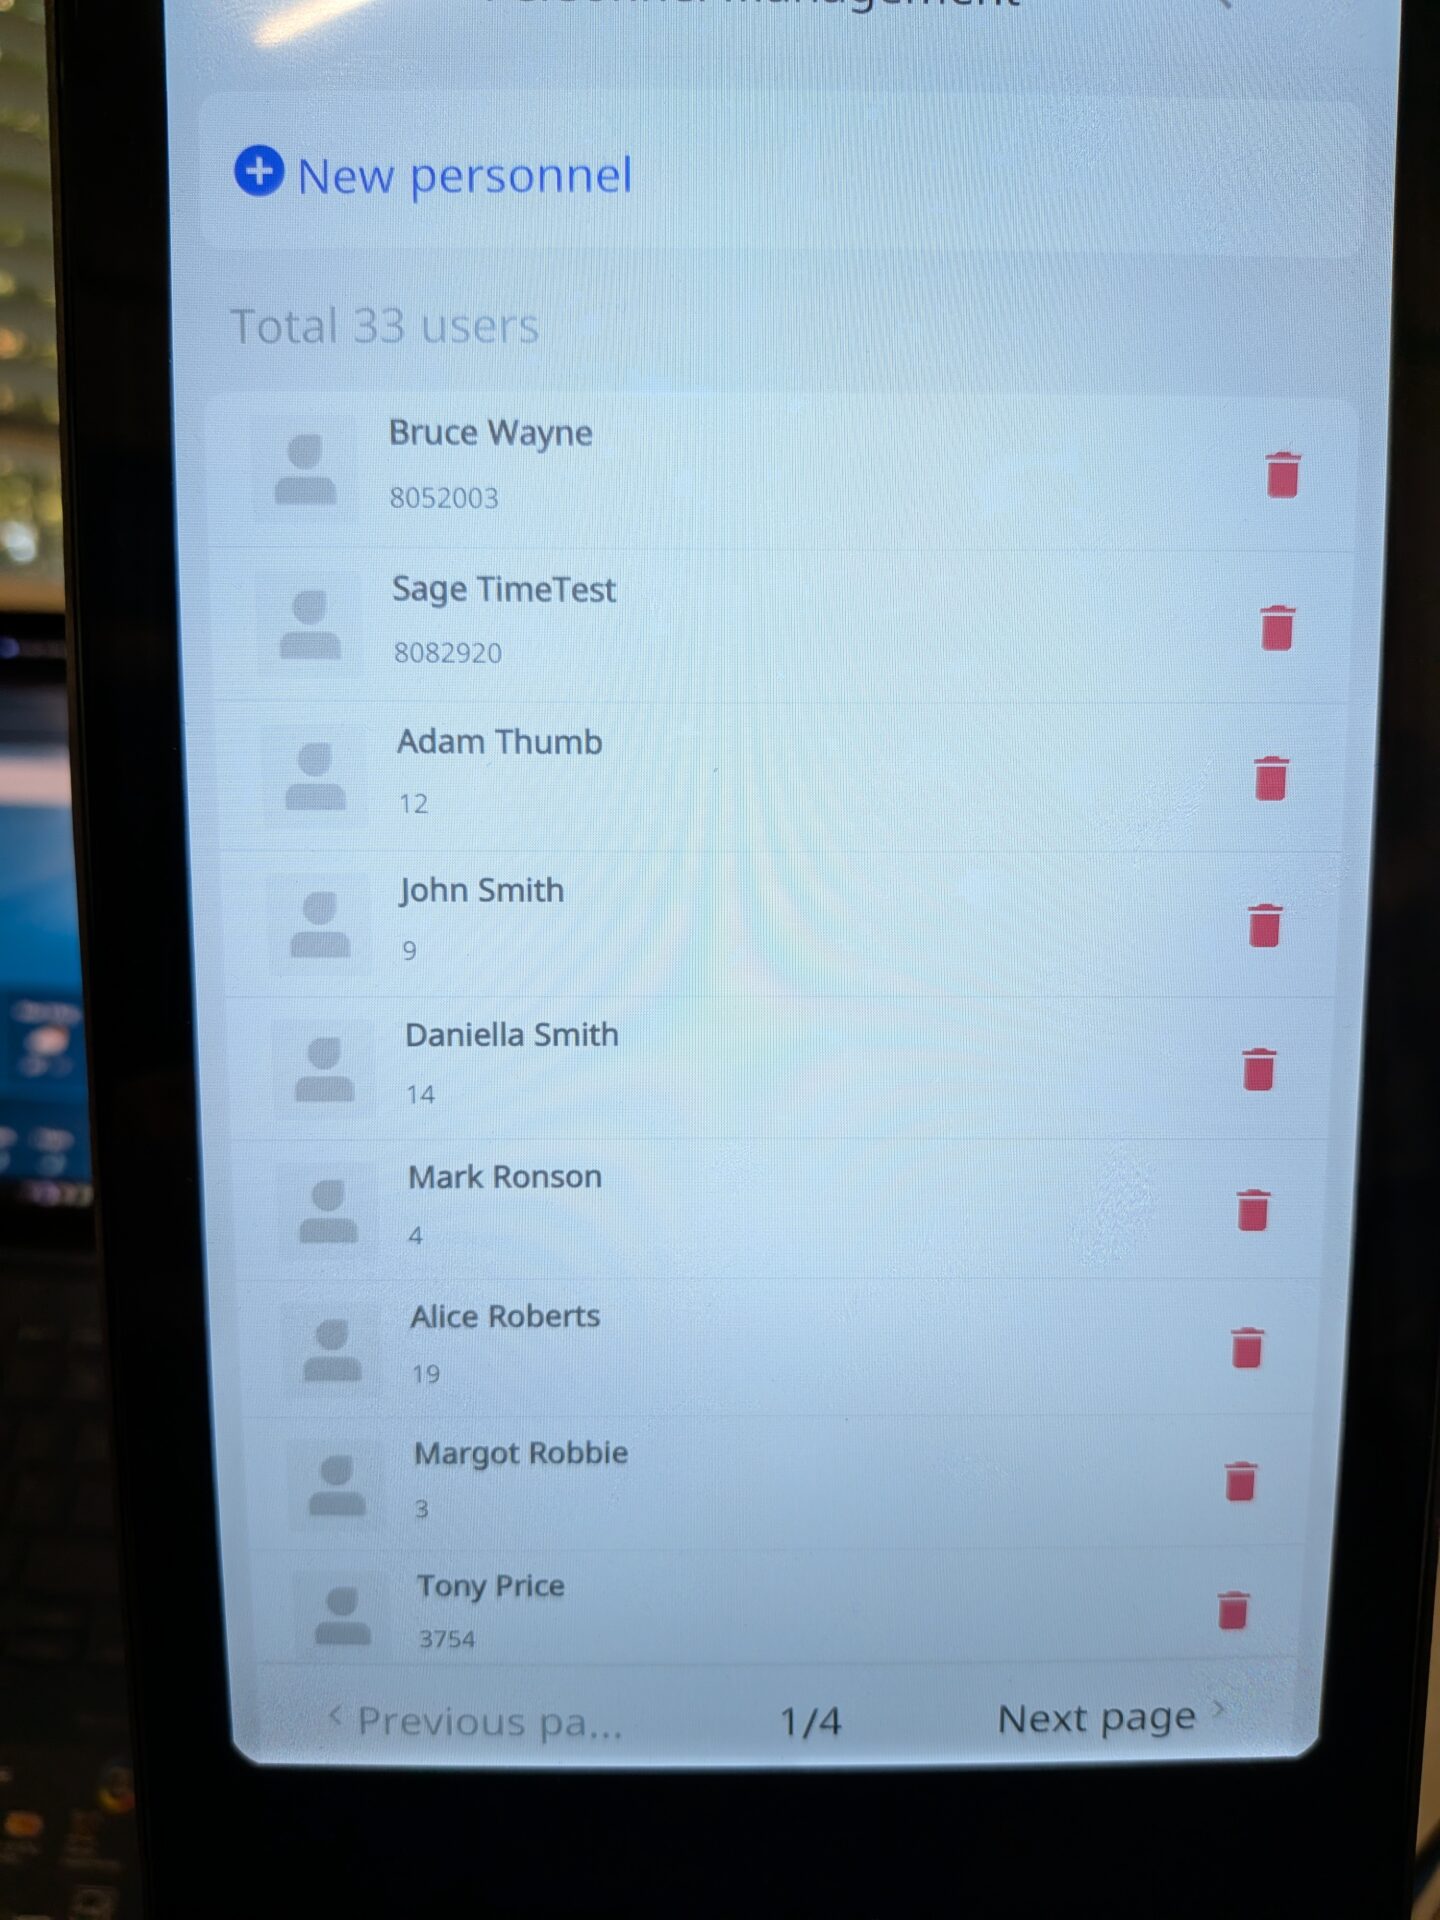
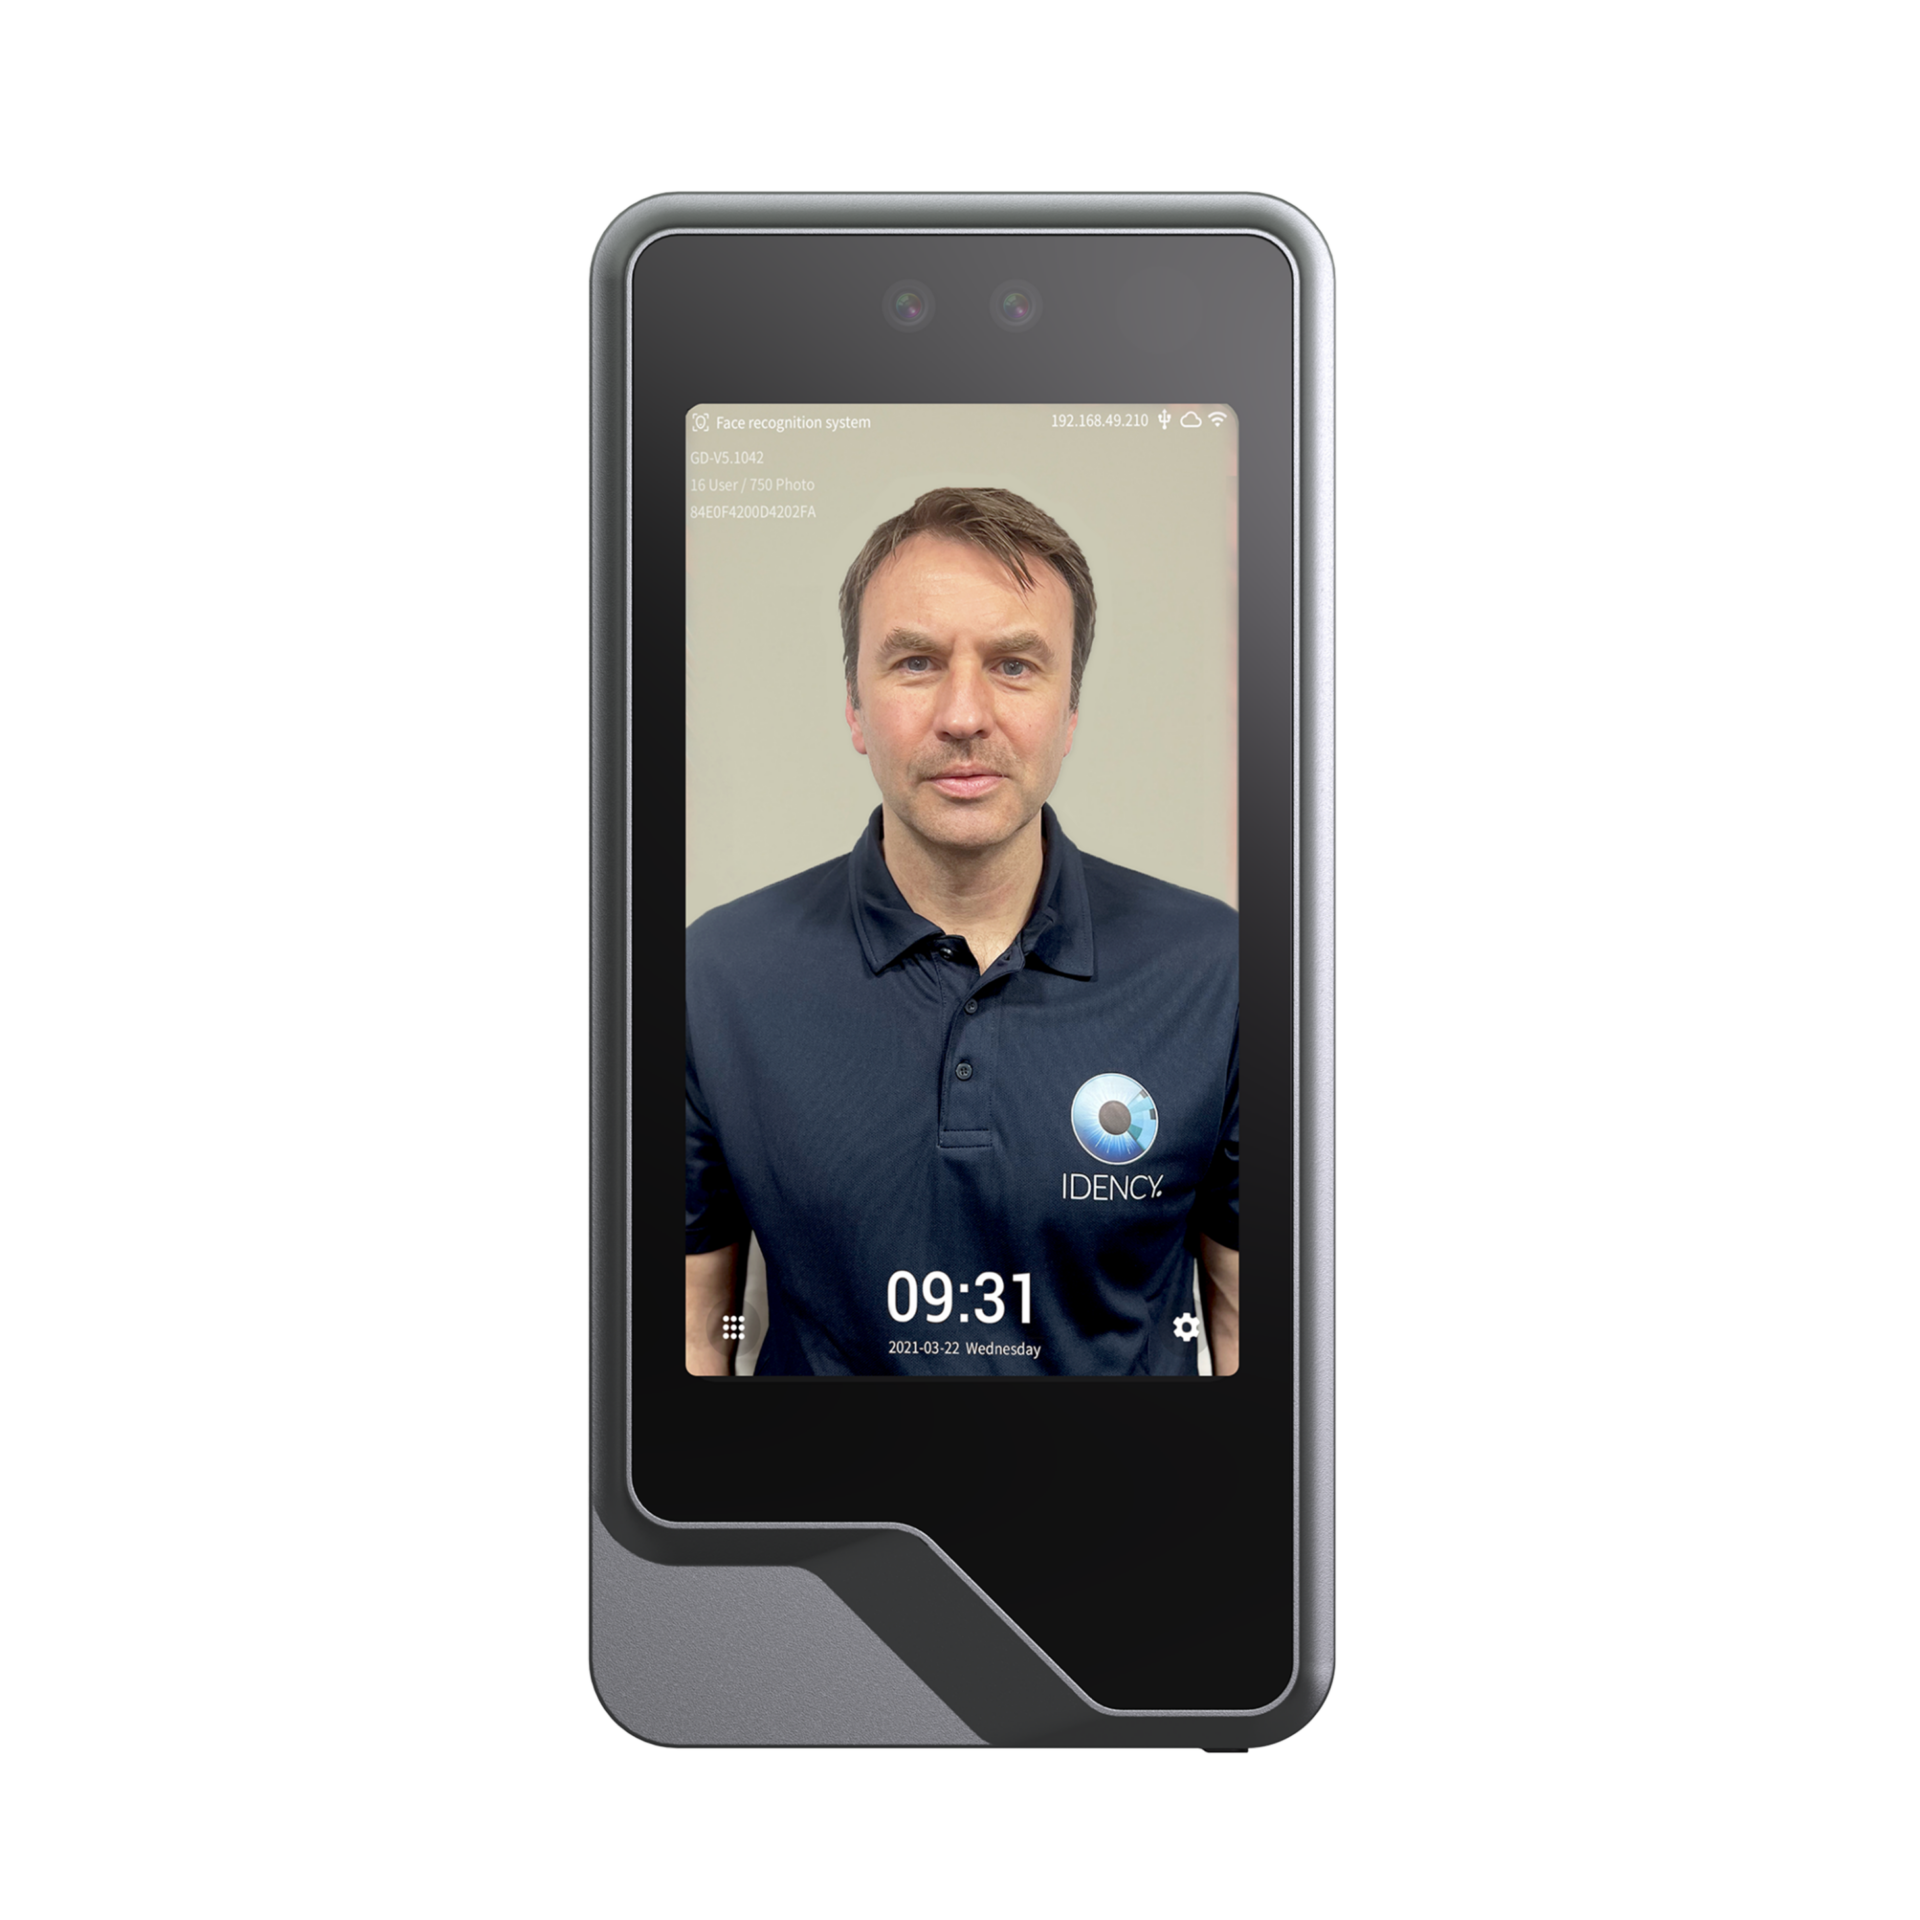
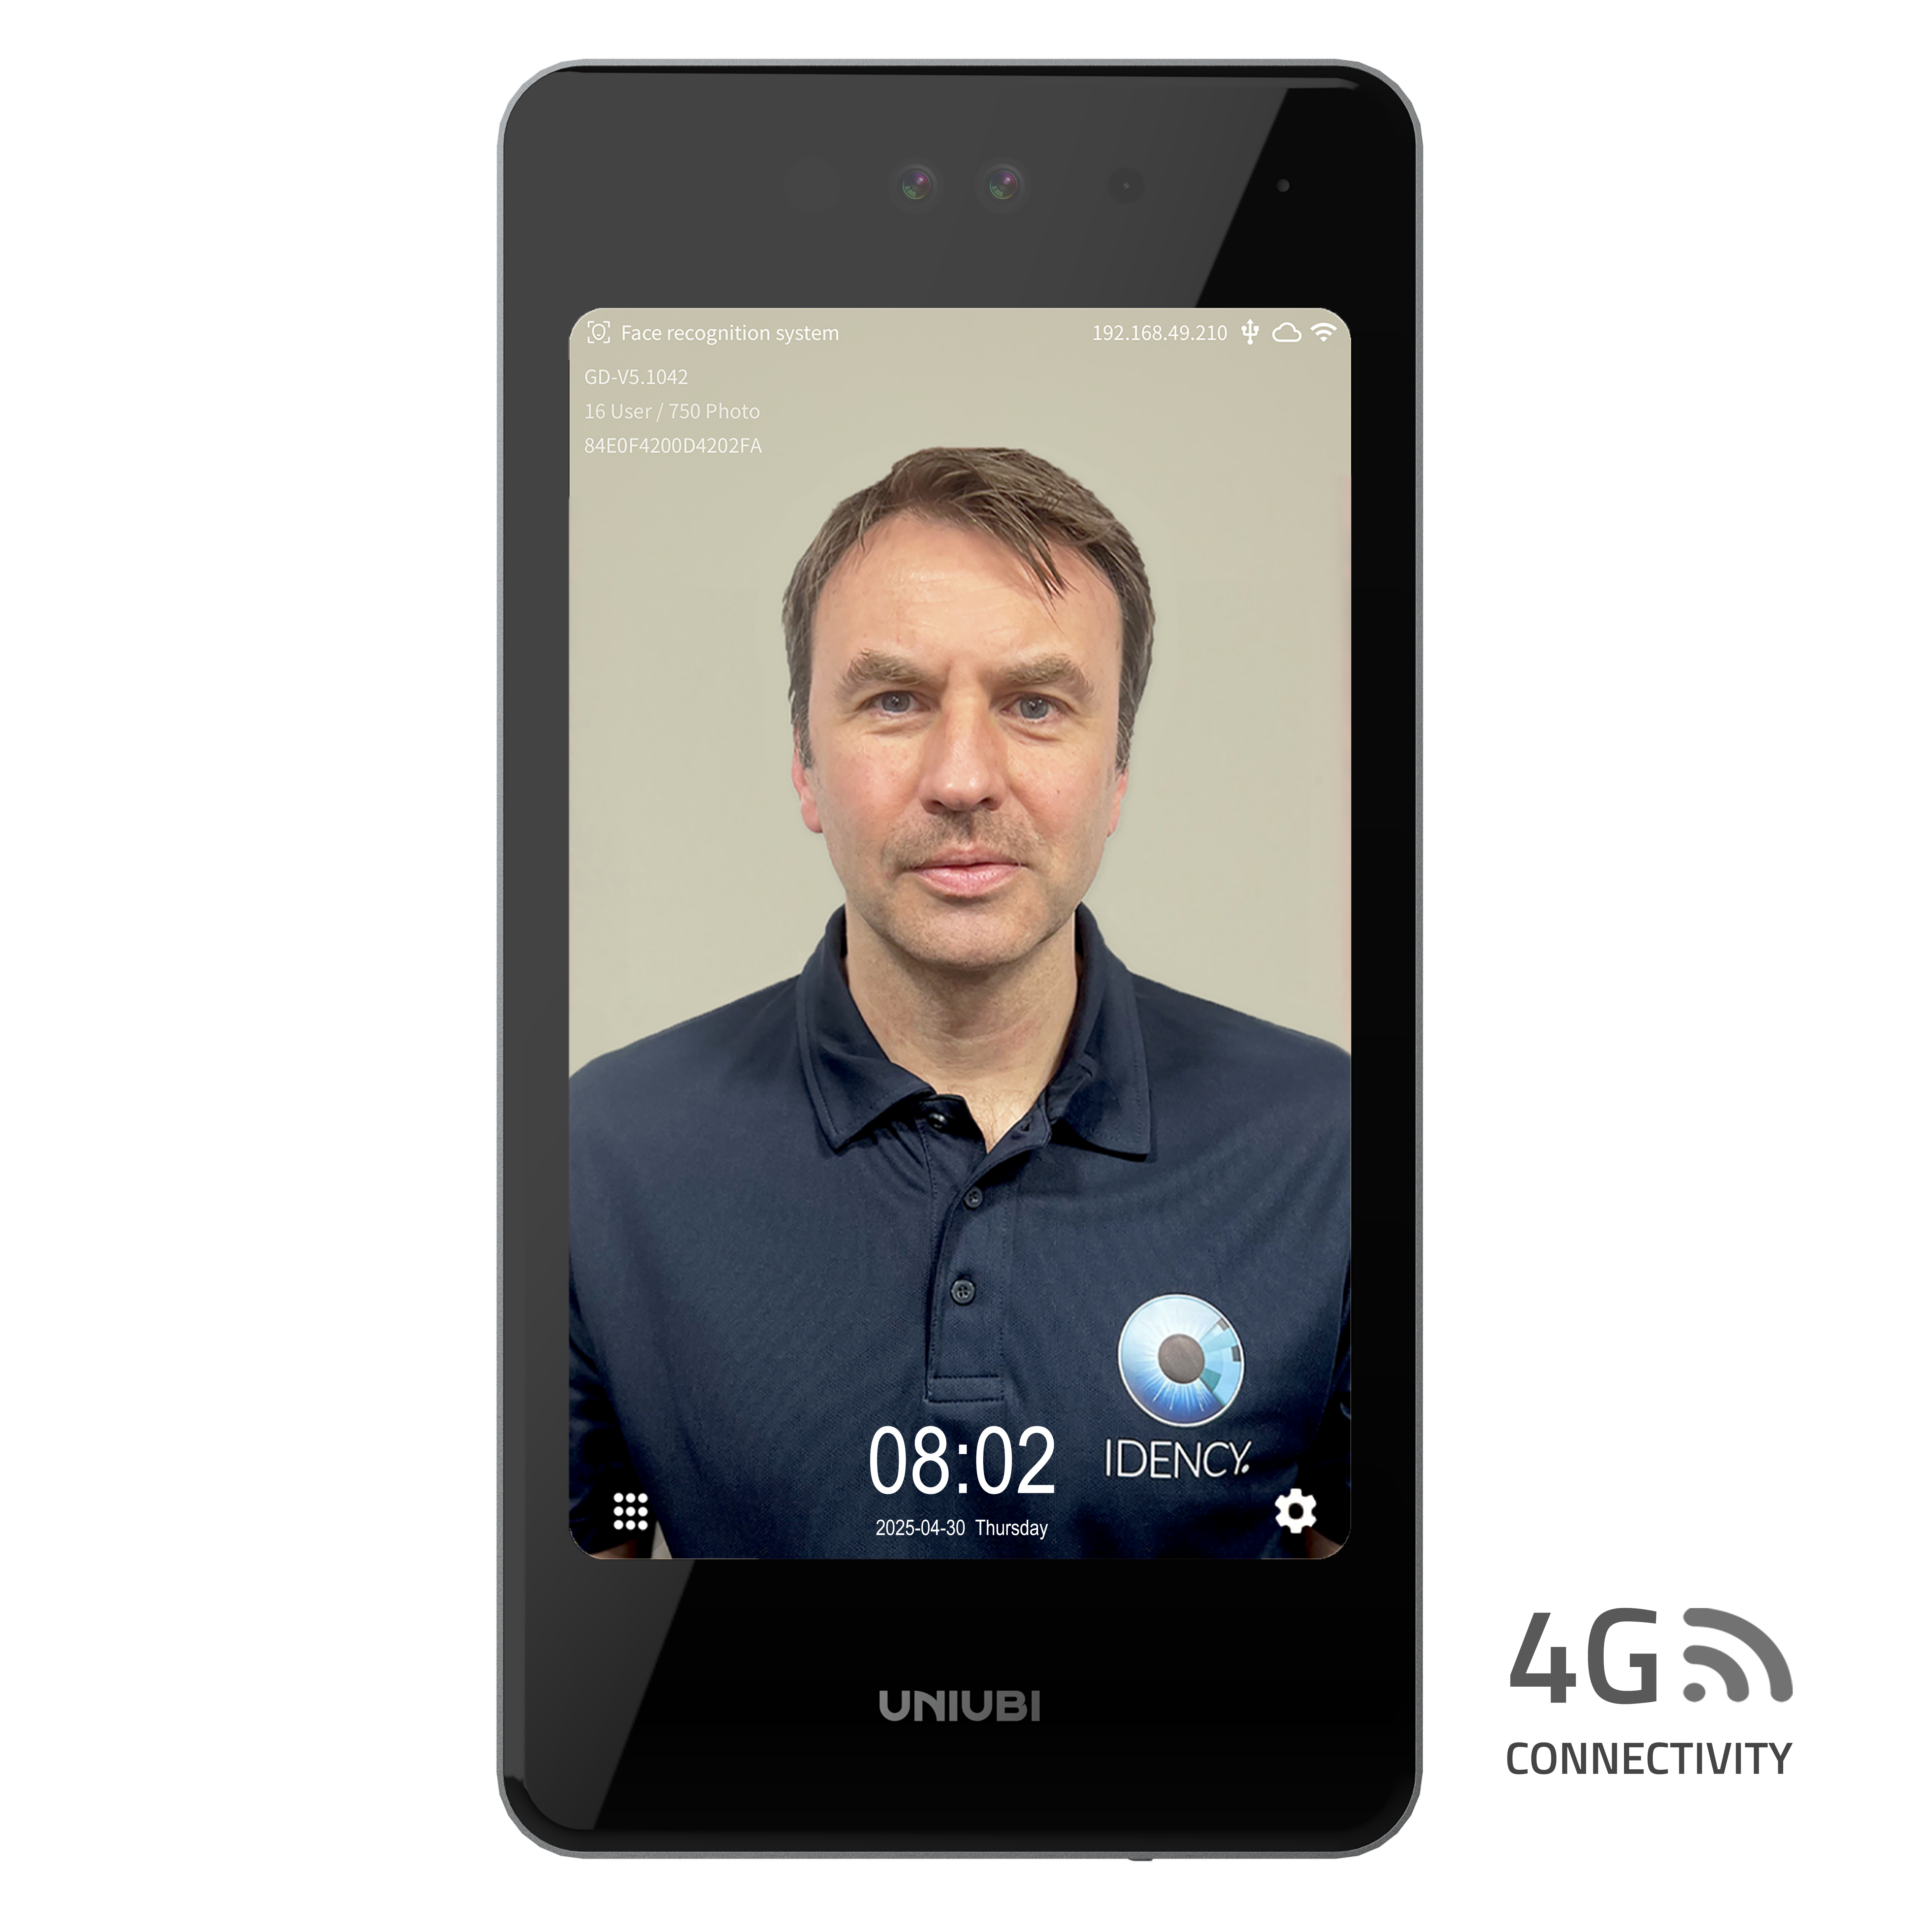
Press the cog icon in the bottom right of the terminal screen and enter your admin password to access the admin menu. Select Personnel Management then click New Personnel.
Step 2: Register the Employee’s Face
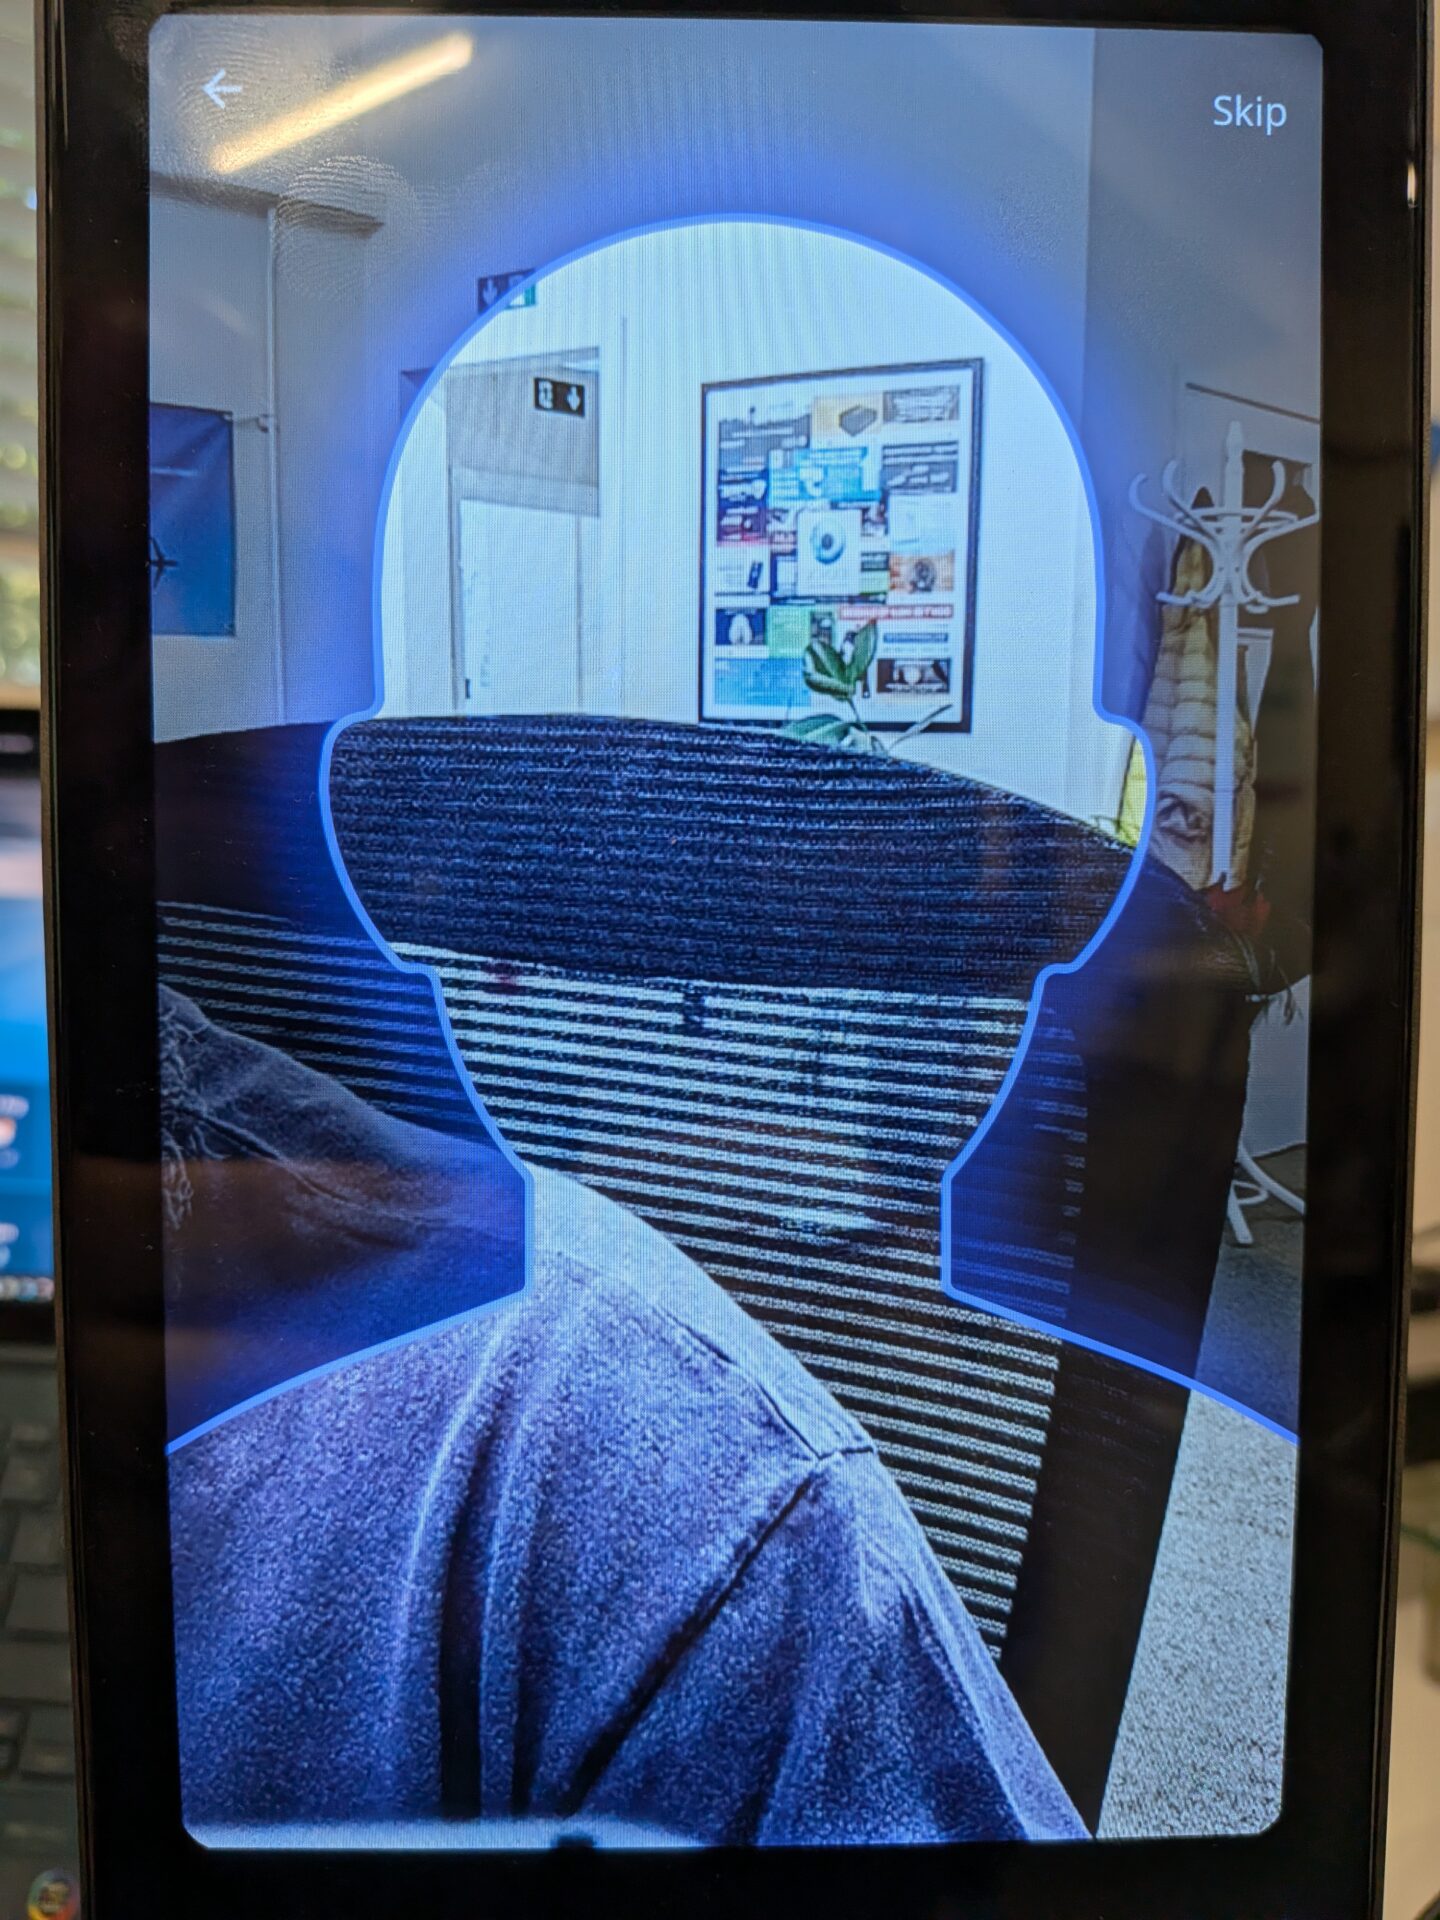
The terminal will prompt the employee to place their face within the outline on the screen. If the employee is not registering a face, press the Skip button in the top right to continue without it.
Step 3: Enter Employee Information
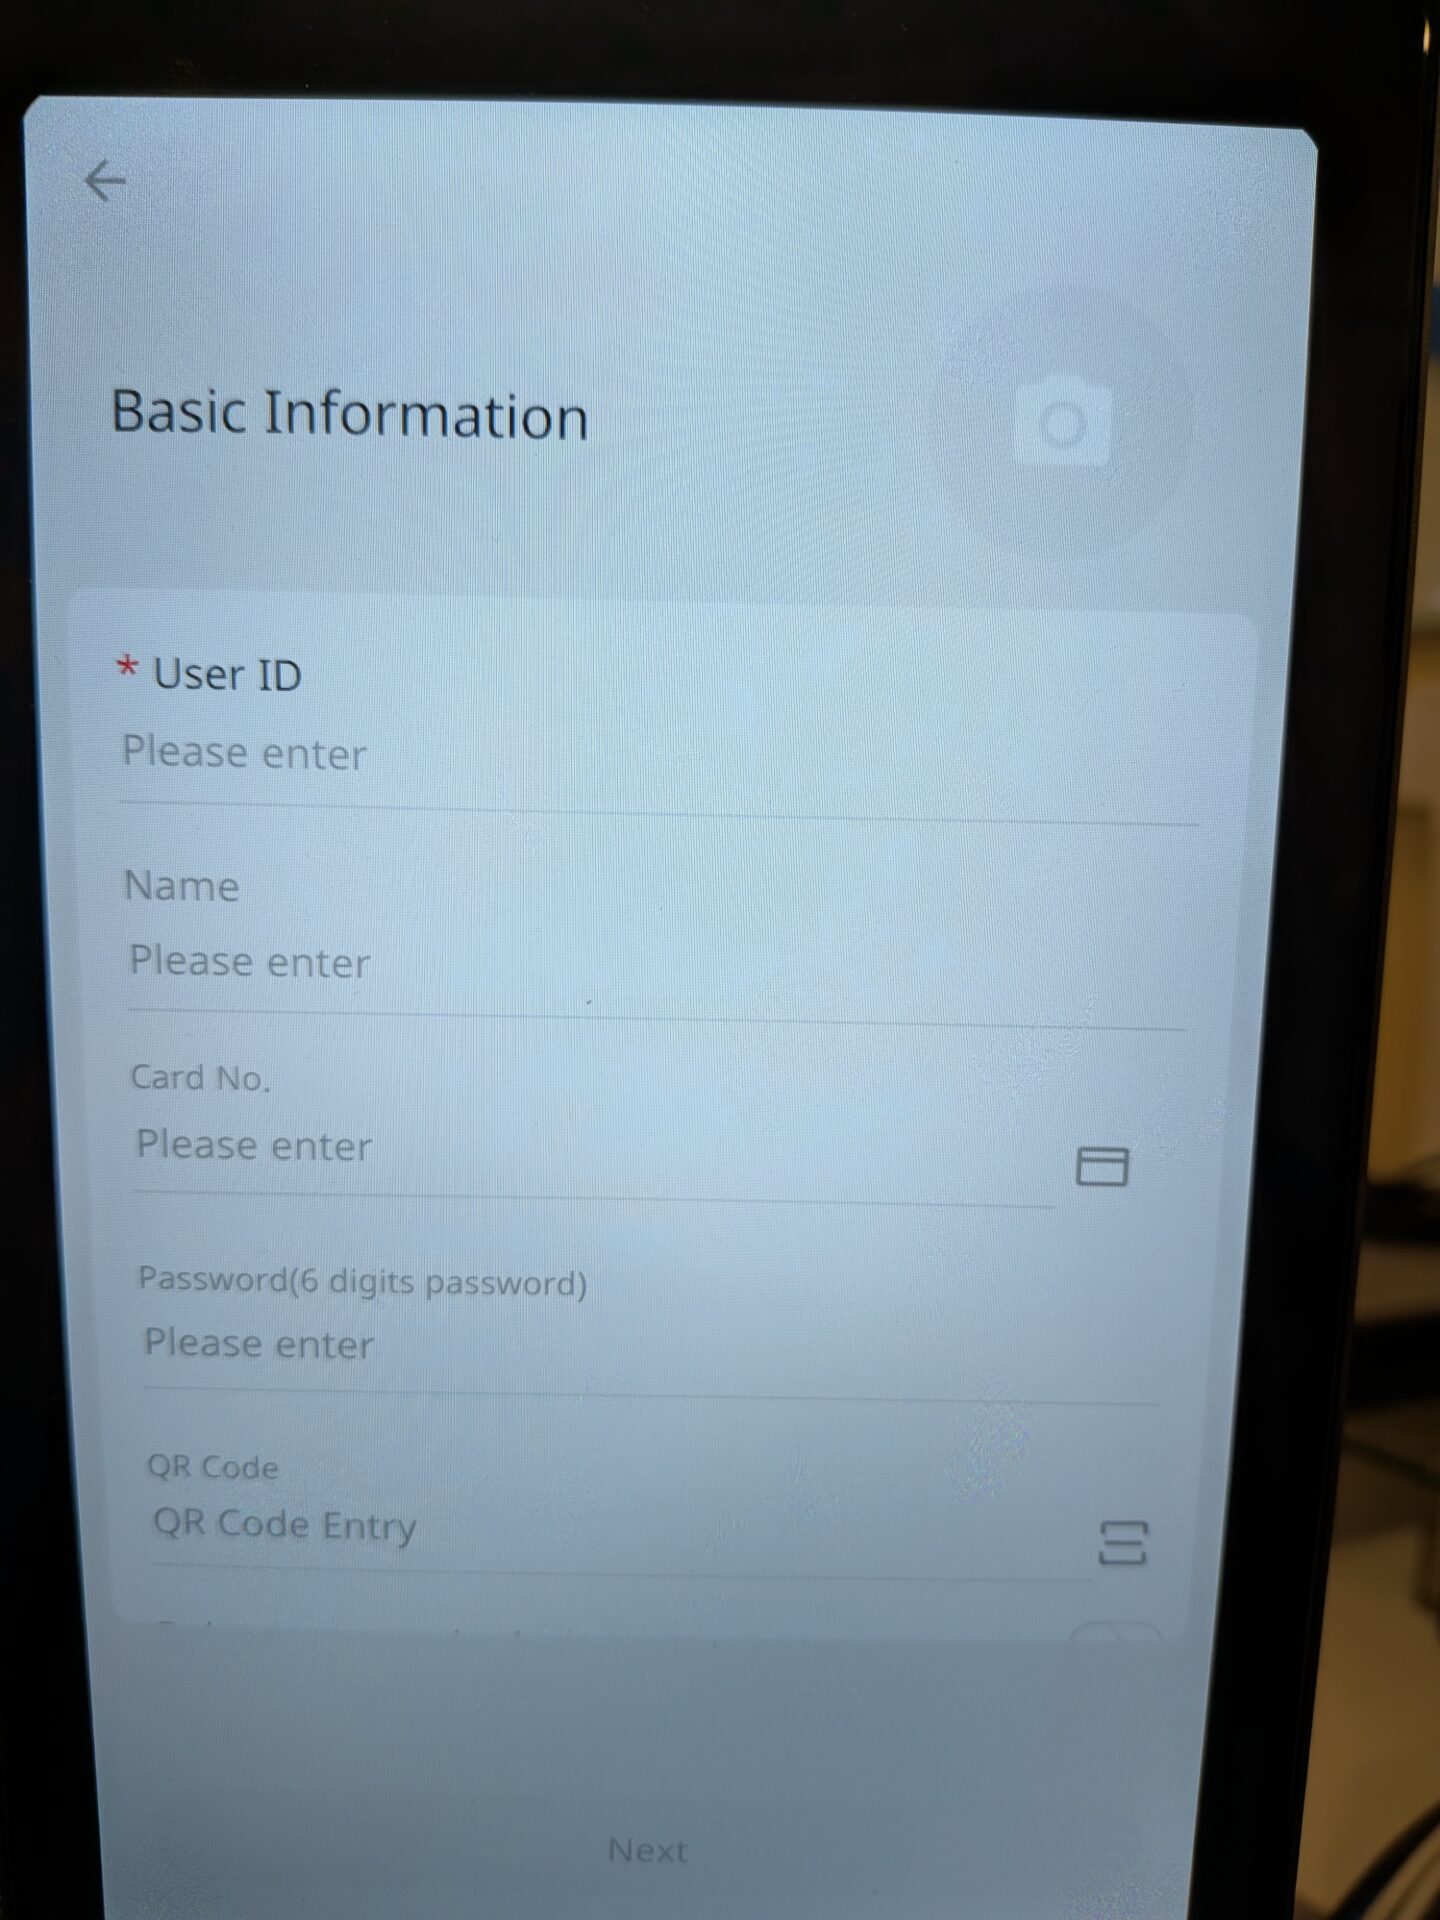
On the following screen enter the employee details. The only mandatory field is:
- Employee ID: This is the ID that links the employee between the device and the cloud platform the terminals are connected to.
The following fields are optional:
- Name: First and last name. Used so the employee can see their name on screen when they clock in.
- Password: Enter a password the employee can use to login with their ID.
- QR Code: Press the QR Code icon and scan the QR Code in the box shown.
- Palm (Palm devices only): Select Palm and hold your hand within the shown area. Once registered it will confirm successful and return to the main screen.
Scroll to the bottom and click Next.
Step 4: Register a Card
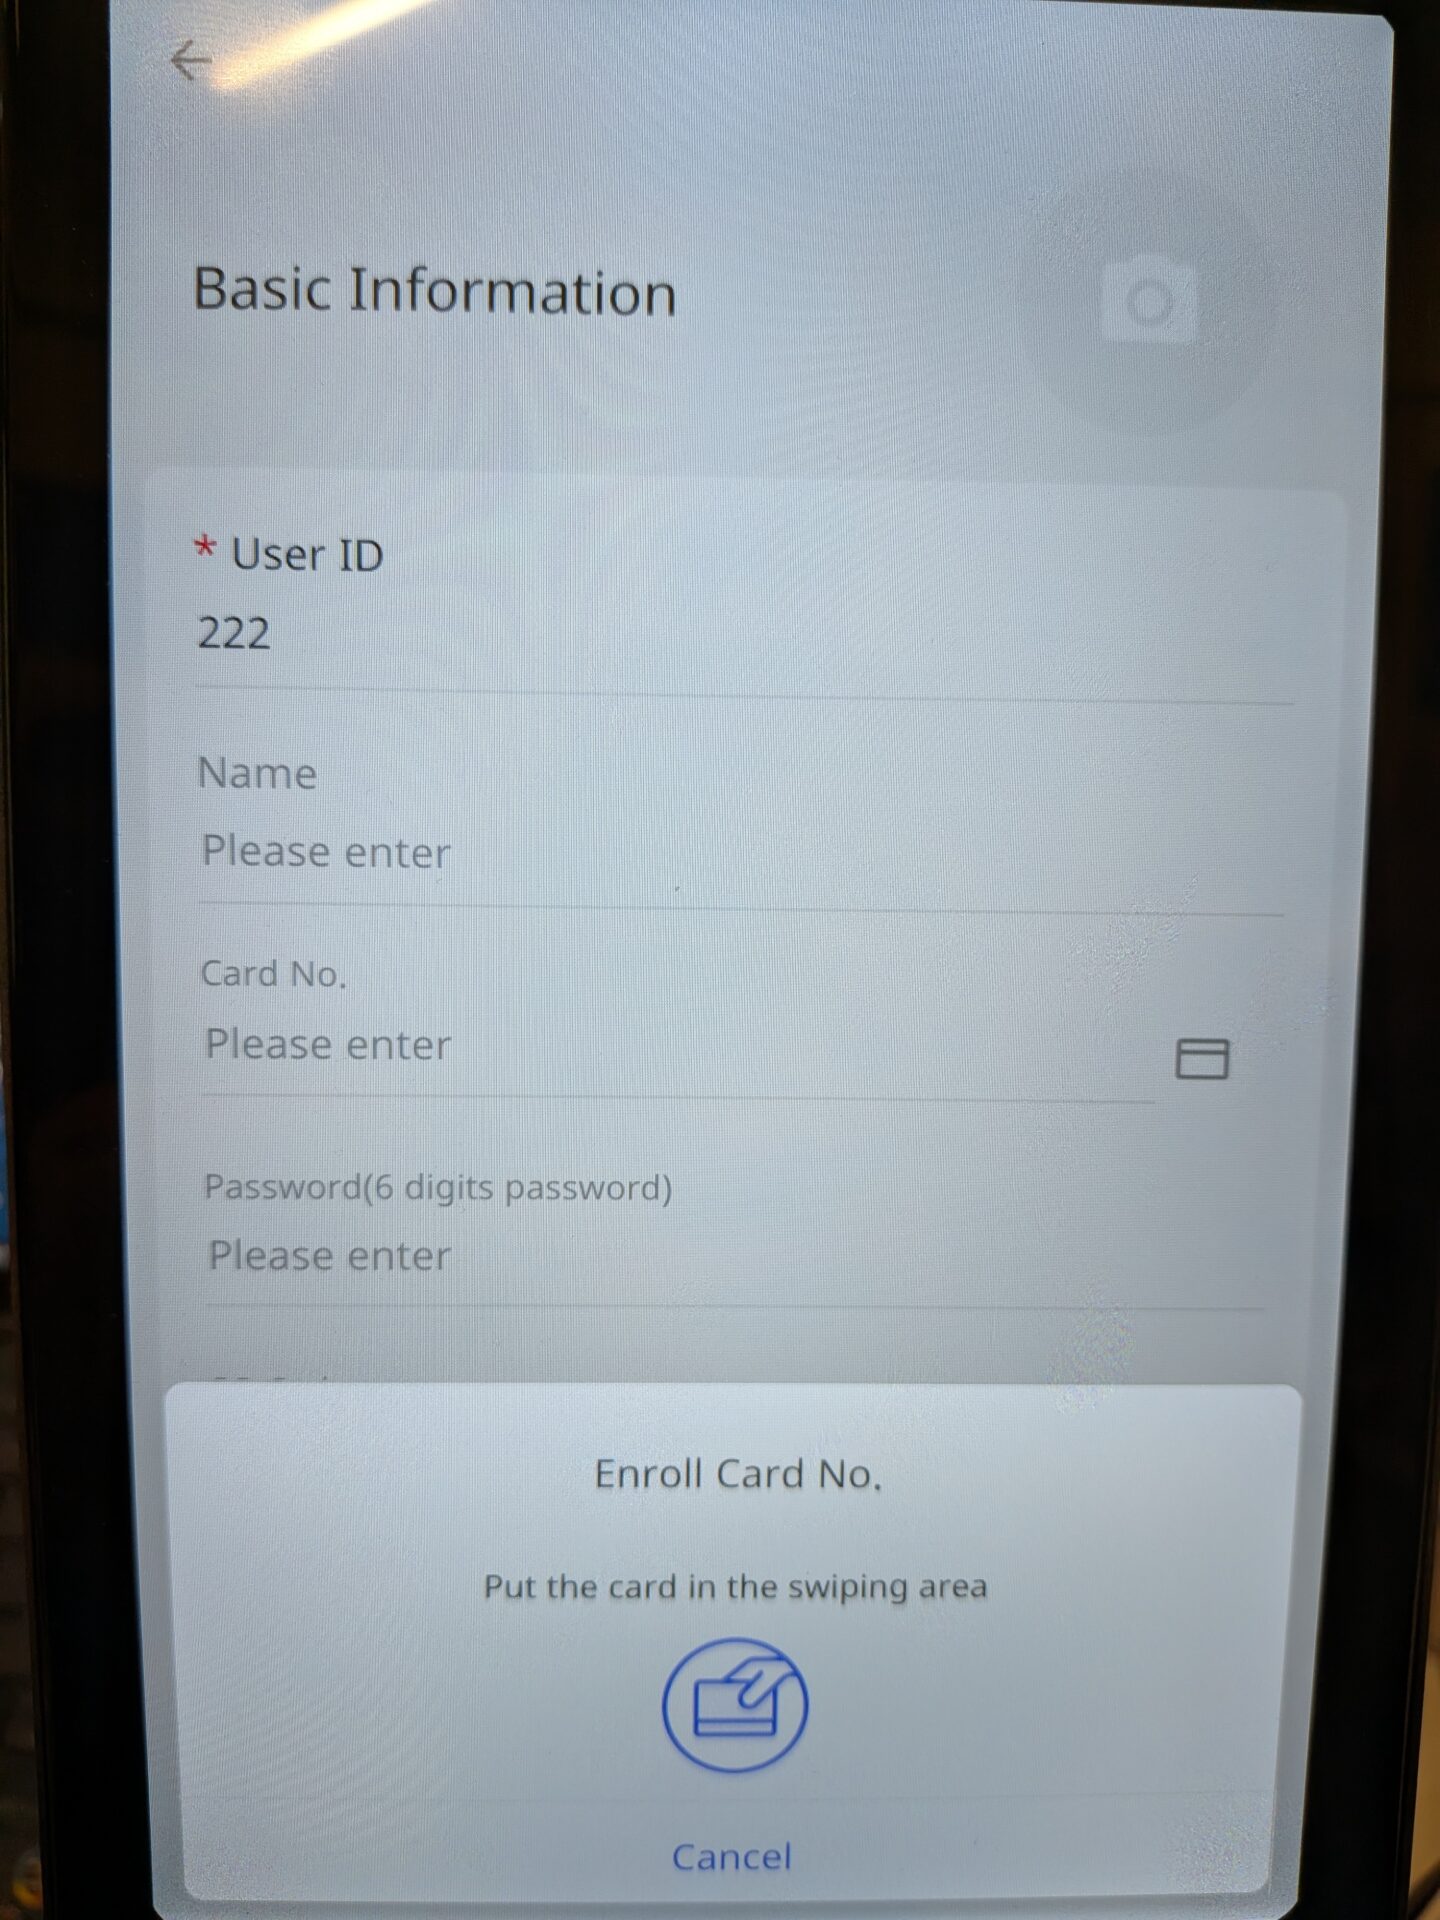
If adding a card, press the card icon on the right side of the Card No. field and present the card to the terminal. The card number will automatically populate the field if successful.
Step 5: Select the Verification Mode and Save
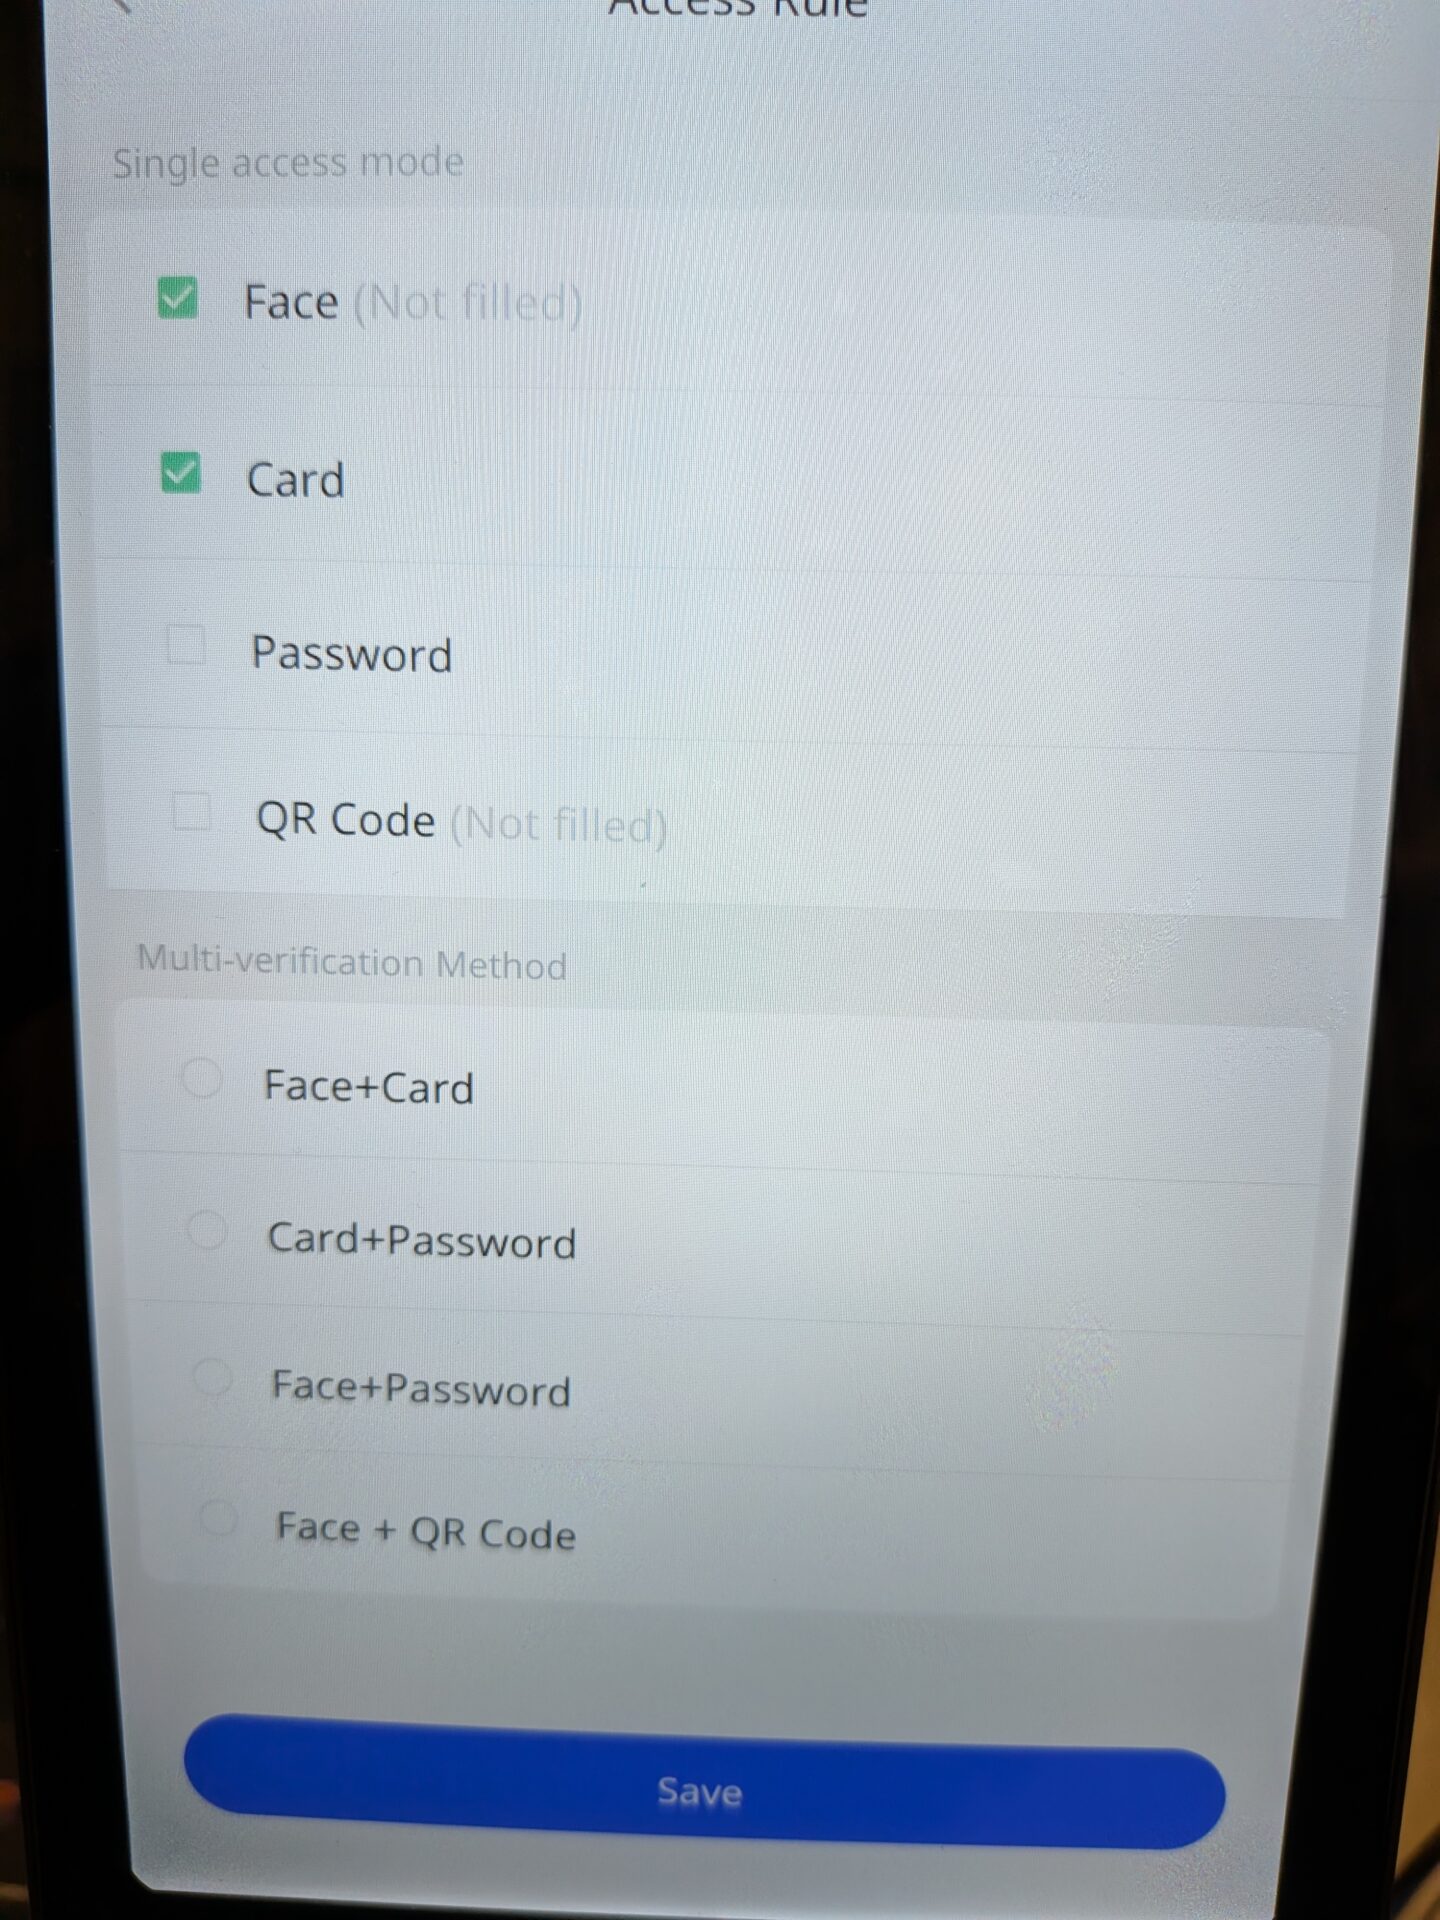
Select the correct verification mode based on what you have set up for the employee. Multiple options and two factor authentication can be selected. Once happy, click Save. The employee can now clock in using the Uni-Ubi terminal.
Section 2 | IdencyTime Customers
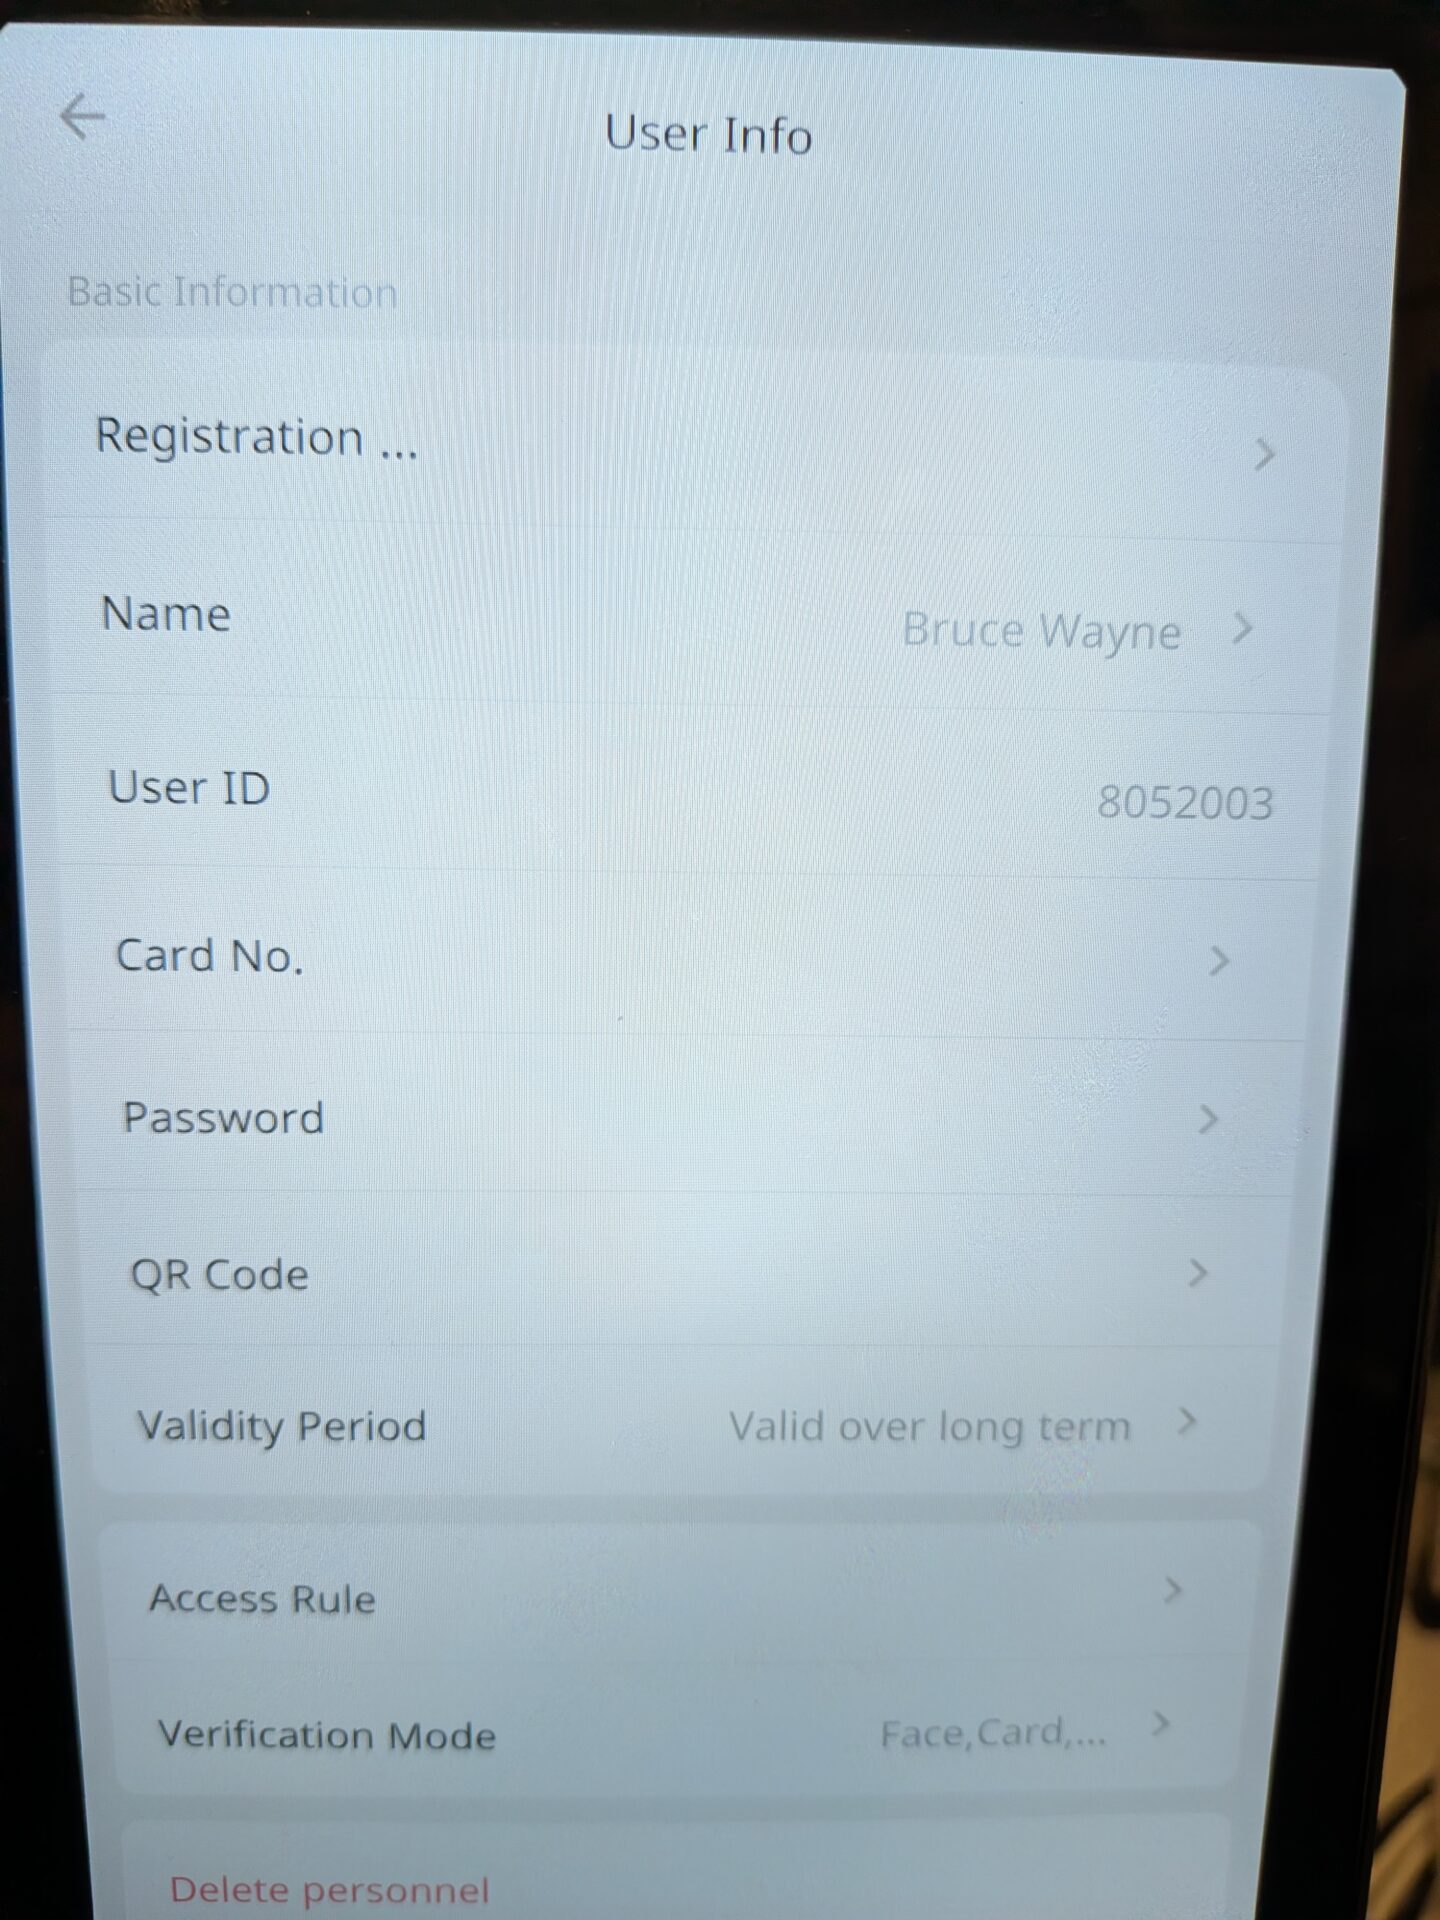
Press the cog icon in the bottom right of the terminal screen and enter your admin password to access the admin menu. Navigate to the Personnel Menu and search for the employee you want to register. Click into the employee to open their profile.
Step 2: Review the Employee Profile
You will see the employee’s existing information on screen. From here you can add or update their biometric and card details.
Step 3: Register the Employee’s Face
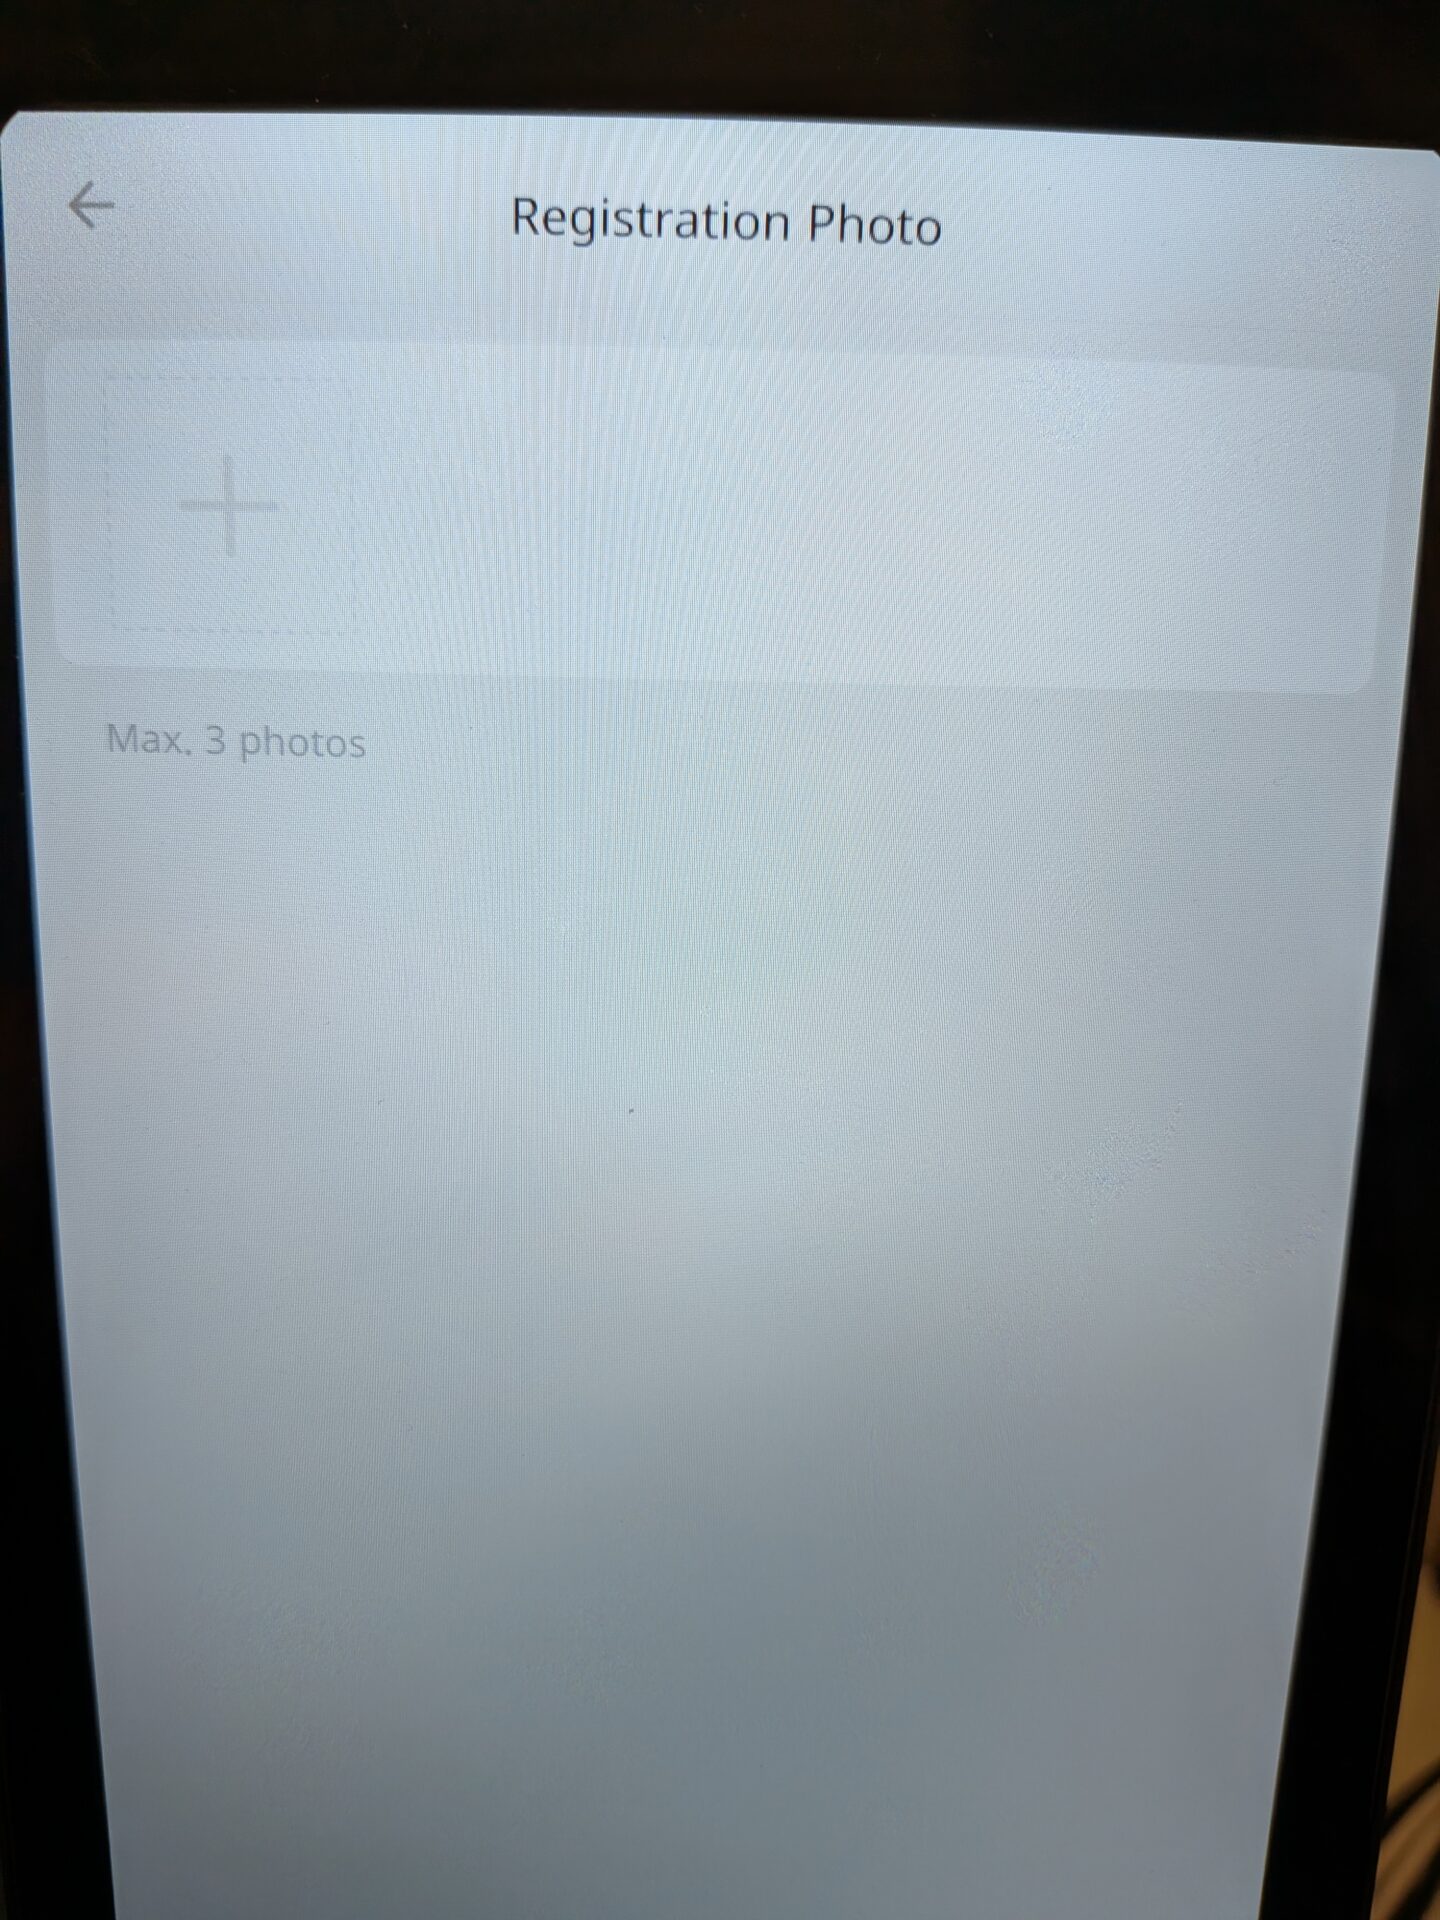
To register a face against an existing user, click on the Register menu and press the plus icon to bring up the face registration template.
Step 4: Complete Face Registration
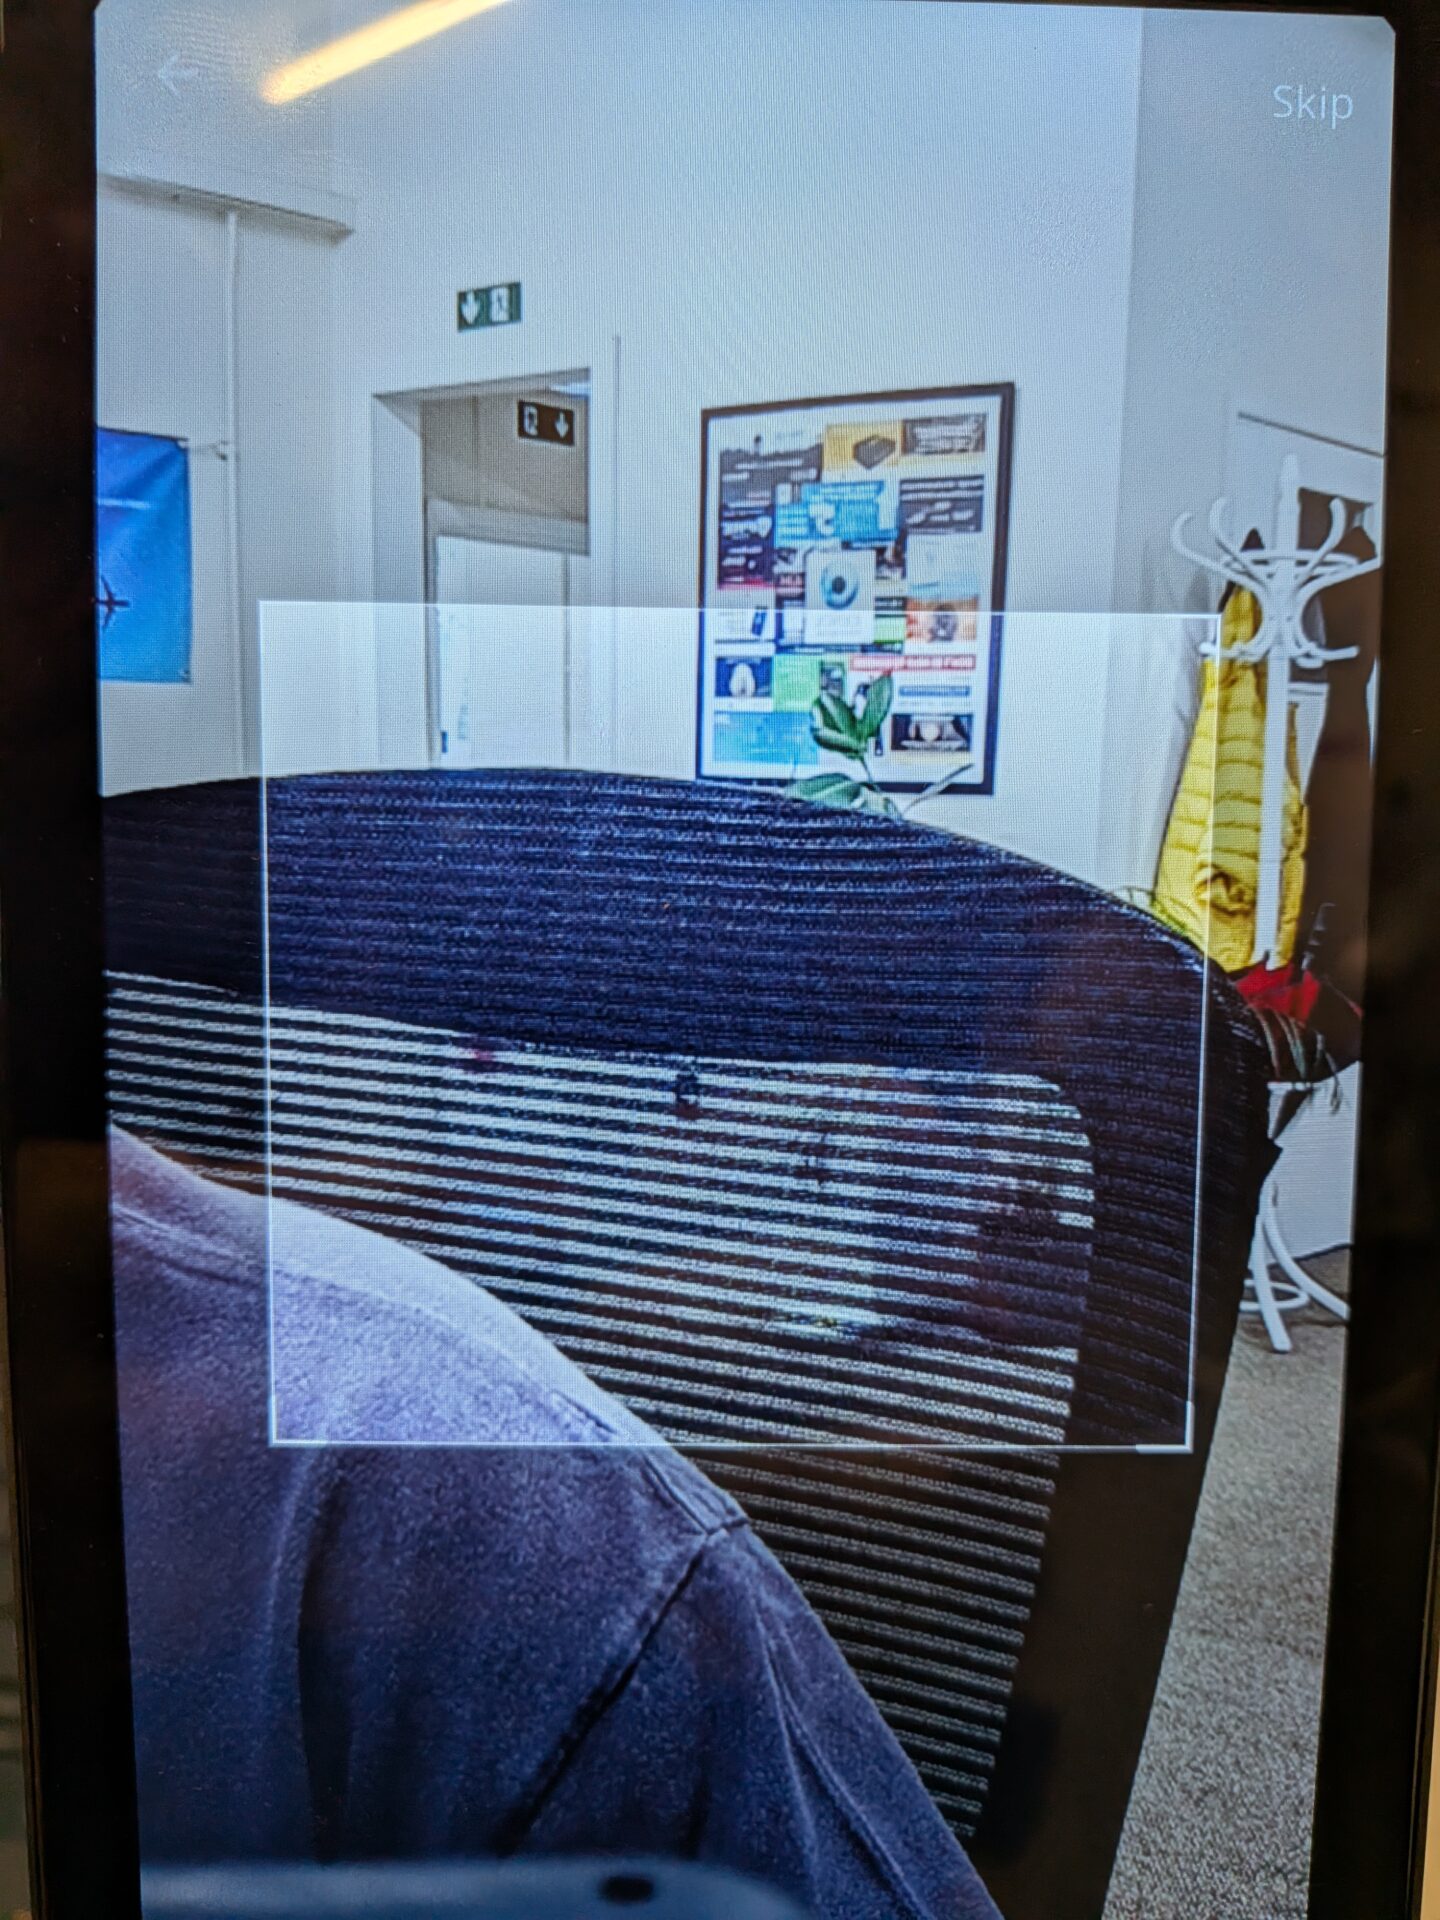
Hold the employee’s face within the square outline shown on the screen until registration is complete.
Step 5: Register a Card
If adding a card, press the card icon on the right side of the Card No. field and present the card to the terminal. The card number will automatically populate the field if successful.
Step 6: Select the Verification Mode and Save
Select the correct verification mode based on what you have set up for the employee. Multiple options and two factor authentication can be selected. Once happy, click Save. The employee can now clock in using the Uni-Ubi terminal.
You will need admin access to the Uni-Ubi terminal to register employees. If you are unsure of your admin password or are experiencing issues with registration, please contact support@idency.com.

















 English (UK)
  English
  English (Canada)
  Français du Canada
  Svenska
  Português
  Nederlands
  Italiano
  Français
  Español
  Deutsch