



































Uni-Ubi Access Level Setup
This article outlines how to set up new access levels on the Uni-Ubi Facial Recognition device. You will need to be at the device to complete this process.
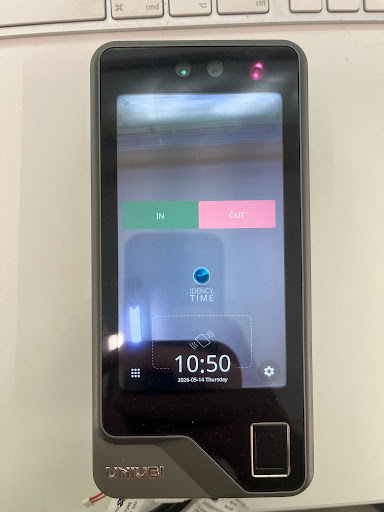
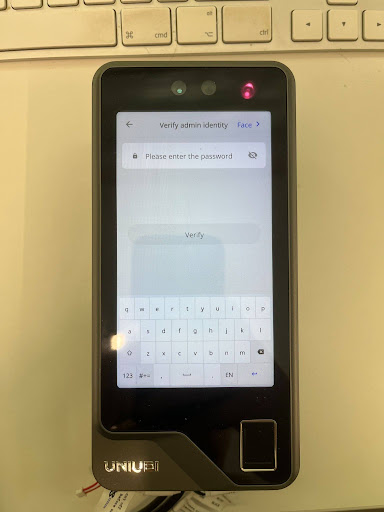
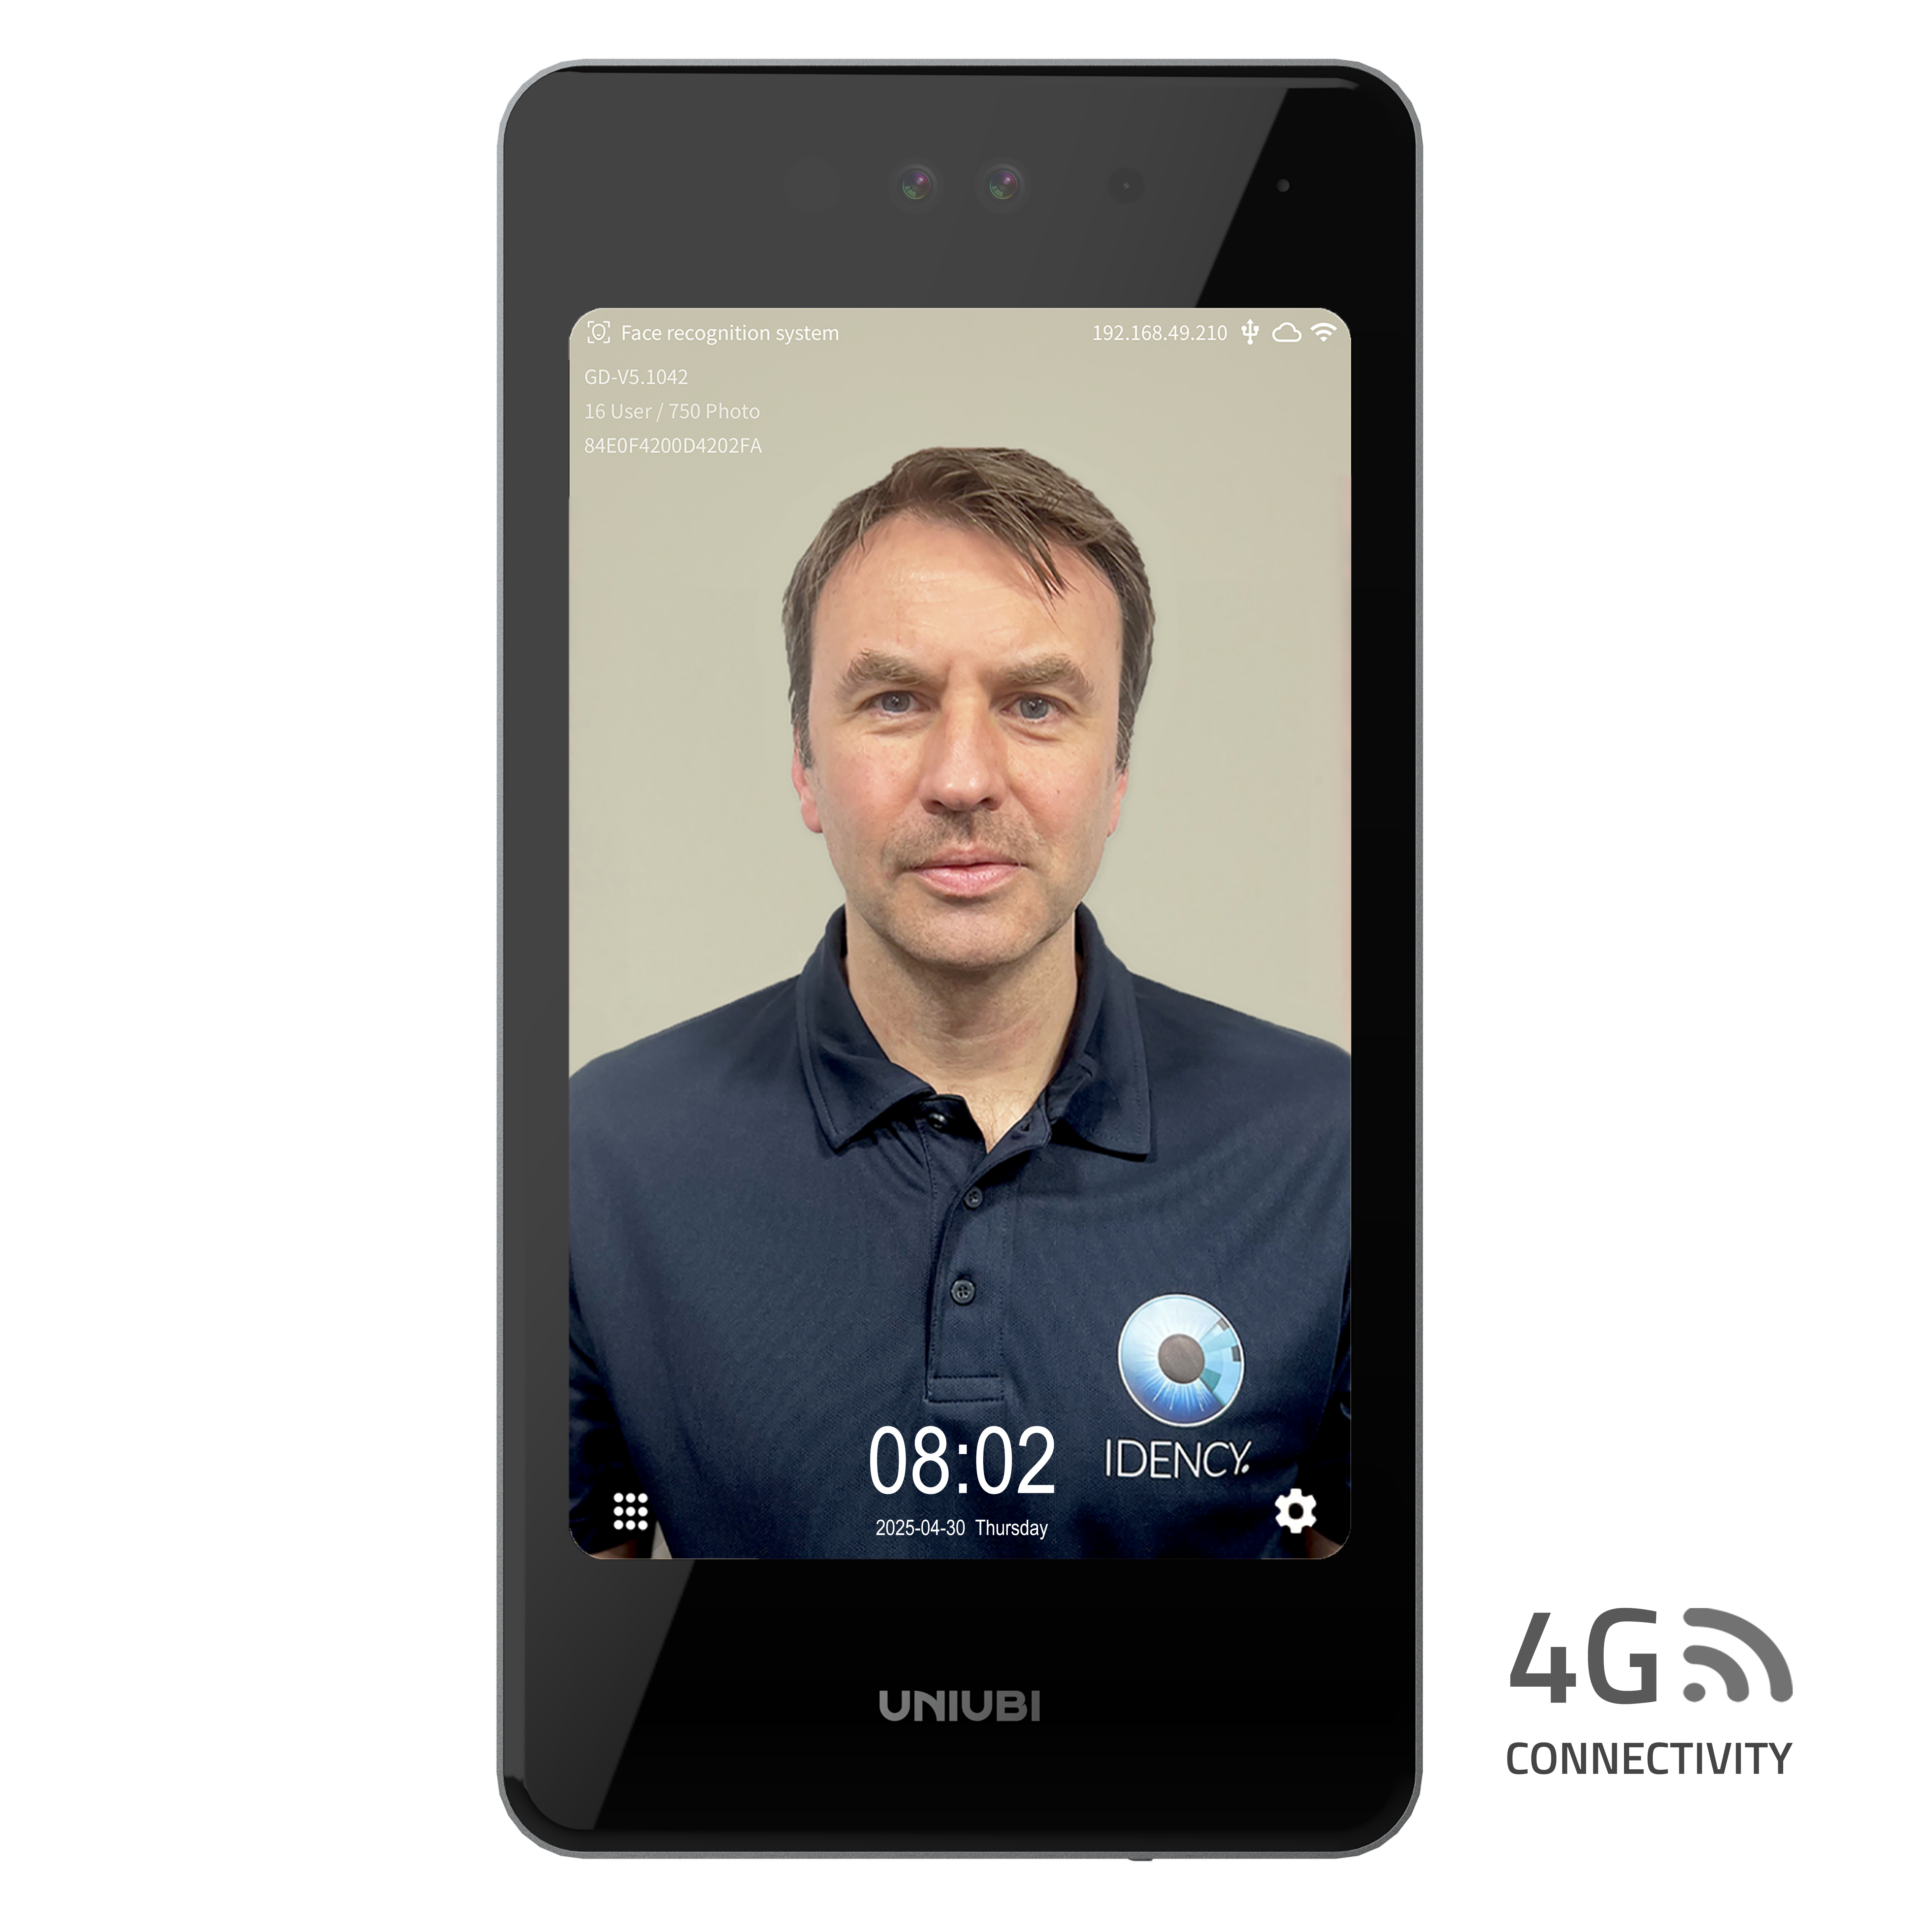
Select the cog icon in the bottom right of the screen. You will then be prompted for the admin credentials. The default password is 12354.
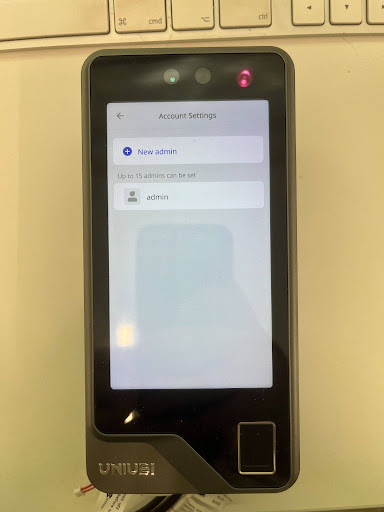
Navigate to Settings → System → Account Settings.
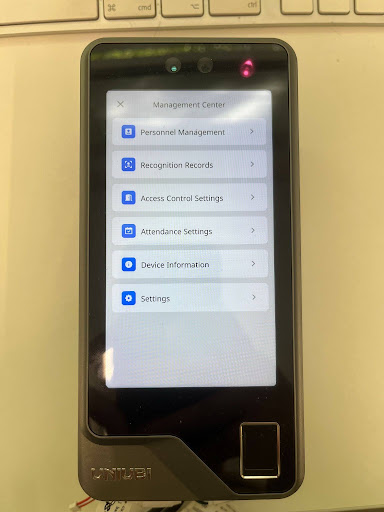
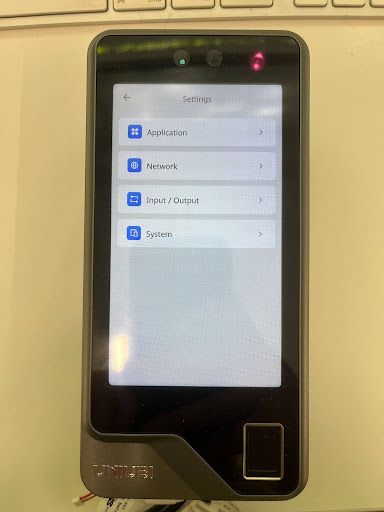
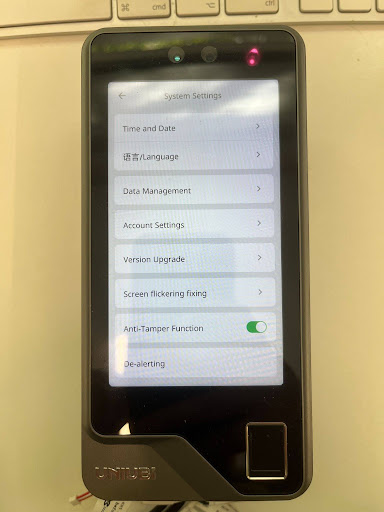
Step 3: Create a new Admin Account
Once in Account Settings, select New Admin to begin creating a new access level. You can add as many admin accounts as required.
Step 4: Configure Admin Permissions
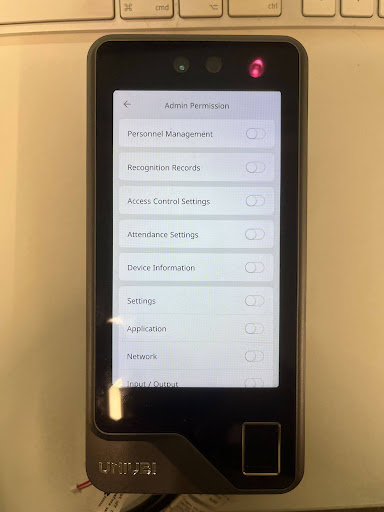
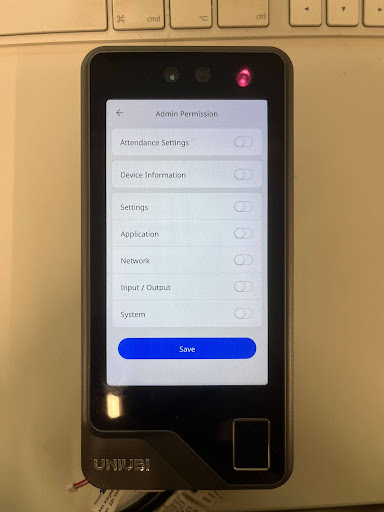
Enable the options you would like to assign to the new admin account. Once you have selected the appropriate permissions, scroll to the bottom and select Save.
Step 5: Name the Account and Set a Password
Enter a name for the new admin level and create a password for it. This is how the account will be identified on the device.
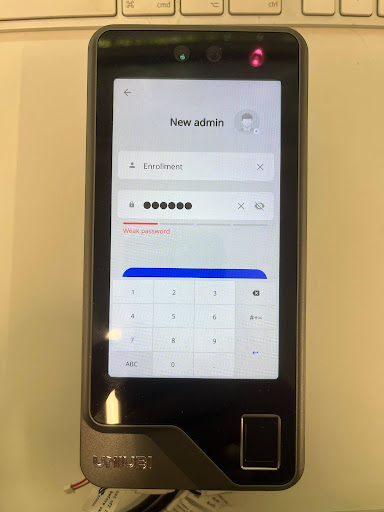
Step 6: Select the Access Level on the Main Screen
On the main screen, select the cog icon and choose the access level from the dropdown. This can be done by swiping up to reveal the available levels.
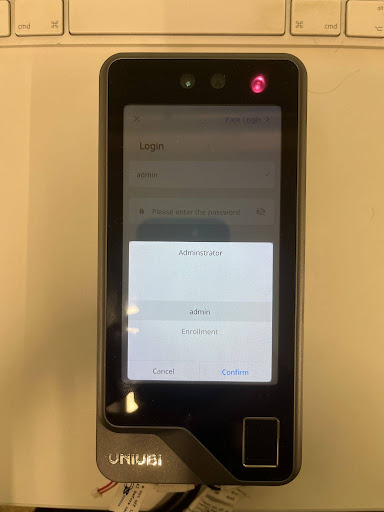
Step 7: Select the Access Level on the Main Screen
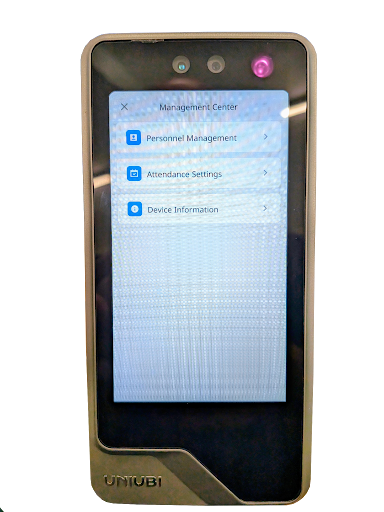
Once logged in under the new admin level, the admin will only be able to see the menus they have been granted access to as shown in the example below.
The default admin password is 12354. If you have forgotten your admin password, please contact support@idency.com

















 English (UK)
  English
  English (Canada)
  Français du Canada
  Svenska
  Português
  Nederlands
  Italiano
  Français
  Español
  Deutsch