



































Uni-Ubi
Uni-Ubi
Avancerad ansiktsigenkänning och biometrisk teknik för tidredovisning och passerkontroll
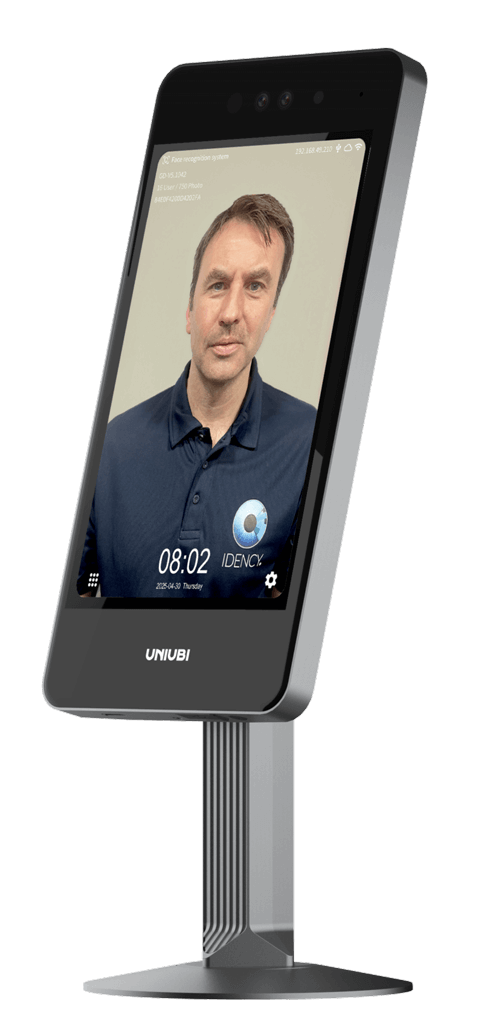
Uni-Ubi ansiktsigenkänning och biometriska terminaler
Snabb, säker biometrisk teknik för tid- och närvarokontroll samt passerkontroll
Uni-Ubi (Universal Ubiquitous Co. Ltd) är en global AIoT-teknikleverantör som är specialiserad på intelligent ansiktsigenkänning och biometriska lösningar. Sedan den globala expansionen 2019 har Uni-Ubi introducerat sin AI-teknik i över 50 länder, inklusive dess populära Ansiktsigenkänningsterminaler i UFace-serien.
Som partner till Uni-Ubi, Idency levererar och stöder Uni-Ubi biometriska terminaler för tidsredovisning och passerkontroll, och hjälper företag att välja rätt enheter och integrera dem med sina bredare personalenhetssystem.
Fullt stöd och biometrisk integration med by Idency
Idency levererar, stöder och integrerar Uni-Ubi med IdentyTime och annan programvara att skapa kompletta molnbaserade tid- och närvarolösningar.
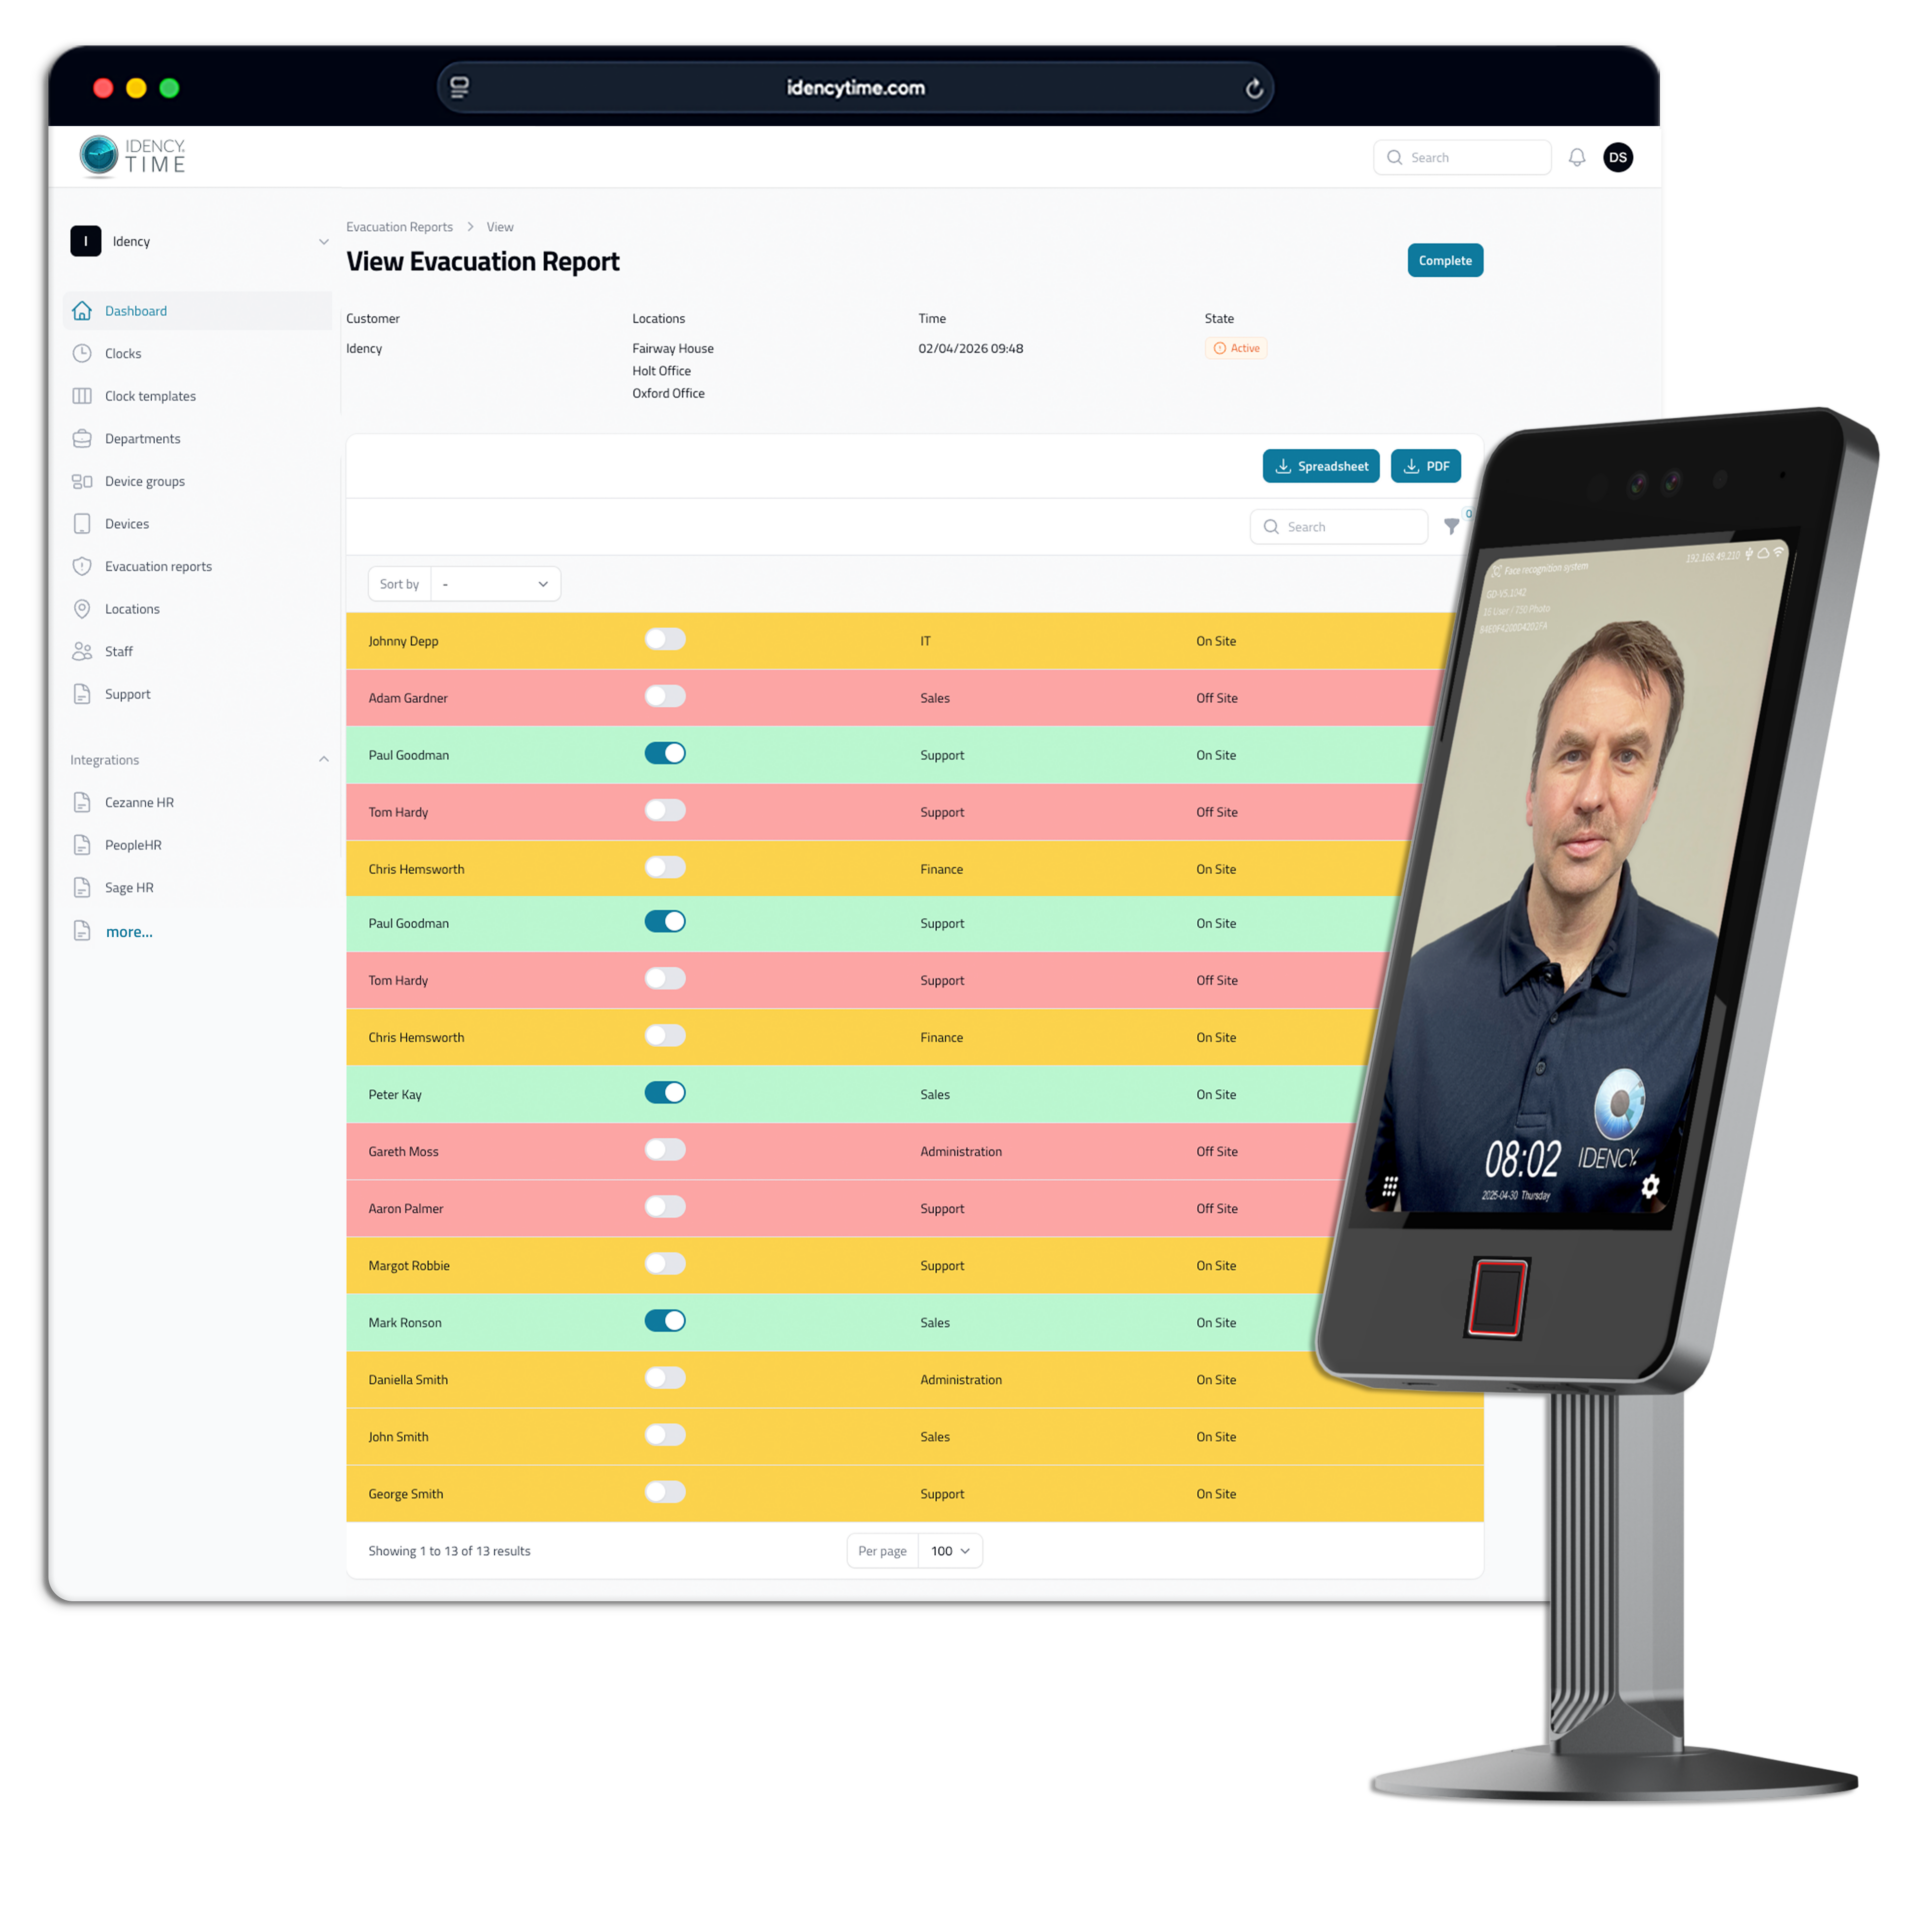
Uni-Ubi Tid & Närvaro & Passerkontroll
Kombinera Uni-Ubi biometriska terminaler med IdencyTime att skapa en komplett tid- och närvarolösning med snabb, noggrann ansiktsigenkänning och andra metoder för autentisering som stöds.
Anställda kan stämpla in och ut på ett säkert sätt, medan IdencyTime samlar in närvarodata och ansluter till kompatibla HR-, löne- och personalhanteringssystem. Detta bidrar till att automatisera närvaroregistreringen, minska den manuella administrationen och ge företag bättre överblick över sin arbetsstyrka.
Valda Uni-Ubi-terminaler kan även integreras med passerkontrollsystem, vilket gör att samma biometriska teknik kan hantera säker inpassering till byggnader, kontor och begränsade områden.
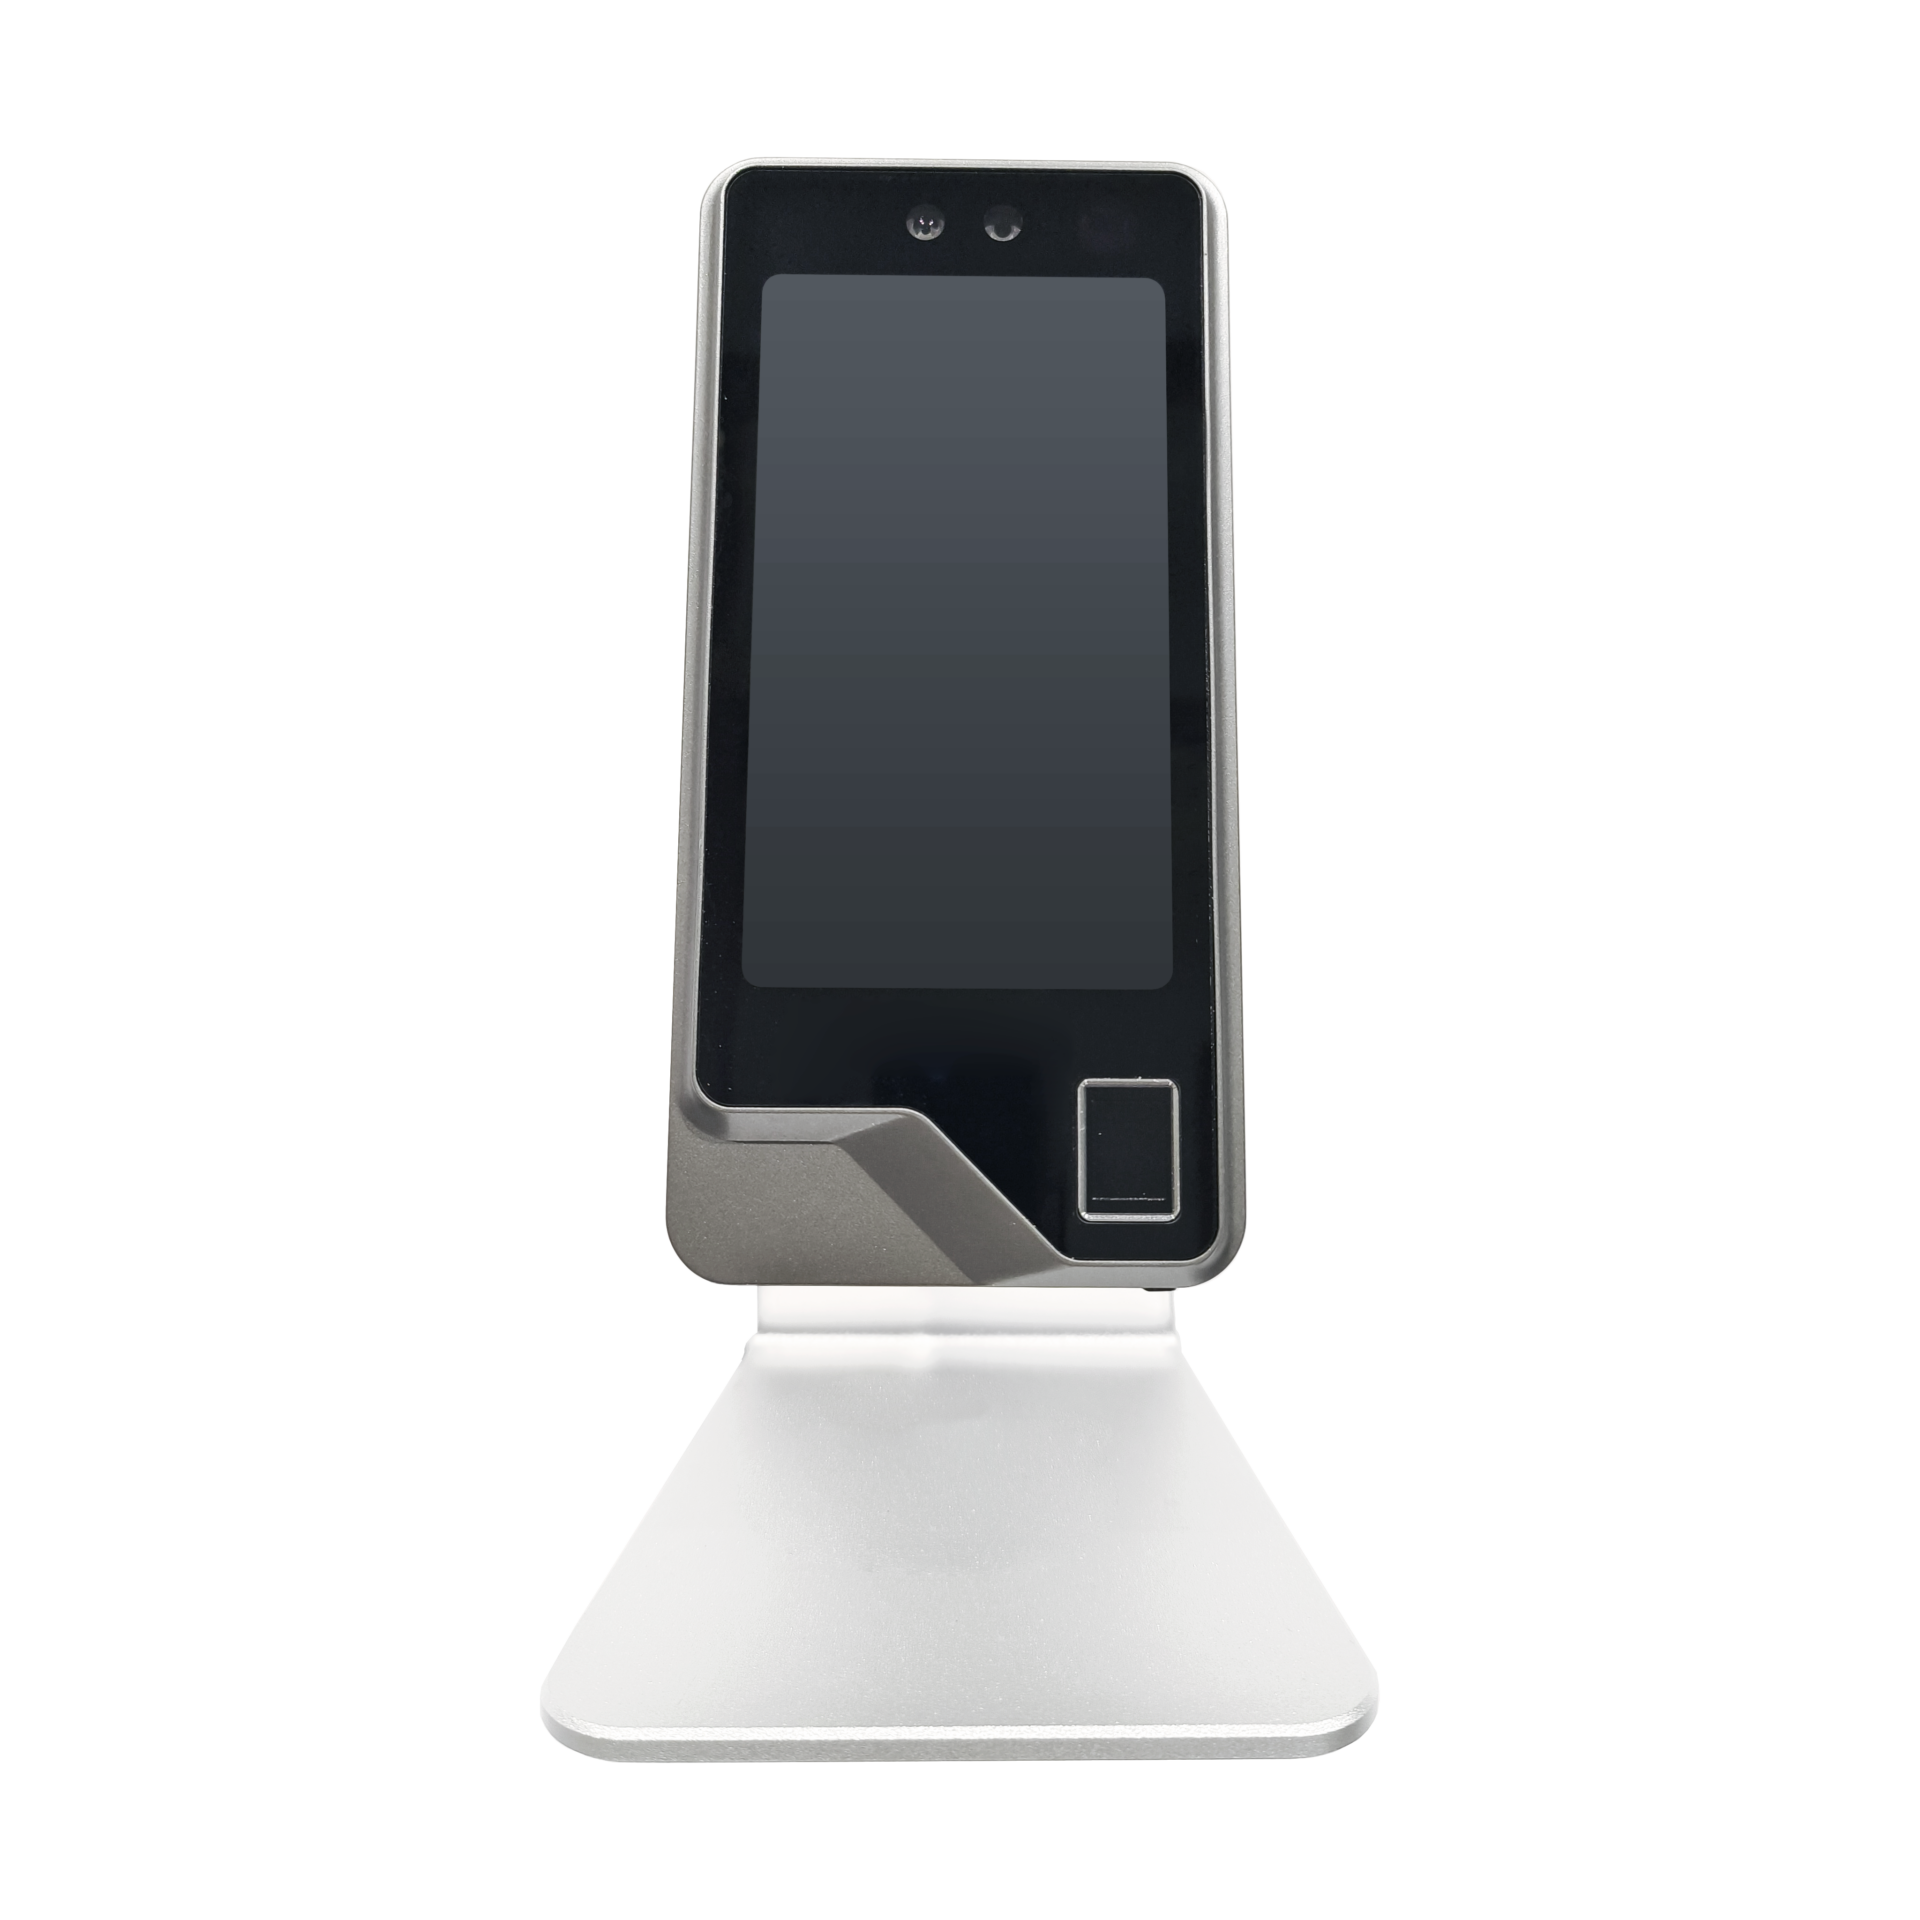
Flexibel autentisering för varje arbetsplats
Uni-Ubi-terminaler erbjuder flera sätt att identifiera anställda, vilket gör det möjligt för företag att välja rätt biometrisk teknik för sin personal och sin miljö.
Flerfaktorsautentisering
Kombinera ansikts- och fingertoppsavläsning i en enda terminal för större flexibilitet.
Ansiktsigenkänning
Snabb, kontaktlös medarbetaridentifiering som drivs av avancerad AI-teknik.
Handigenkänning
Snabb, kontaktlös autentisering med unika handflatskarakteristika.
RFID / MiFare
Alla Uni-Ubi-terminaler har stöd för RFID / MiFare, men du kan även välja fristående som ett alternativ till biometri.
Titel för detta block
Beskrivning för det här maxtrycket. Använd det här utrymmet för att beskriva ditt block. Vilken text som helst fungerar. Beskrivning för det här blocket. Du kan använda det här utrymmet för att beskriva ditt block.
Titel för detta block
Beskrivning för det här maxtrycket. Använd det här utrymmet för att beskriva ditt block. Vilken text som helst fungerar. Beskrivning för det här blocket. Du kan använda det här utrymmet för att beskriva ditt block.
Titel för detta block
Beskrivning för det här maxtrycket. Använd det här utrymmet för att beskriva ditt block. Vilken text som helst fungerar. Beskrivning för det här blocket. Du kan använda det här utrymmet för att beskriva ditt block.
Biometrisk hårdvara, mjukvara och support från en enda partner
Idency hjälper företag att få ut mer av Uni-Ubi-tekniken genom att kombinera biometrisk hårdvara med den programvara, integrationer och expertis som krävs för att skapa en komplett personalösning.
Från att välja rätt Uni-Ubi UFace-terminal för att konfigurera enheter, integrera med IdentyTime och att ansluta närvaro till dina befintliga system, kan vårt team stötta dig under hela driftsättningen.
Fördelar med Uni-Ubi & Idency
- Snabb ochverifierad tidsrapportering för anställda
- Minska stämpling åt andra
- Automatisera närvaroregistreringen
- HR- och lönneintegrationer
- Enhetshantering för flera platser
- Exakt personaldata
- Närvaroöversikt i realtid
- Förenklad löneberedning
Idealisk för alla branscher
- Tillverkning
- Lagerhantering och distribution
- Logistik
- Konstruktion
- Hälso- och sjukvård
- Utbildning
- Gästfrihet
- Detaljhandel
- Kontor och professionella tjänster
Kom igång
Är du intresserad av Uni-Ubi ansiktsigenkänning och biometriska terminaler för tidrapportering eller passagekontroll? Vi kan hjälpa dig att hitta rätt lösning för din arbetsplats.
Oavsett om du behöver rådgivning, priser eller en demo, är vårt team redo att hjälpa dig.
Eller ta en titt på våra Uni-Ubi-relaterade produkter nedan.

















 English (UK)
  English
  English (Canada)
  Français du Canada
  Svenska
  Português
  Nederlands
  Italiano
  Français
  Español
  Deutsch