



































Uni-Ubi UFace 8 Pro Universal Wall Mount Construction Guide
This guide covers how to construct and attach the Universal Wall Mount for the Uni-Ubi UFace 8 Pro. Before starting, check the parts list below and make sure you have everything from the pack.
Parts You’ll Need
Lay these parts out in front of you before you begin, as you’ll be picking them up in a specific order as you go.
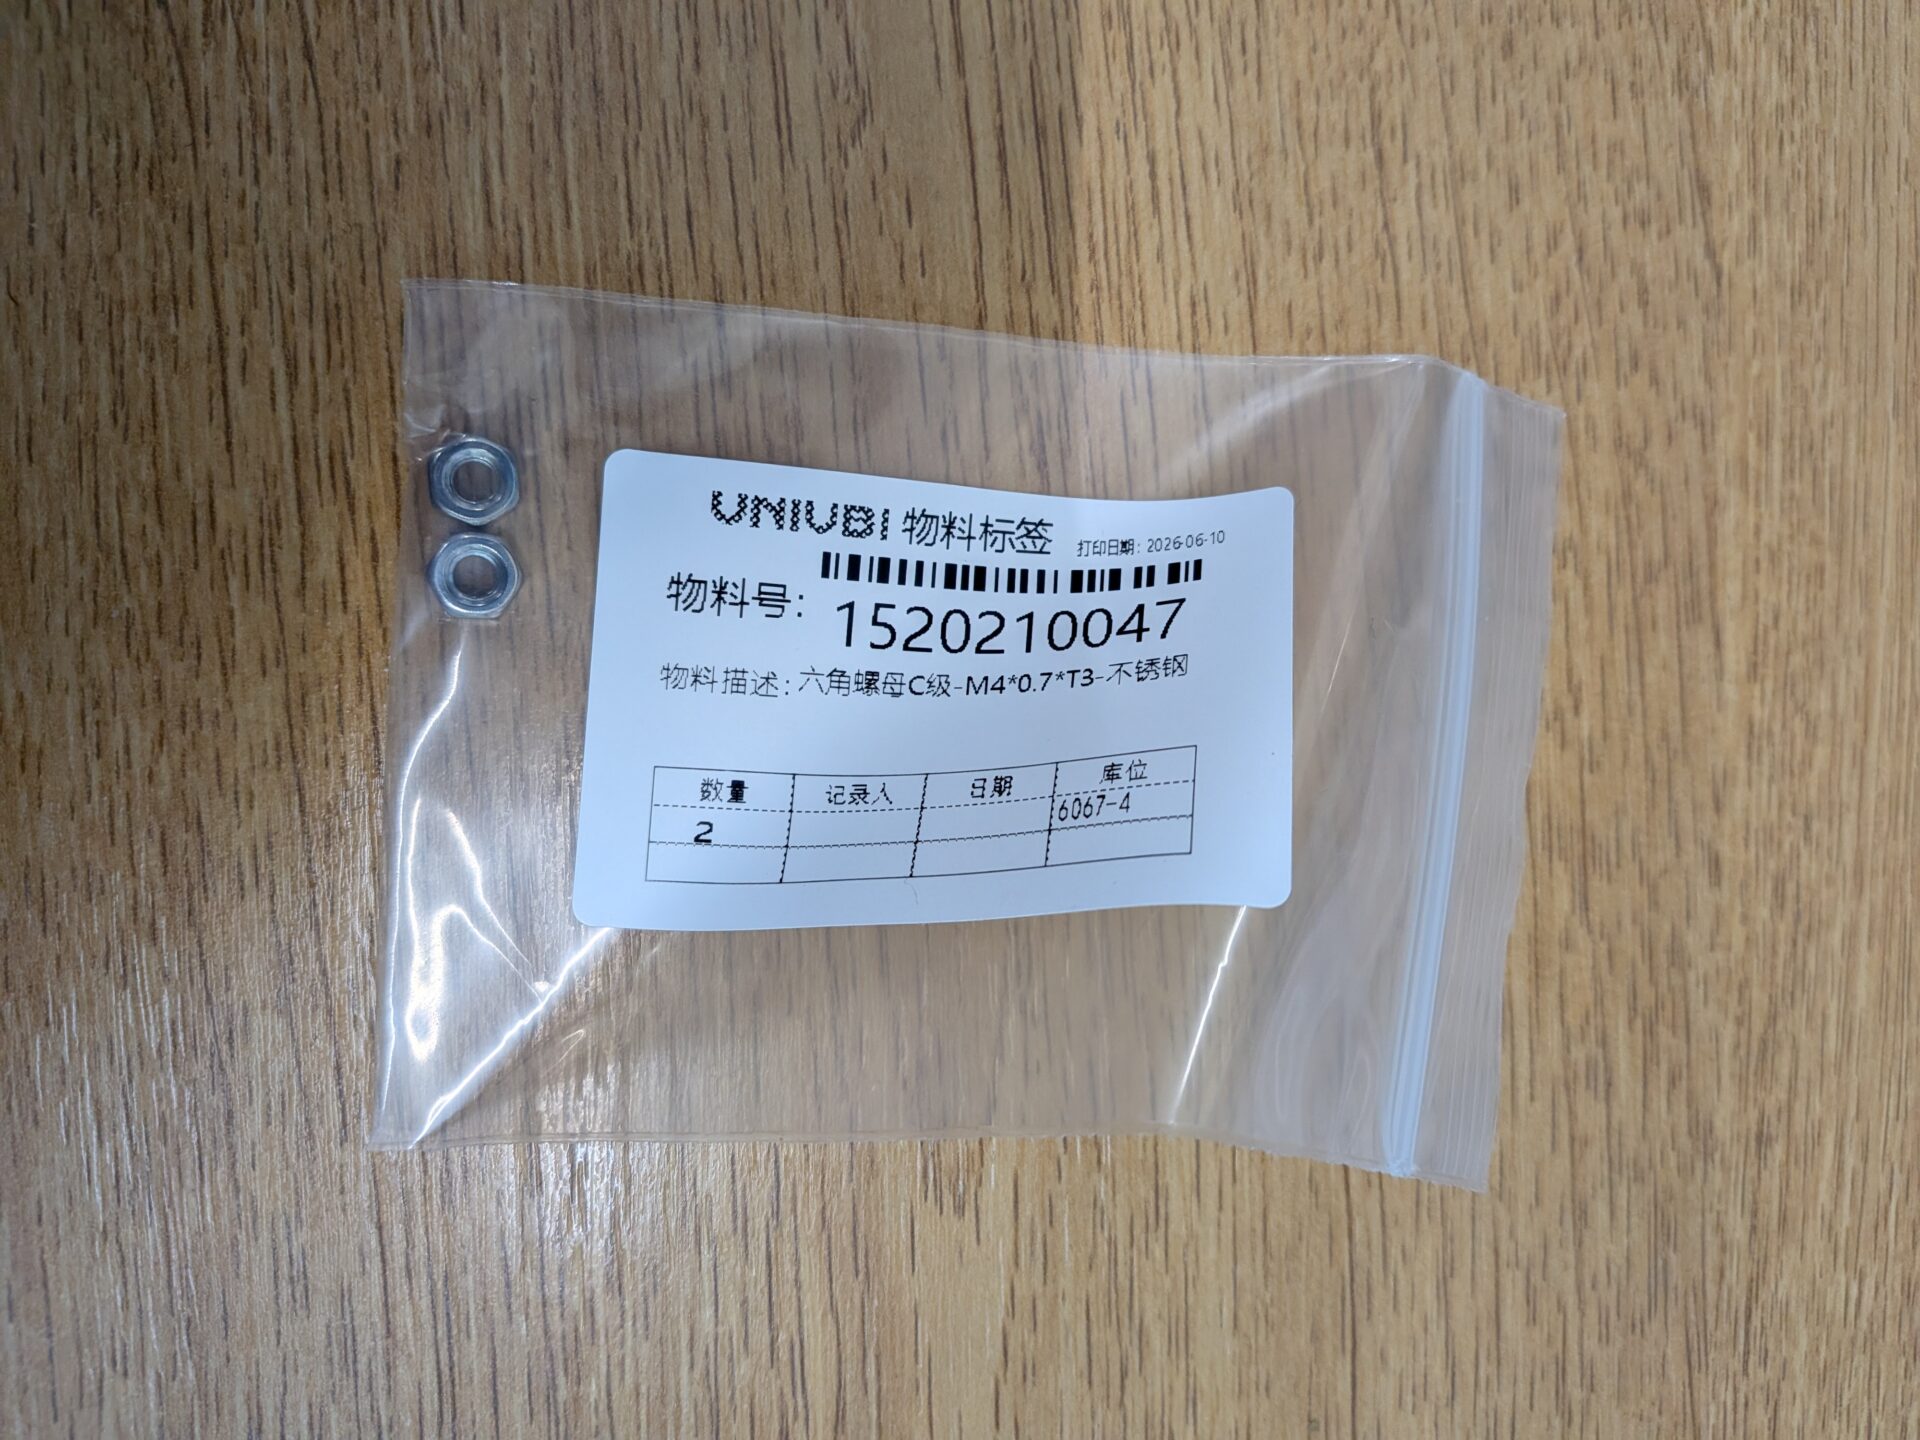
1520210047
2 x nuts
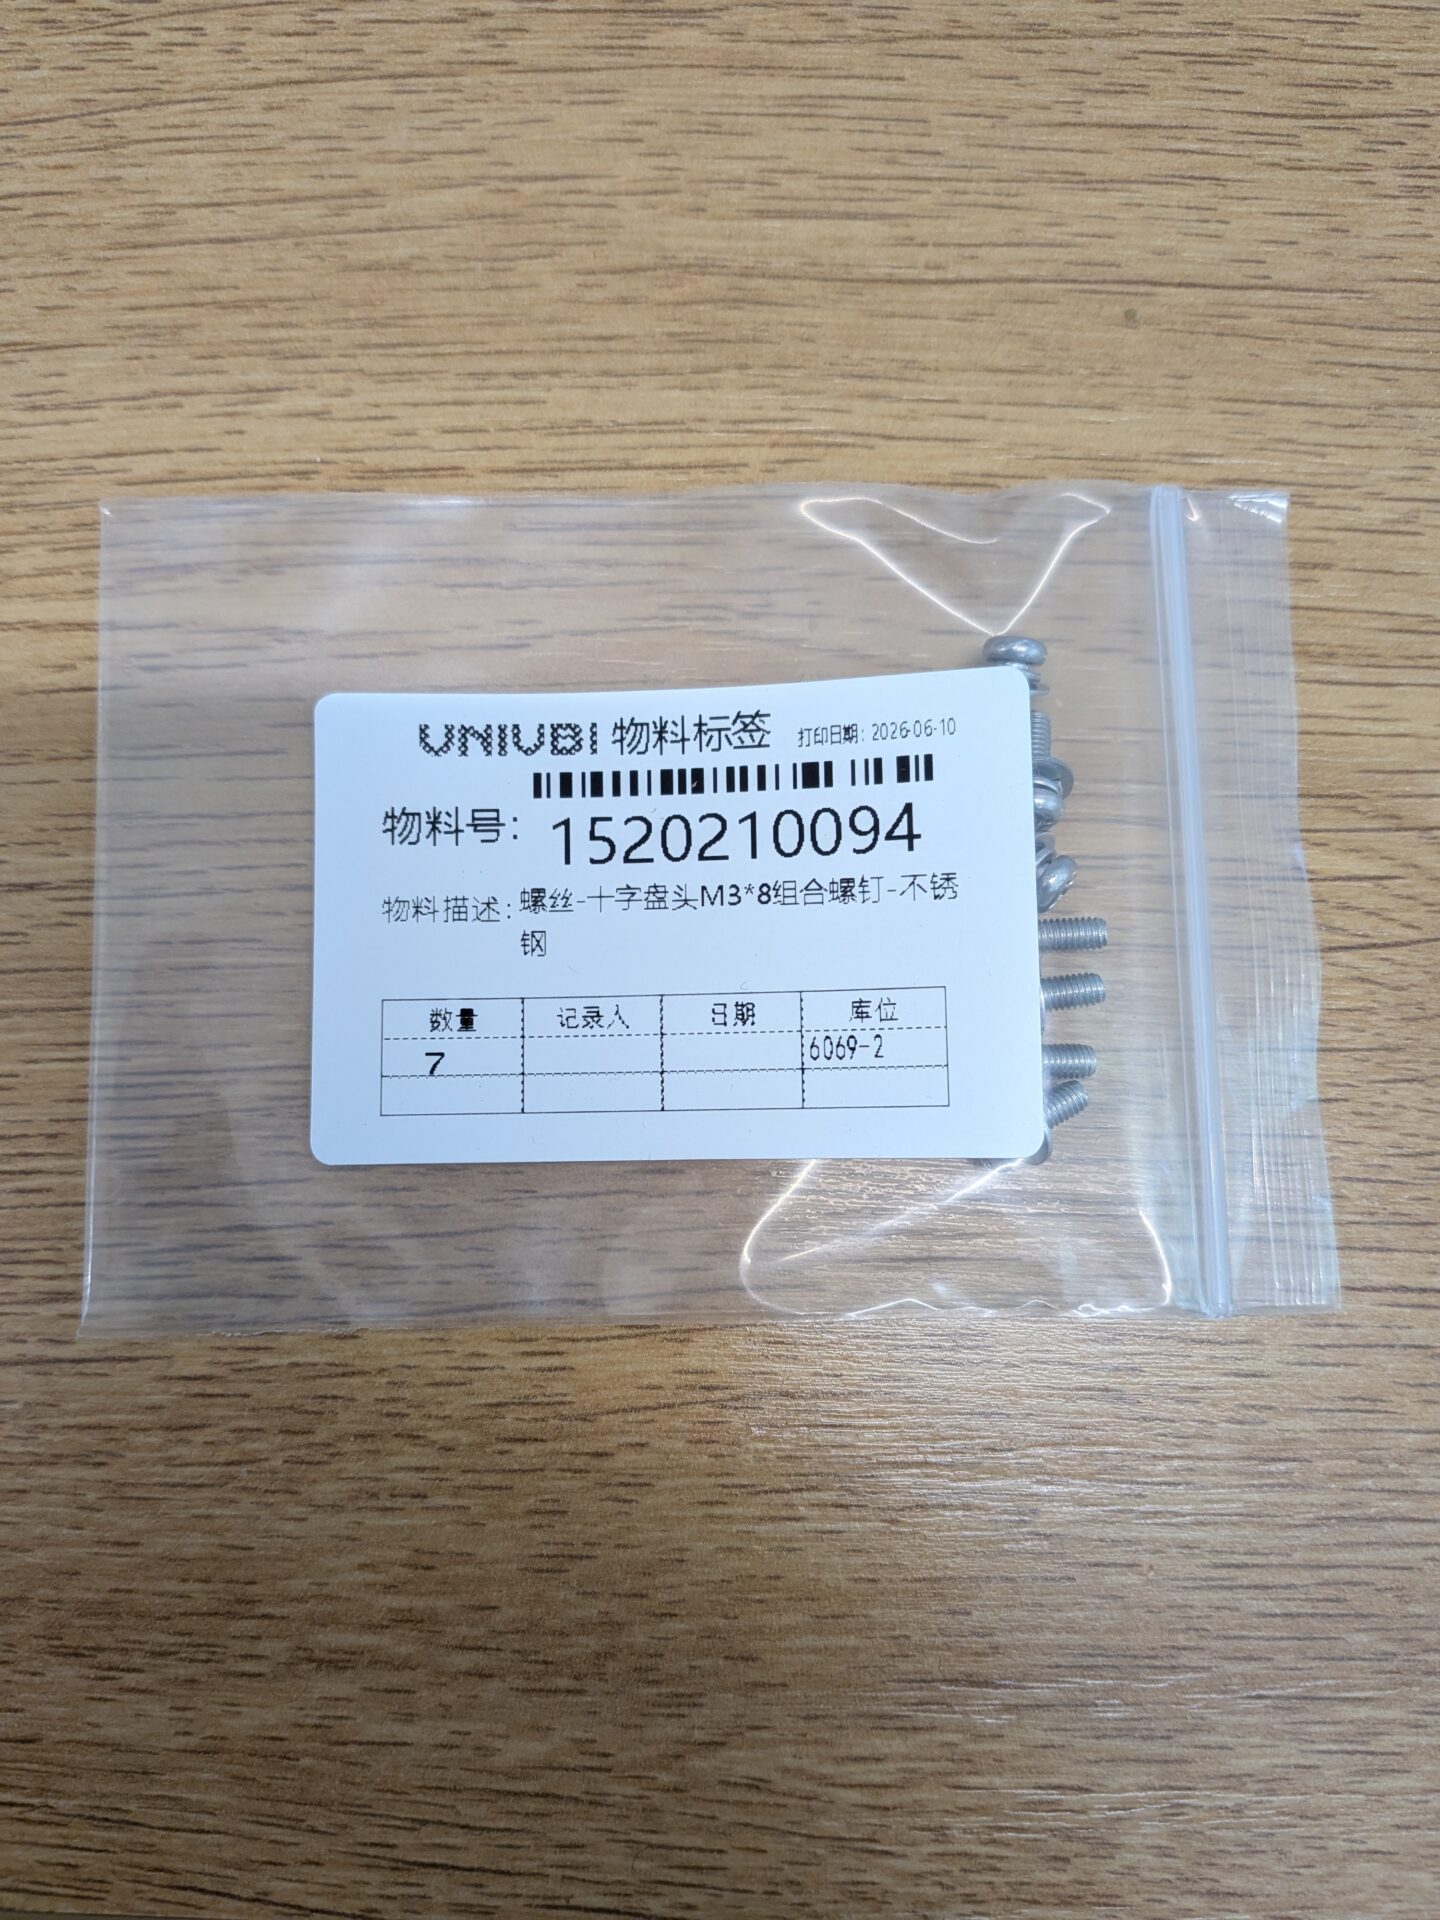
1520210094
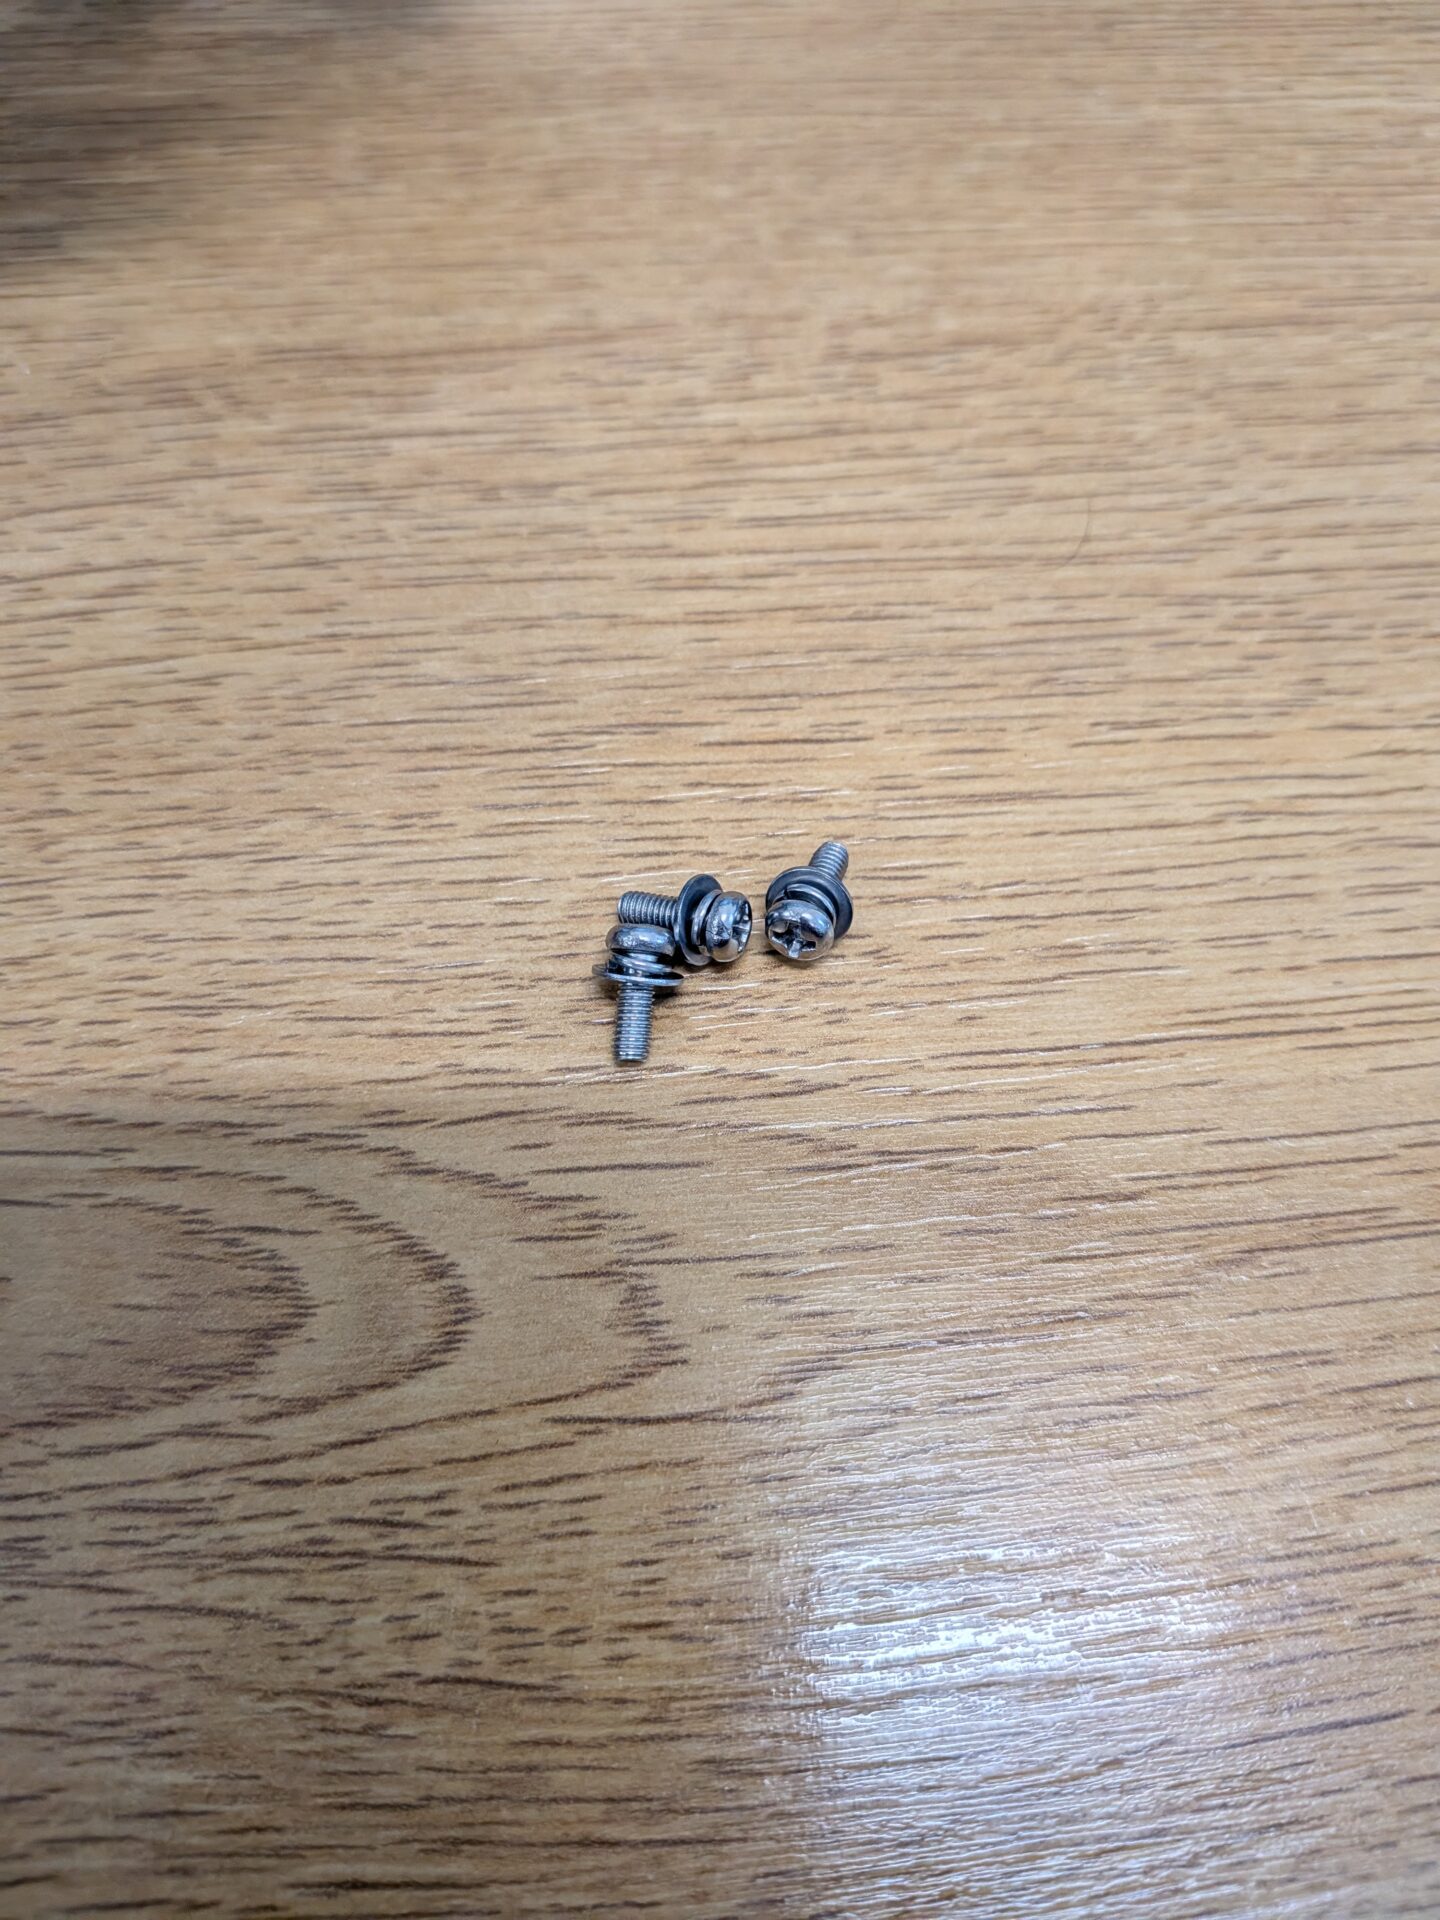
3 x silver screws with washers
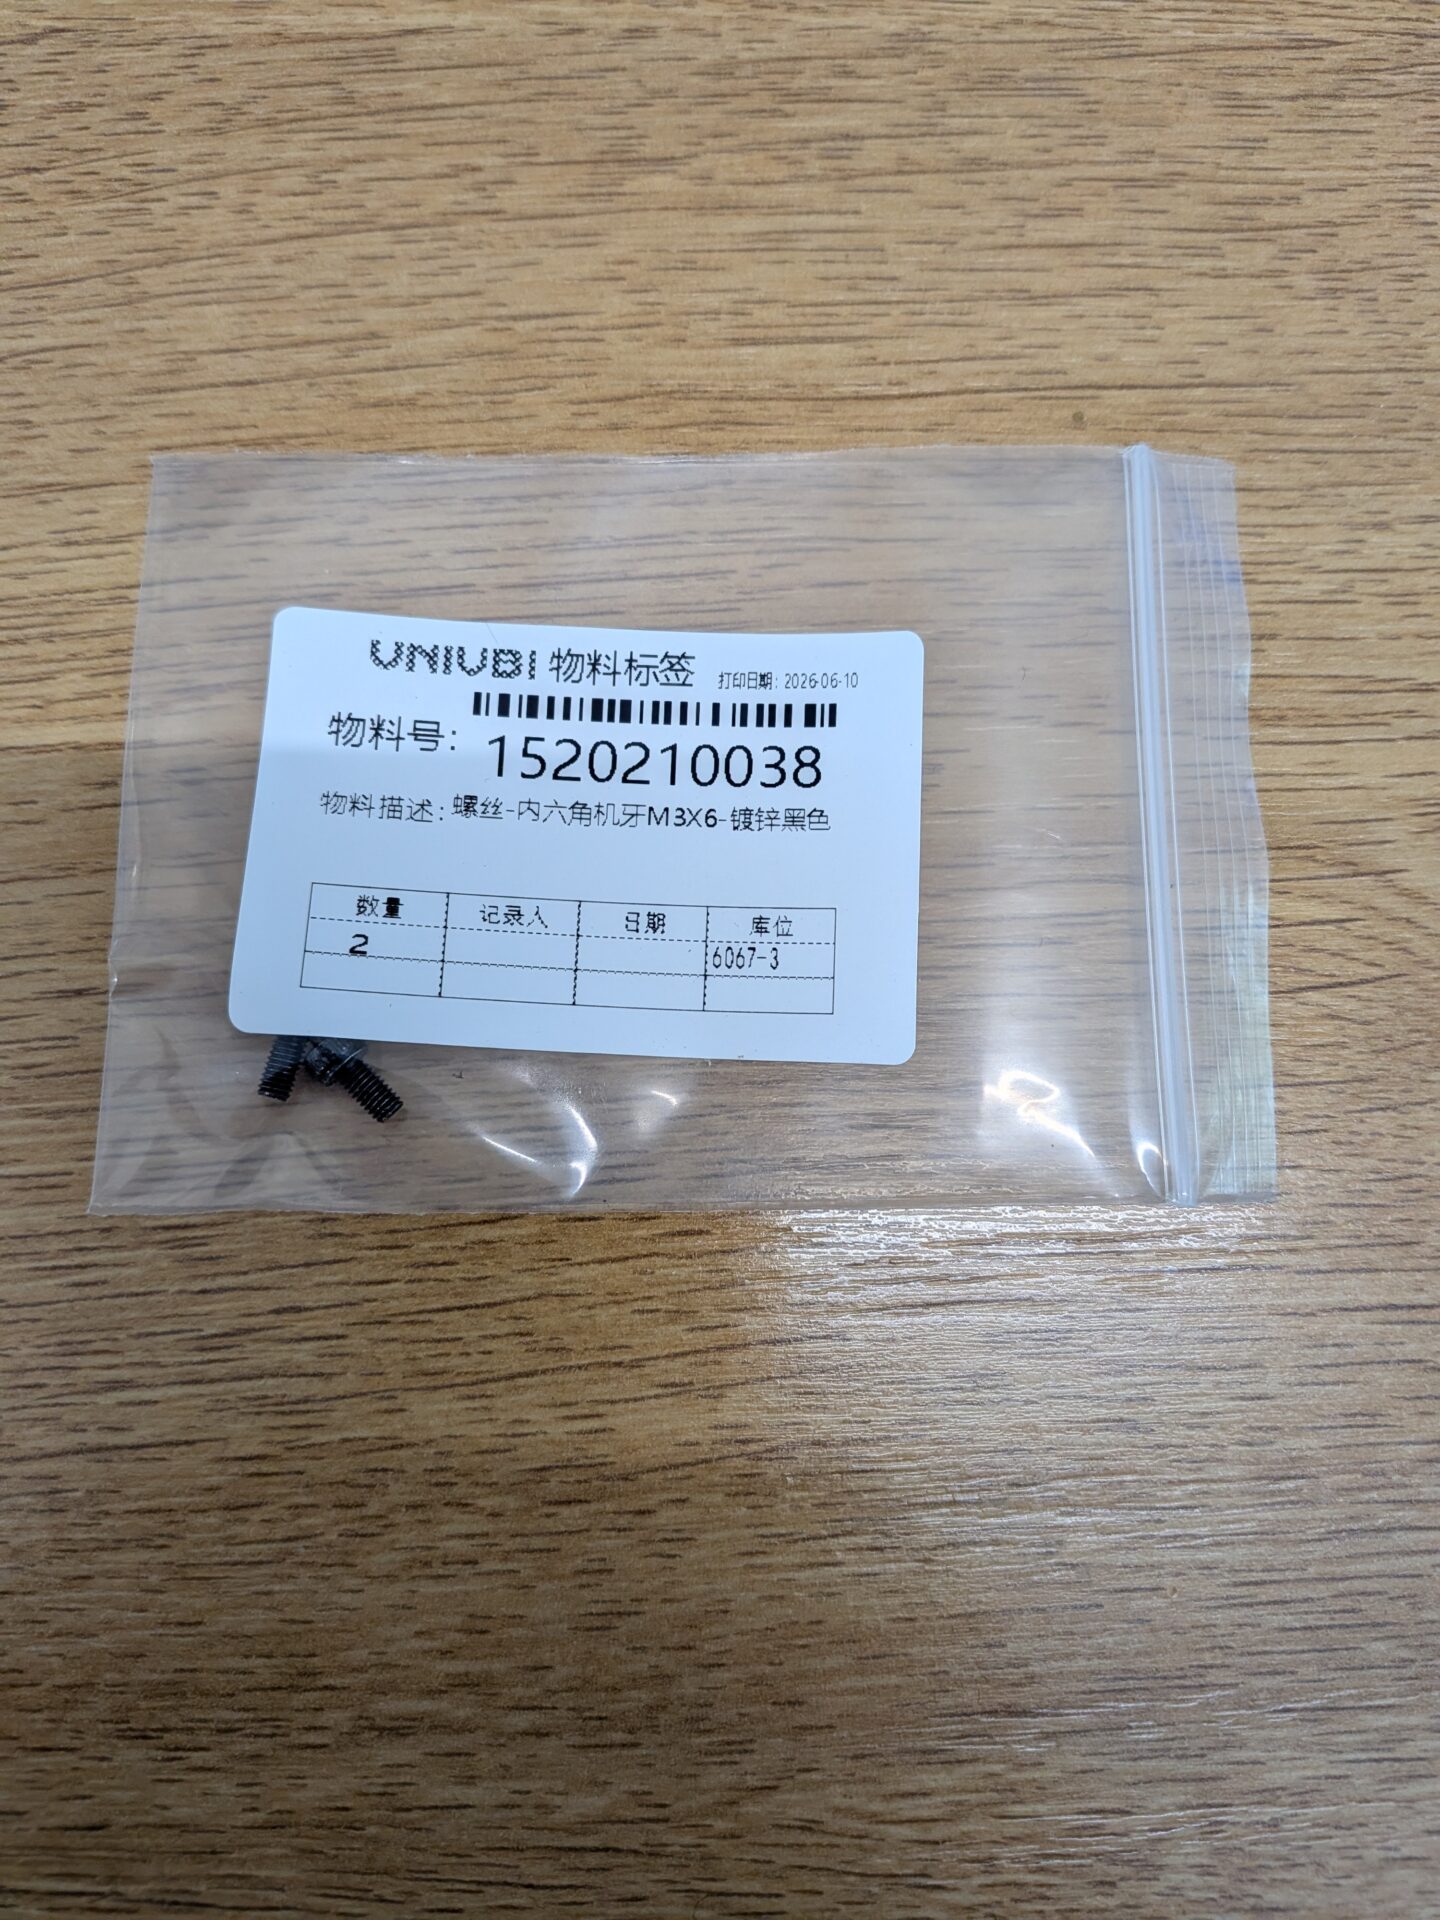
1520210038
2 x black screws with washers
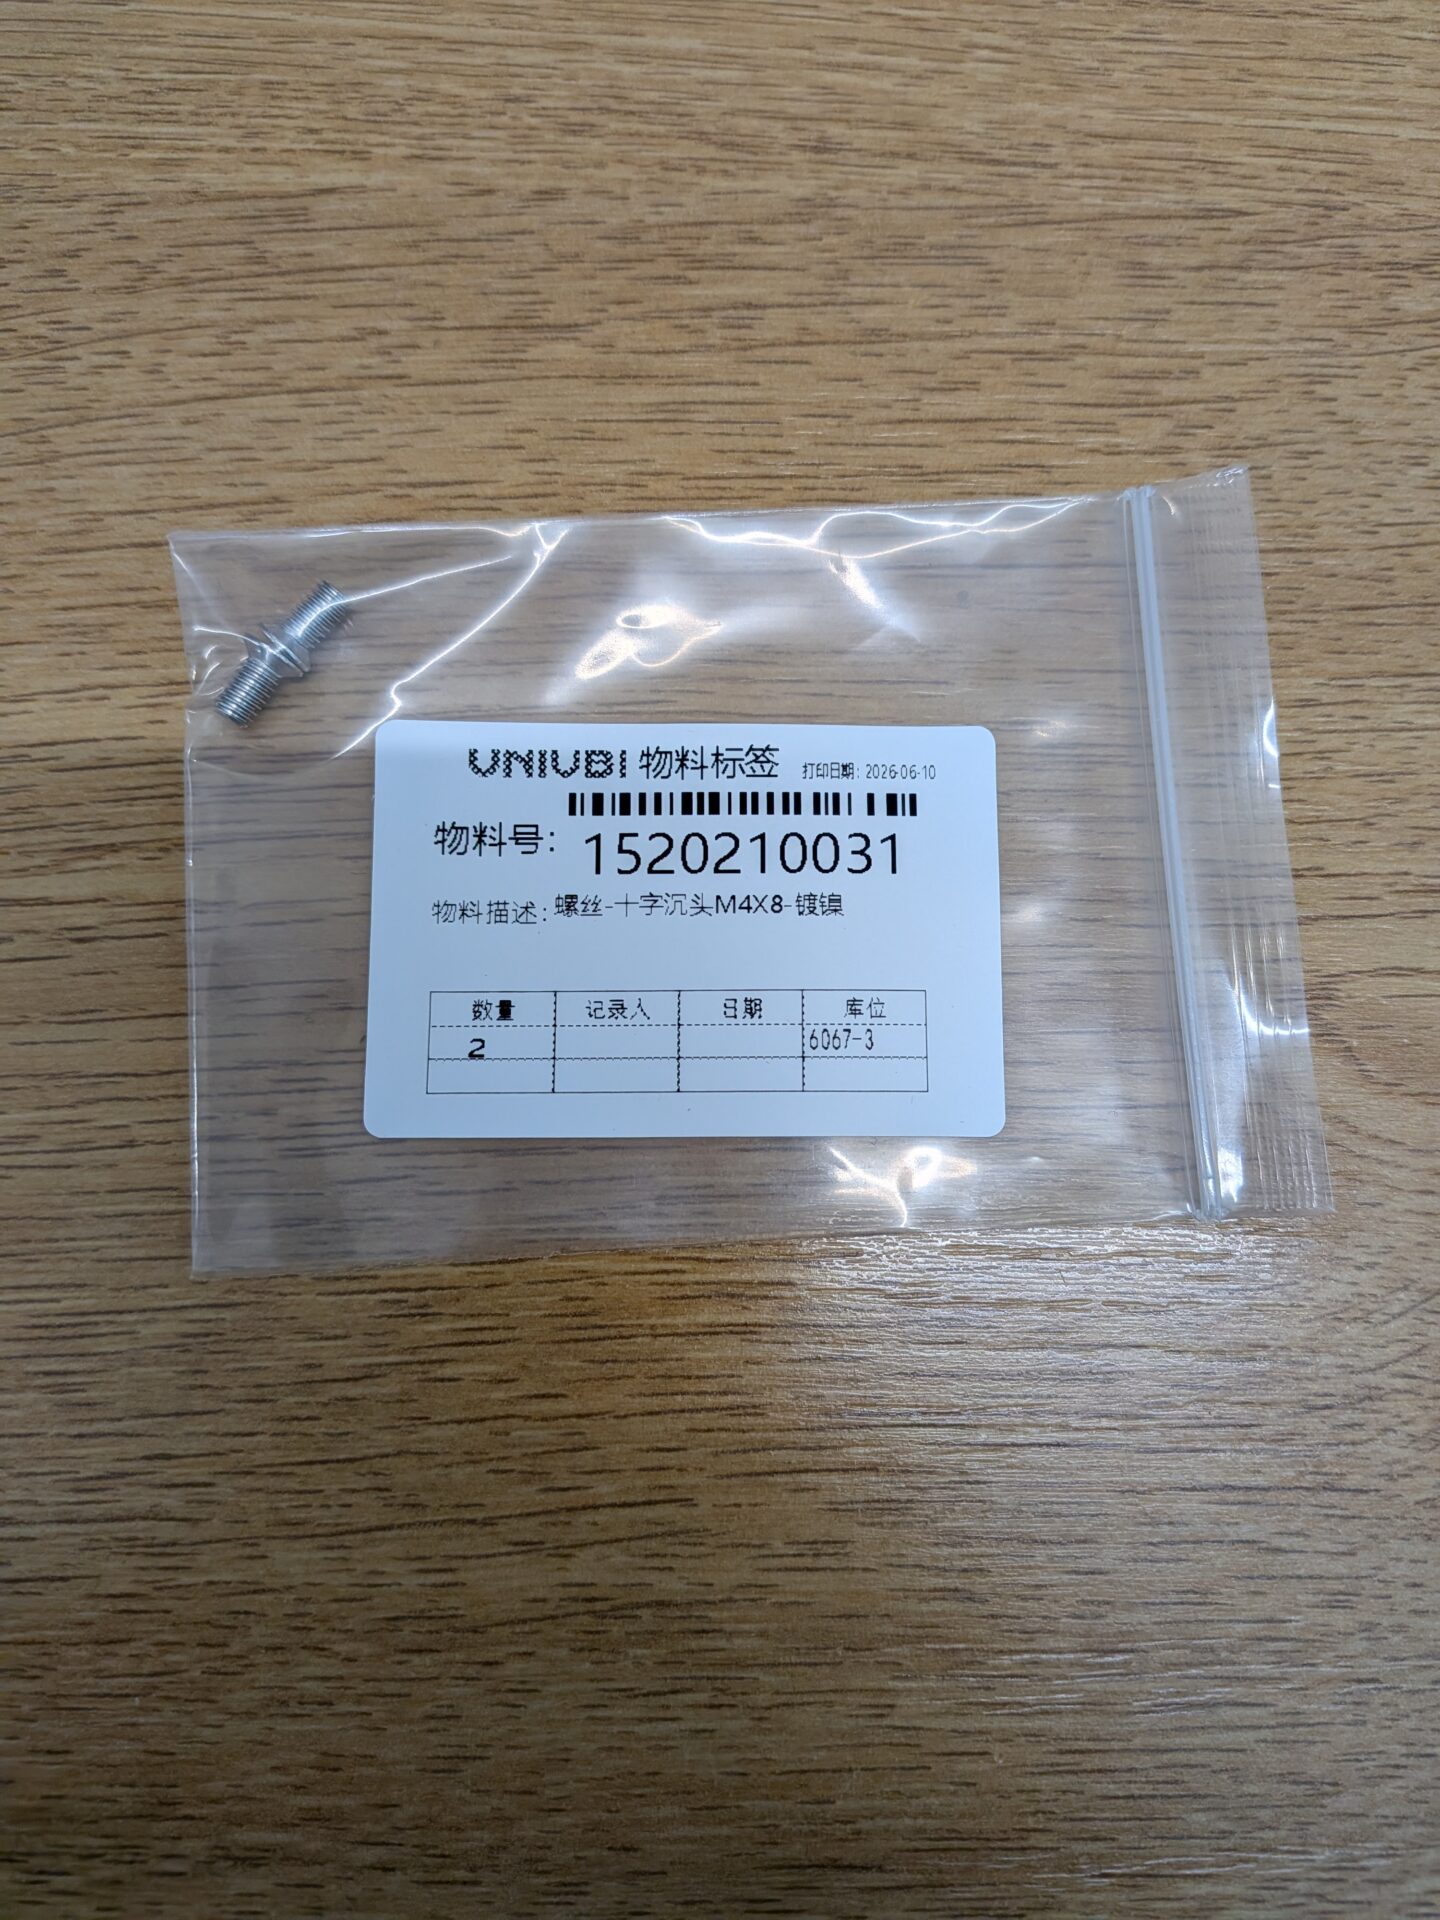
1520210031
2 x silver screws (for use with nuts)
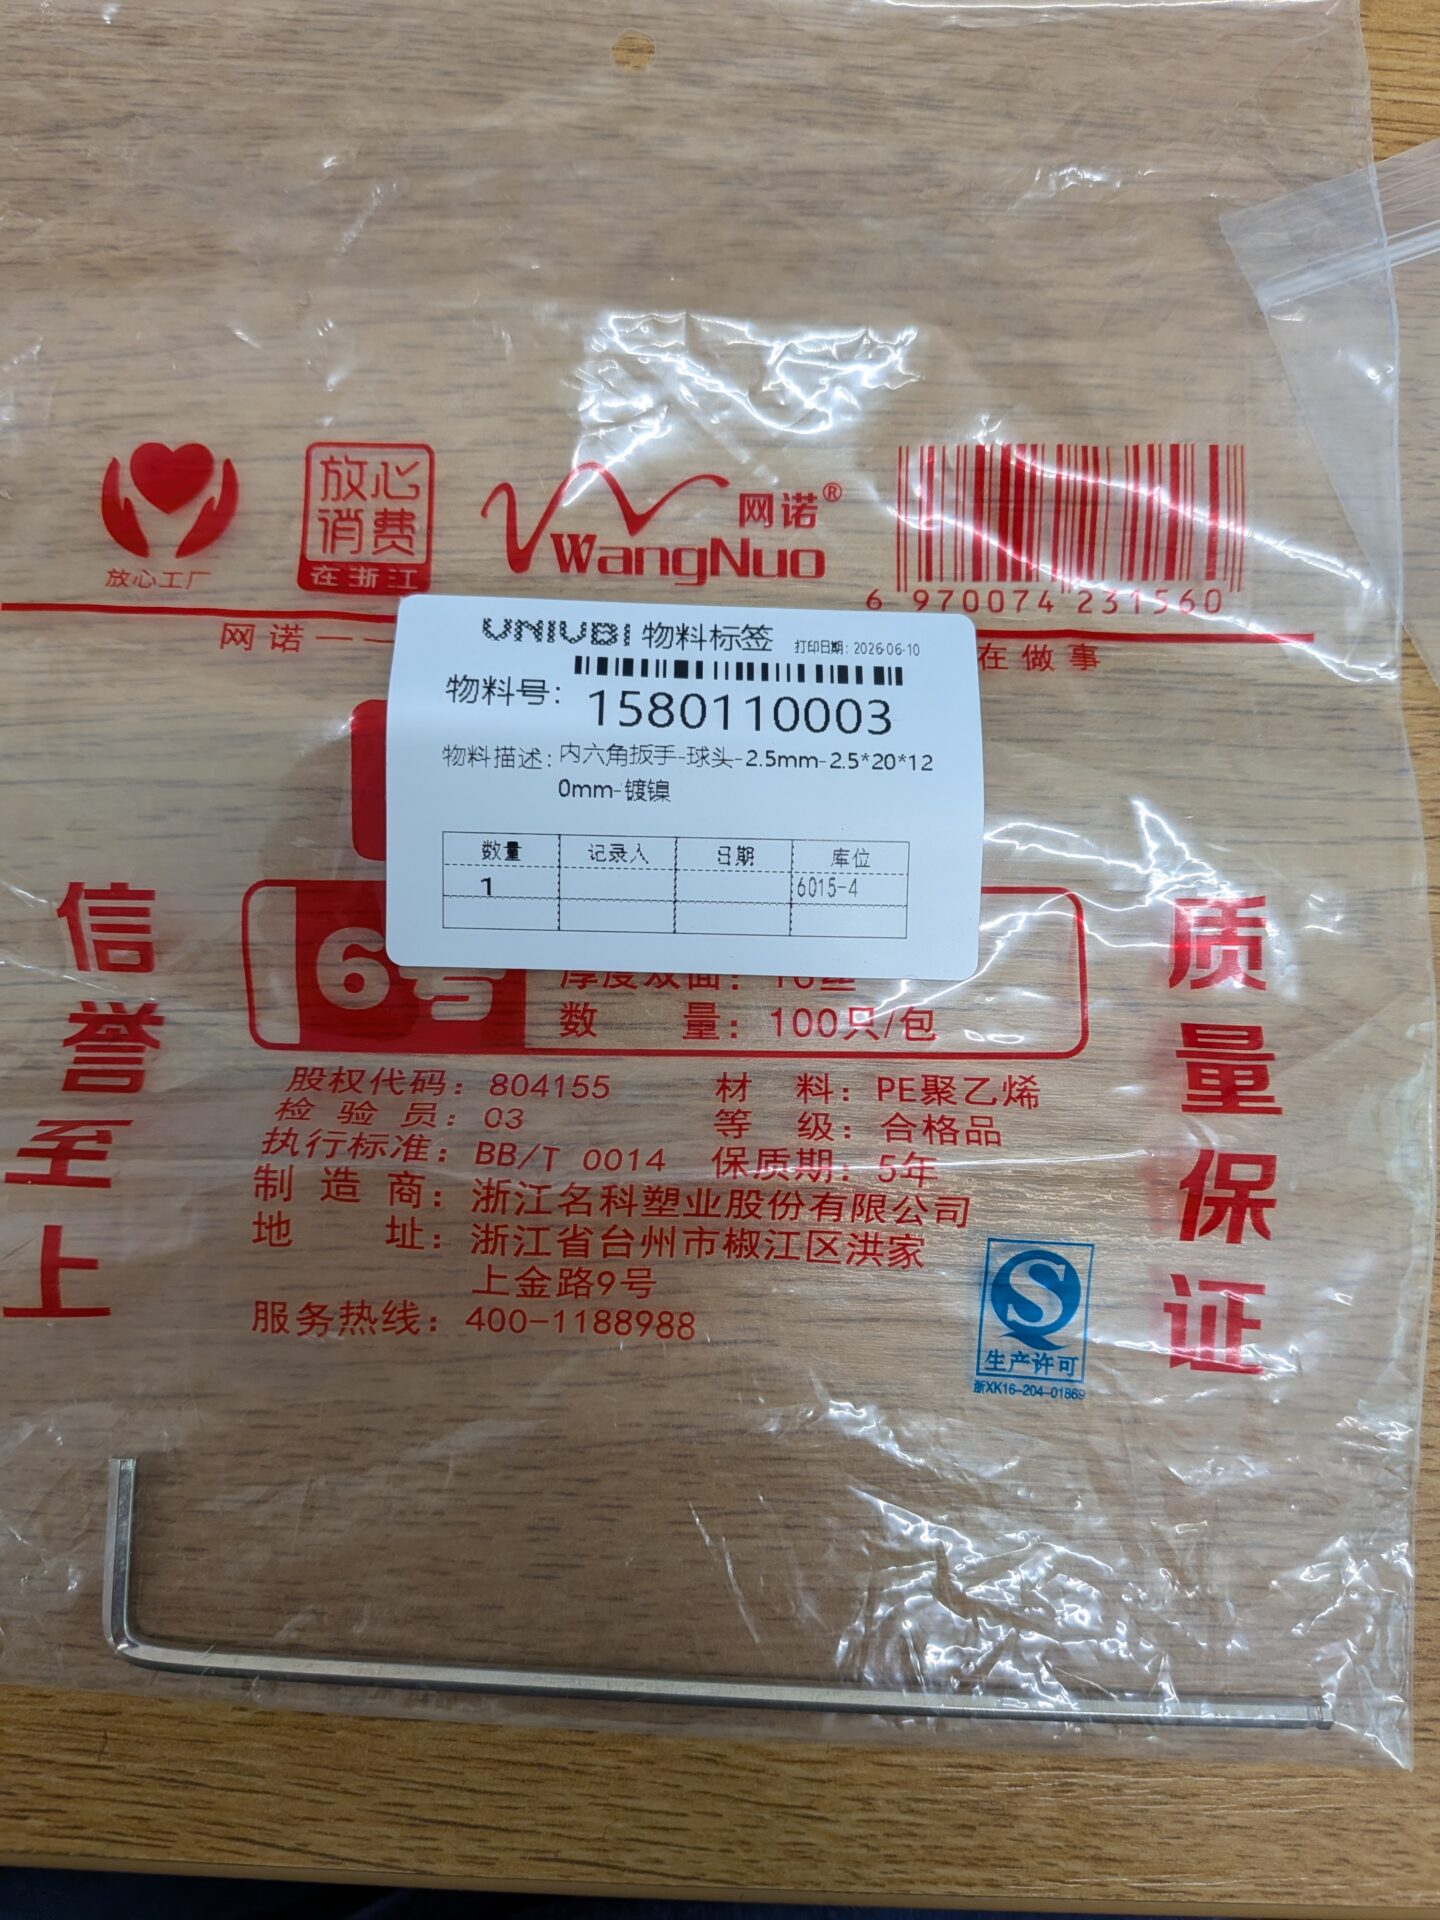
1580110003
1 x Allen key
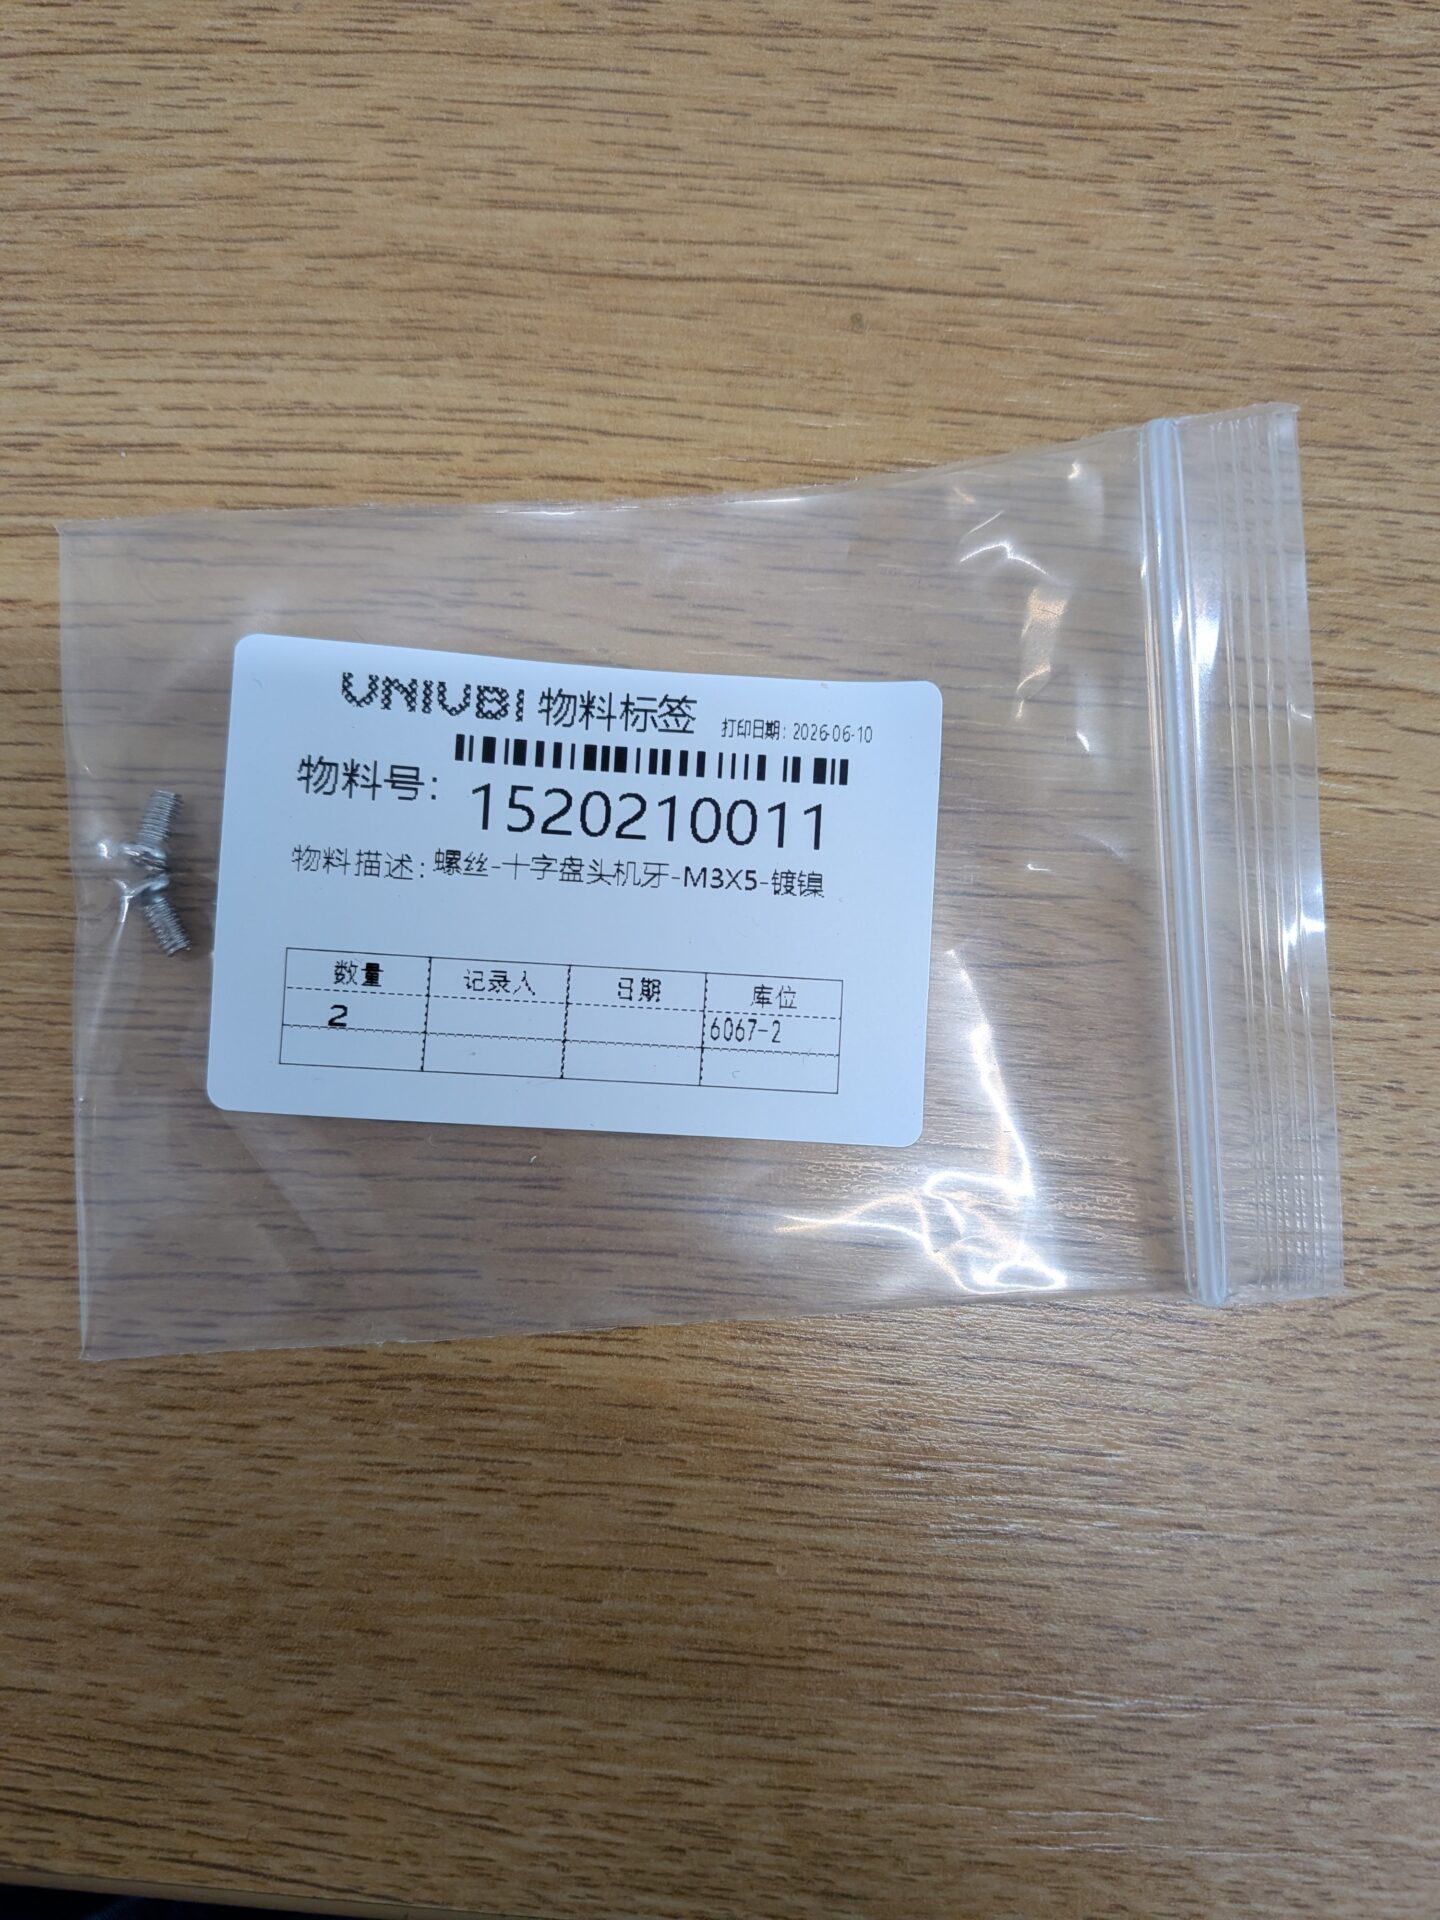
1530110095
1 x tightening ring
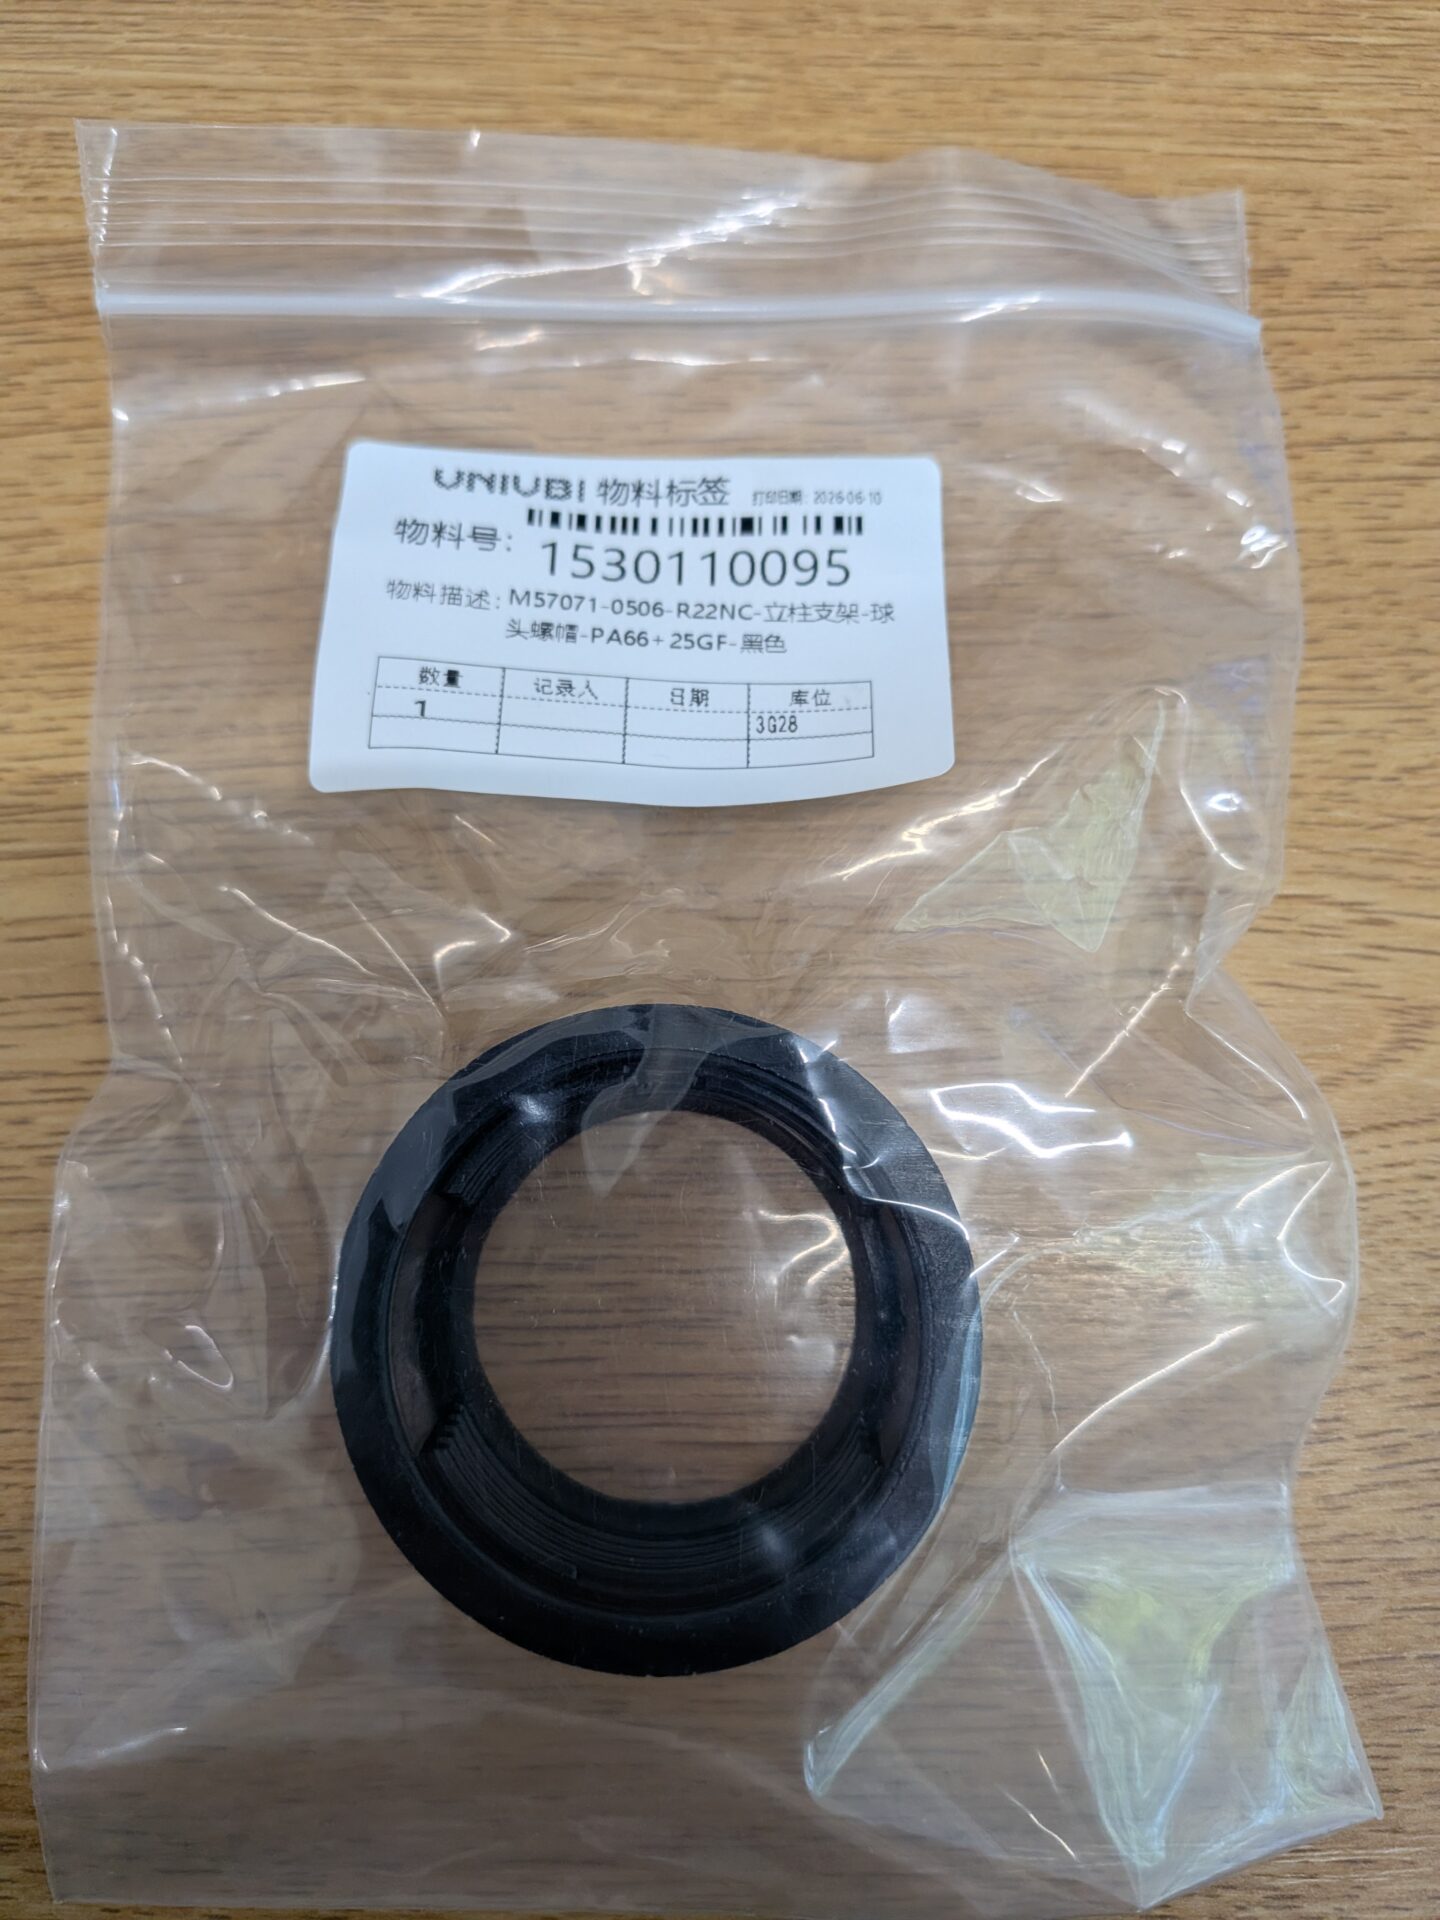
1540110131
1 x wall mounting plate
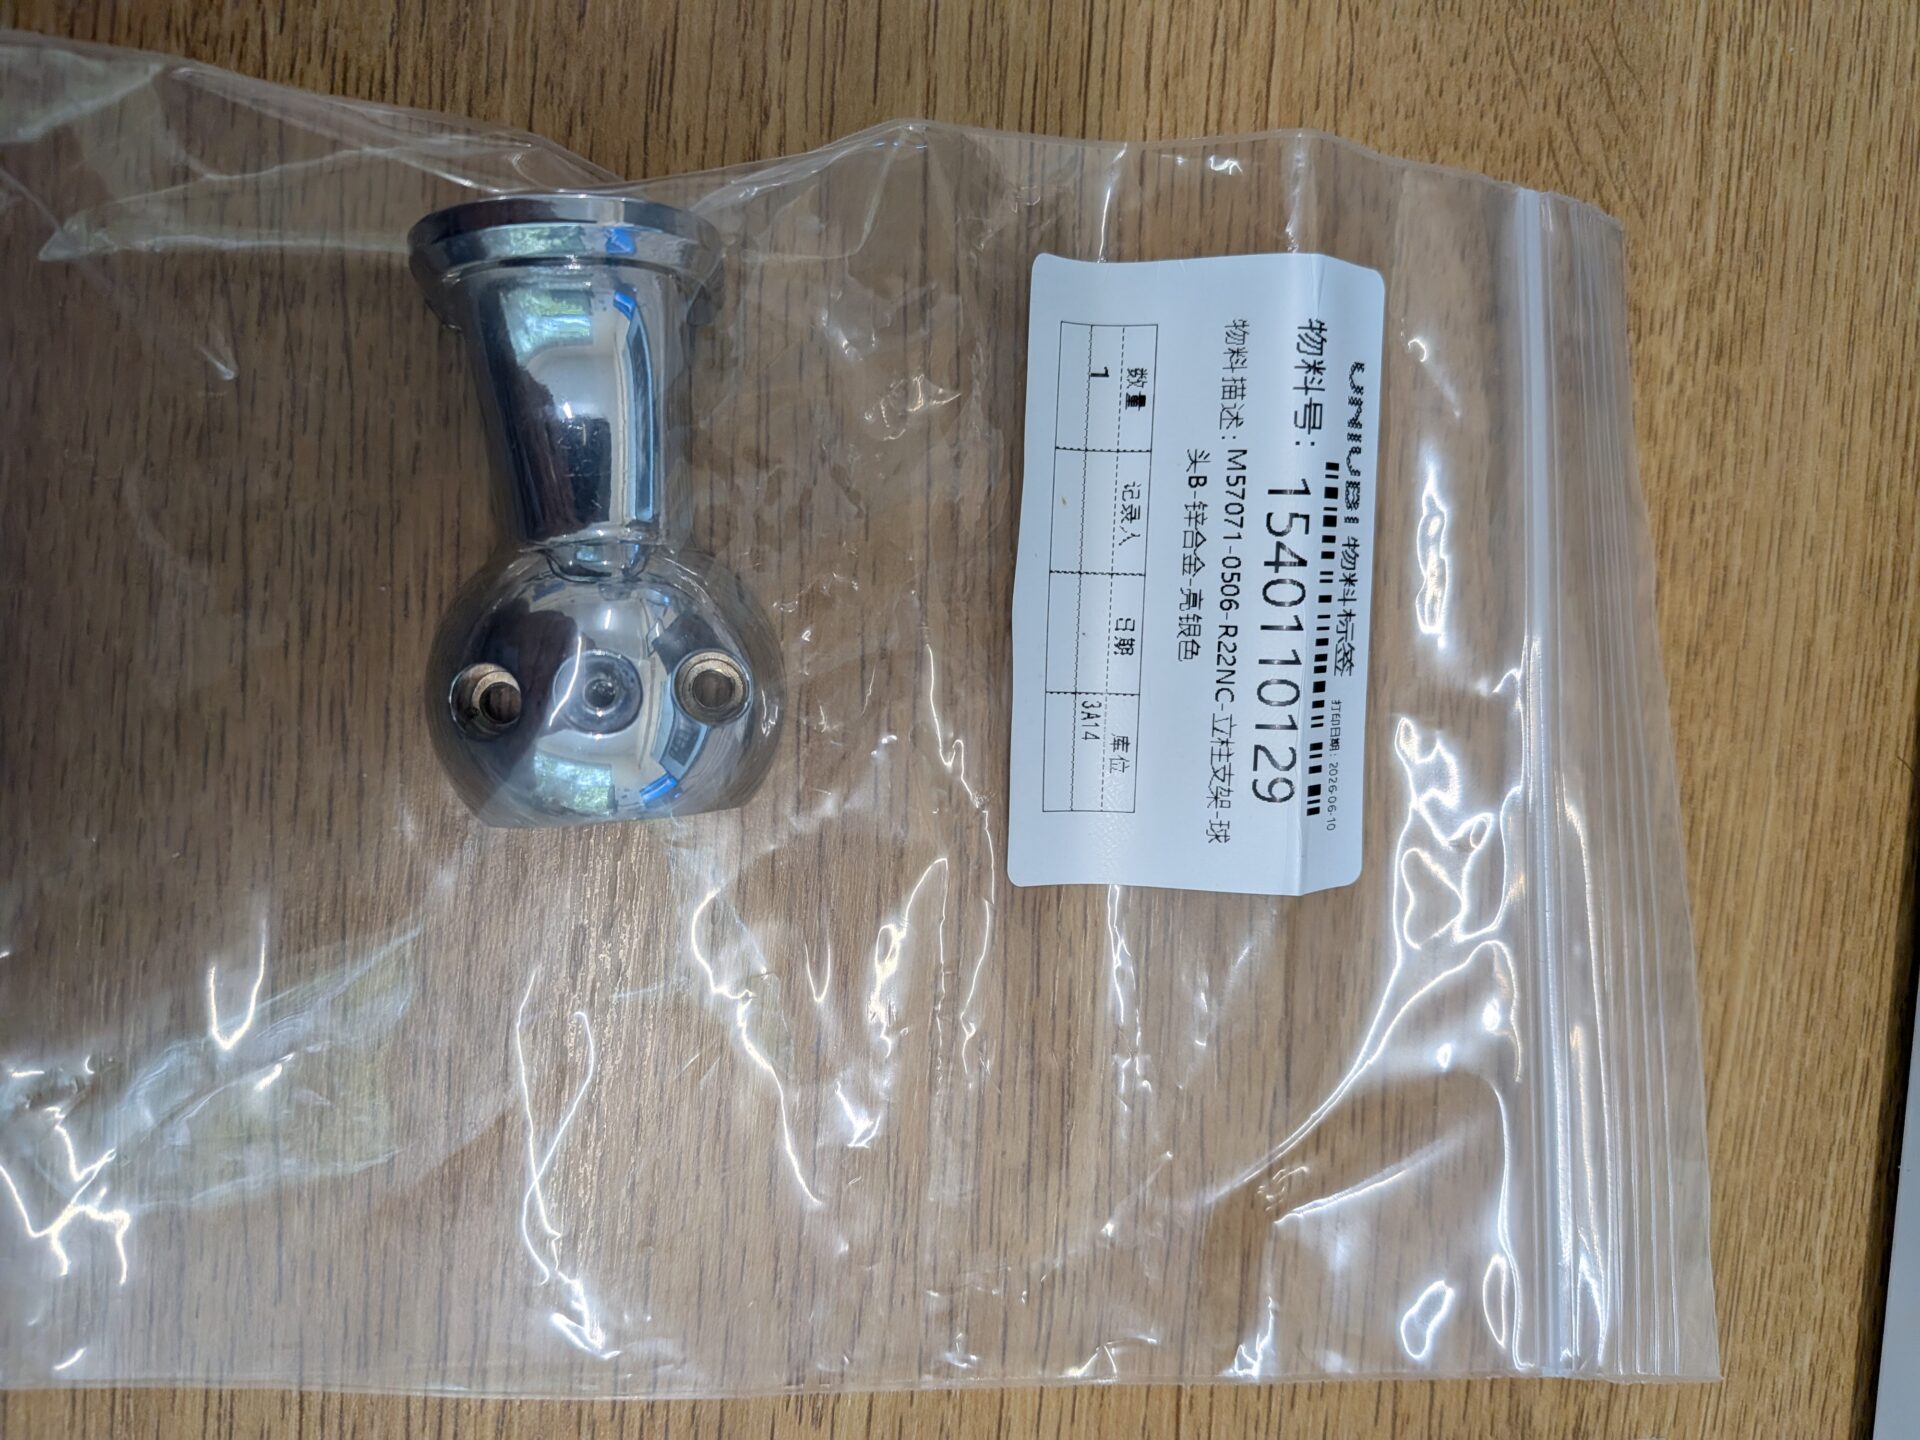
1540110129
1 x half ball mount
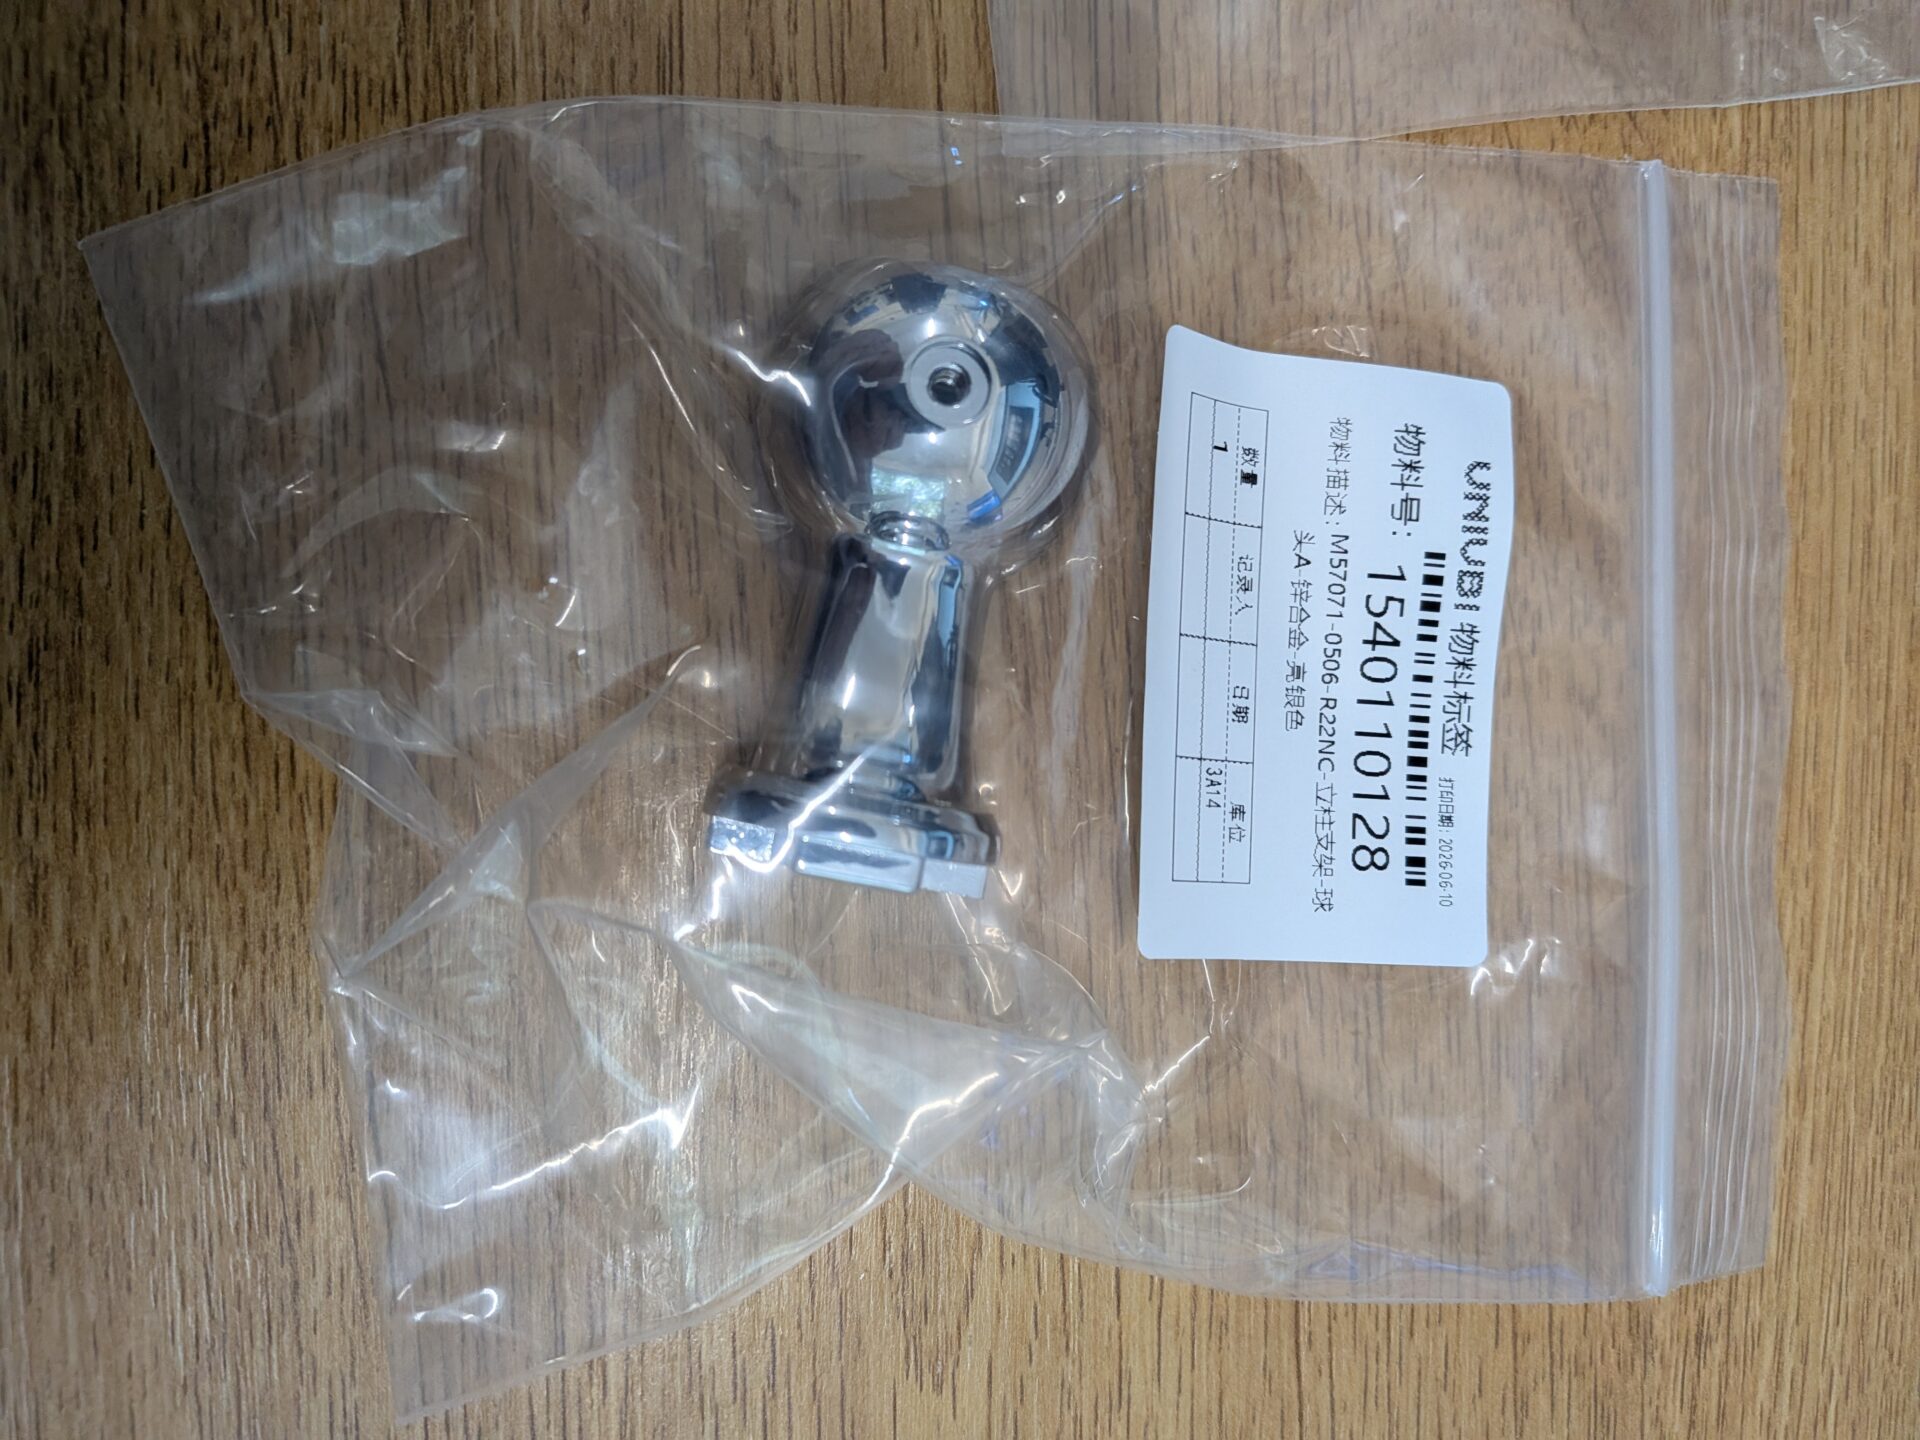
1540110128
1 x half ball mount
1 x black back plate ball connector
Step 1: Remove the UFace 8 Pro Back Plate
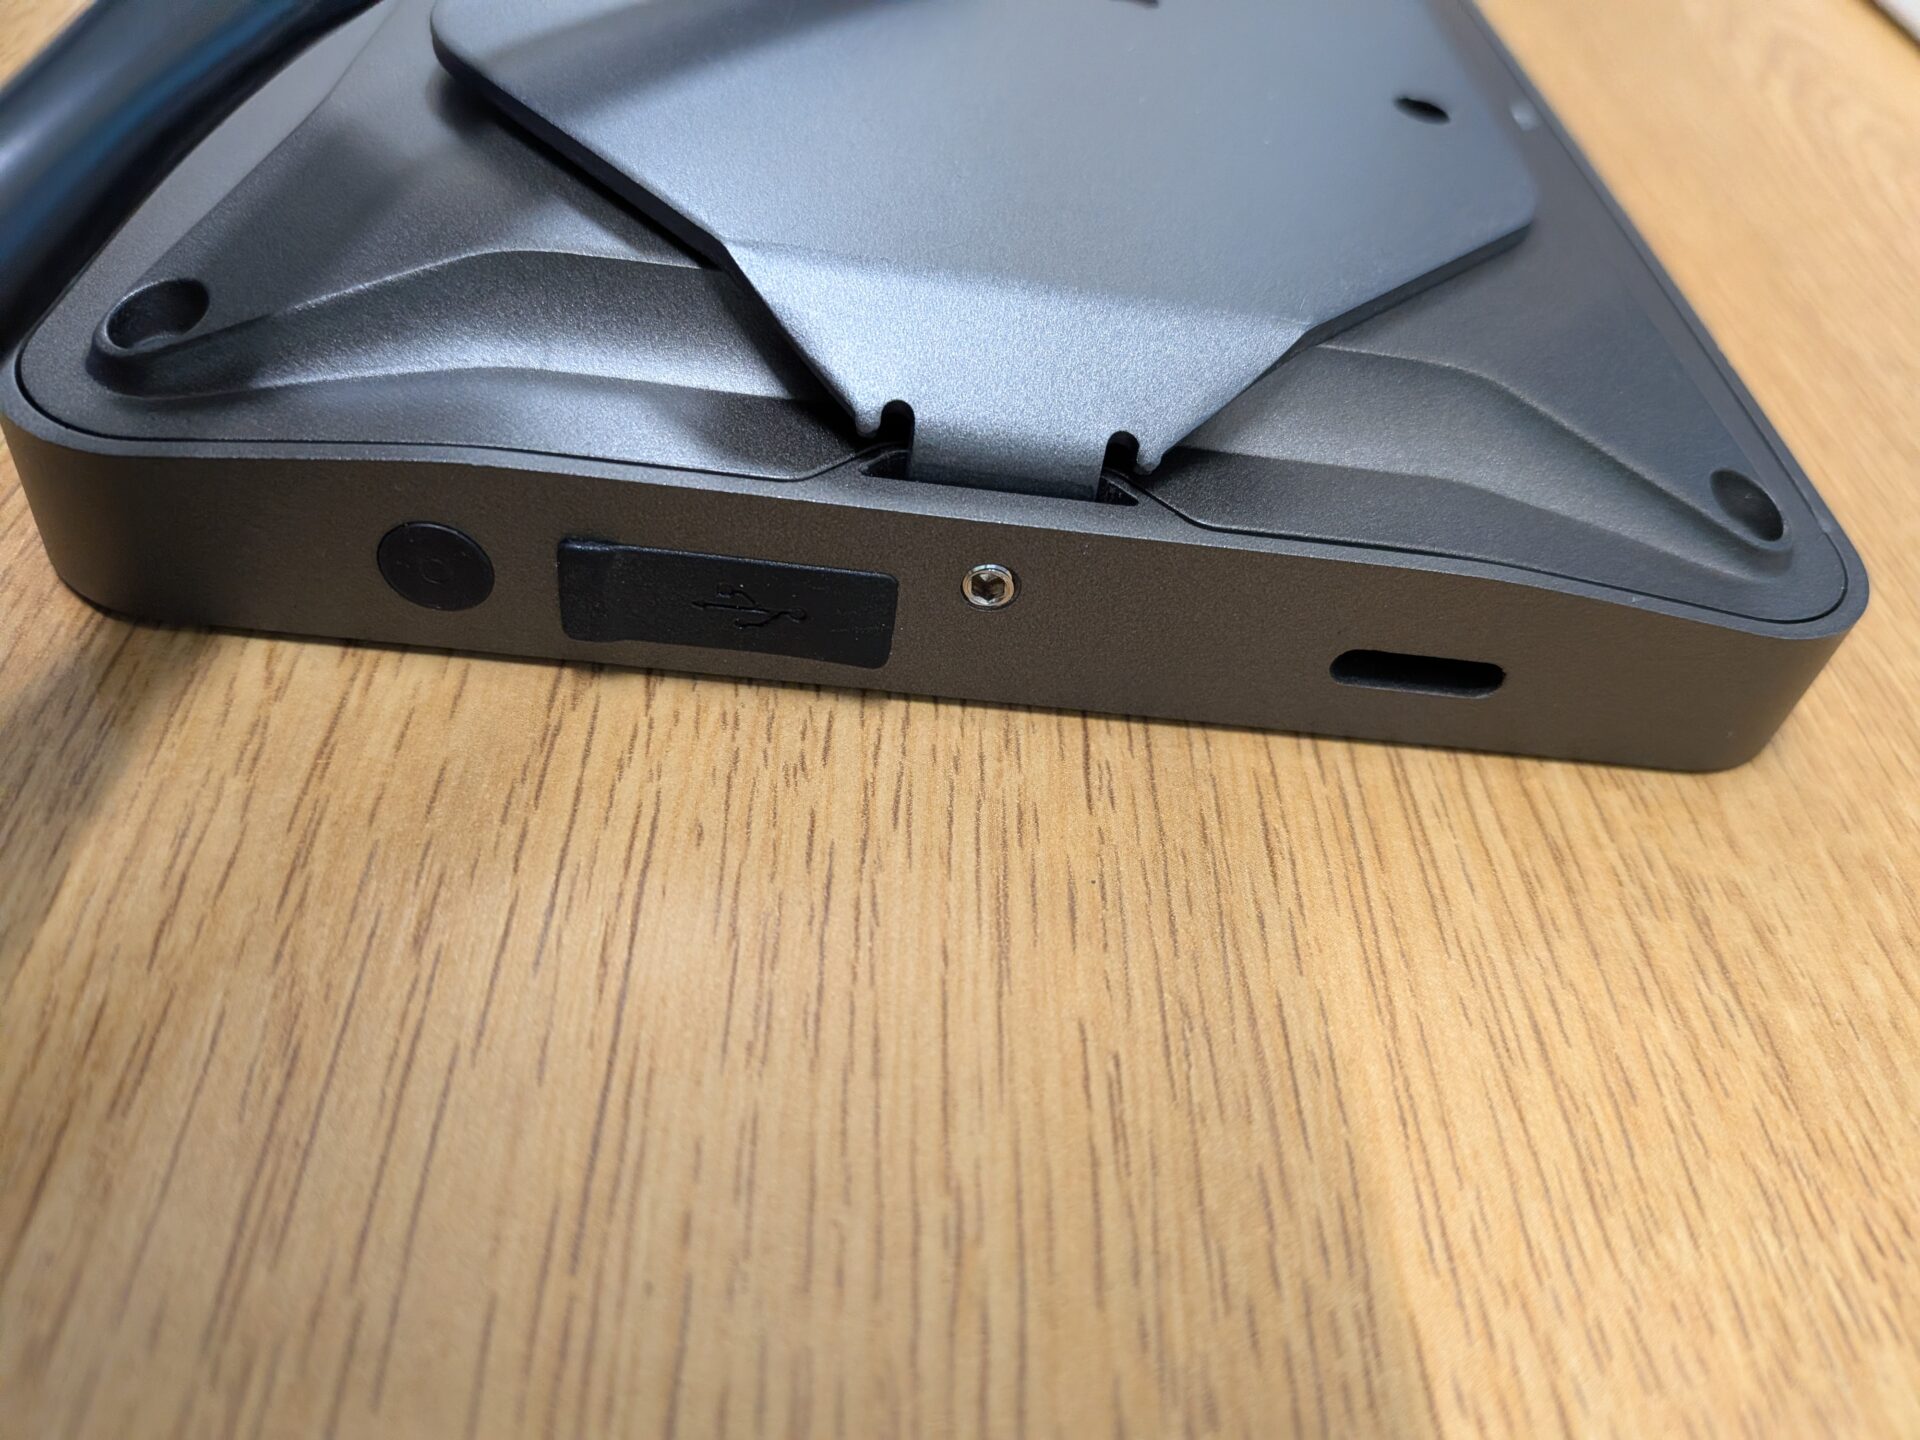
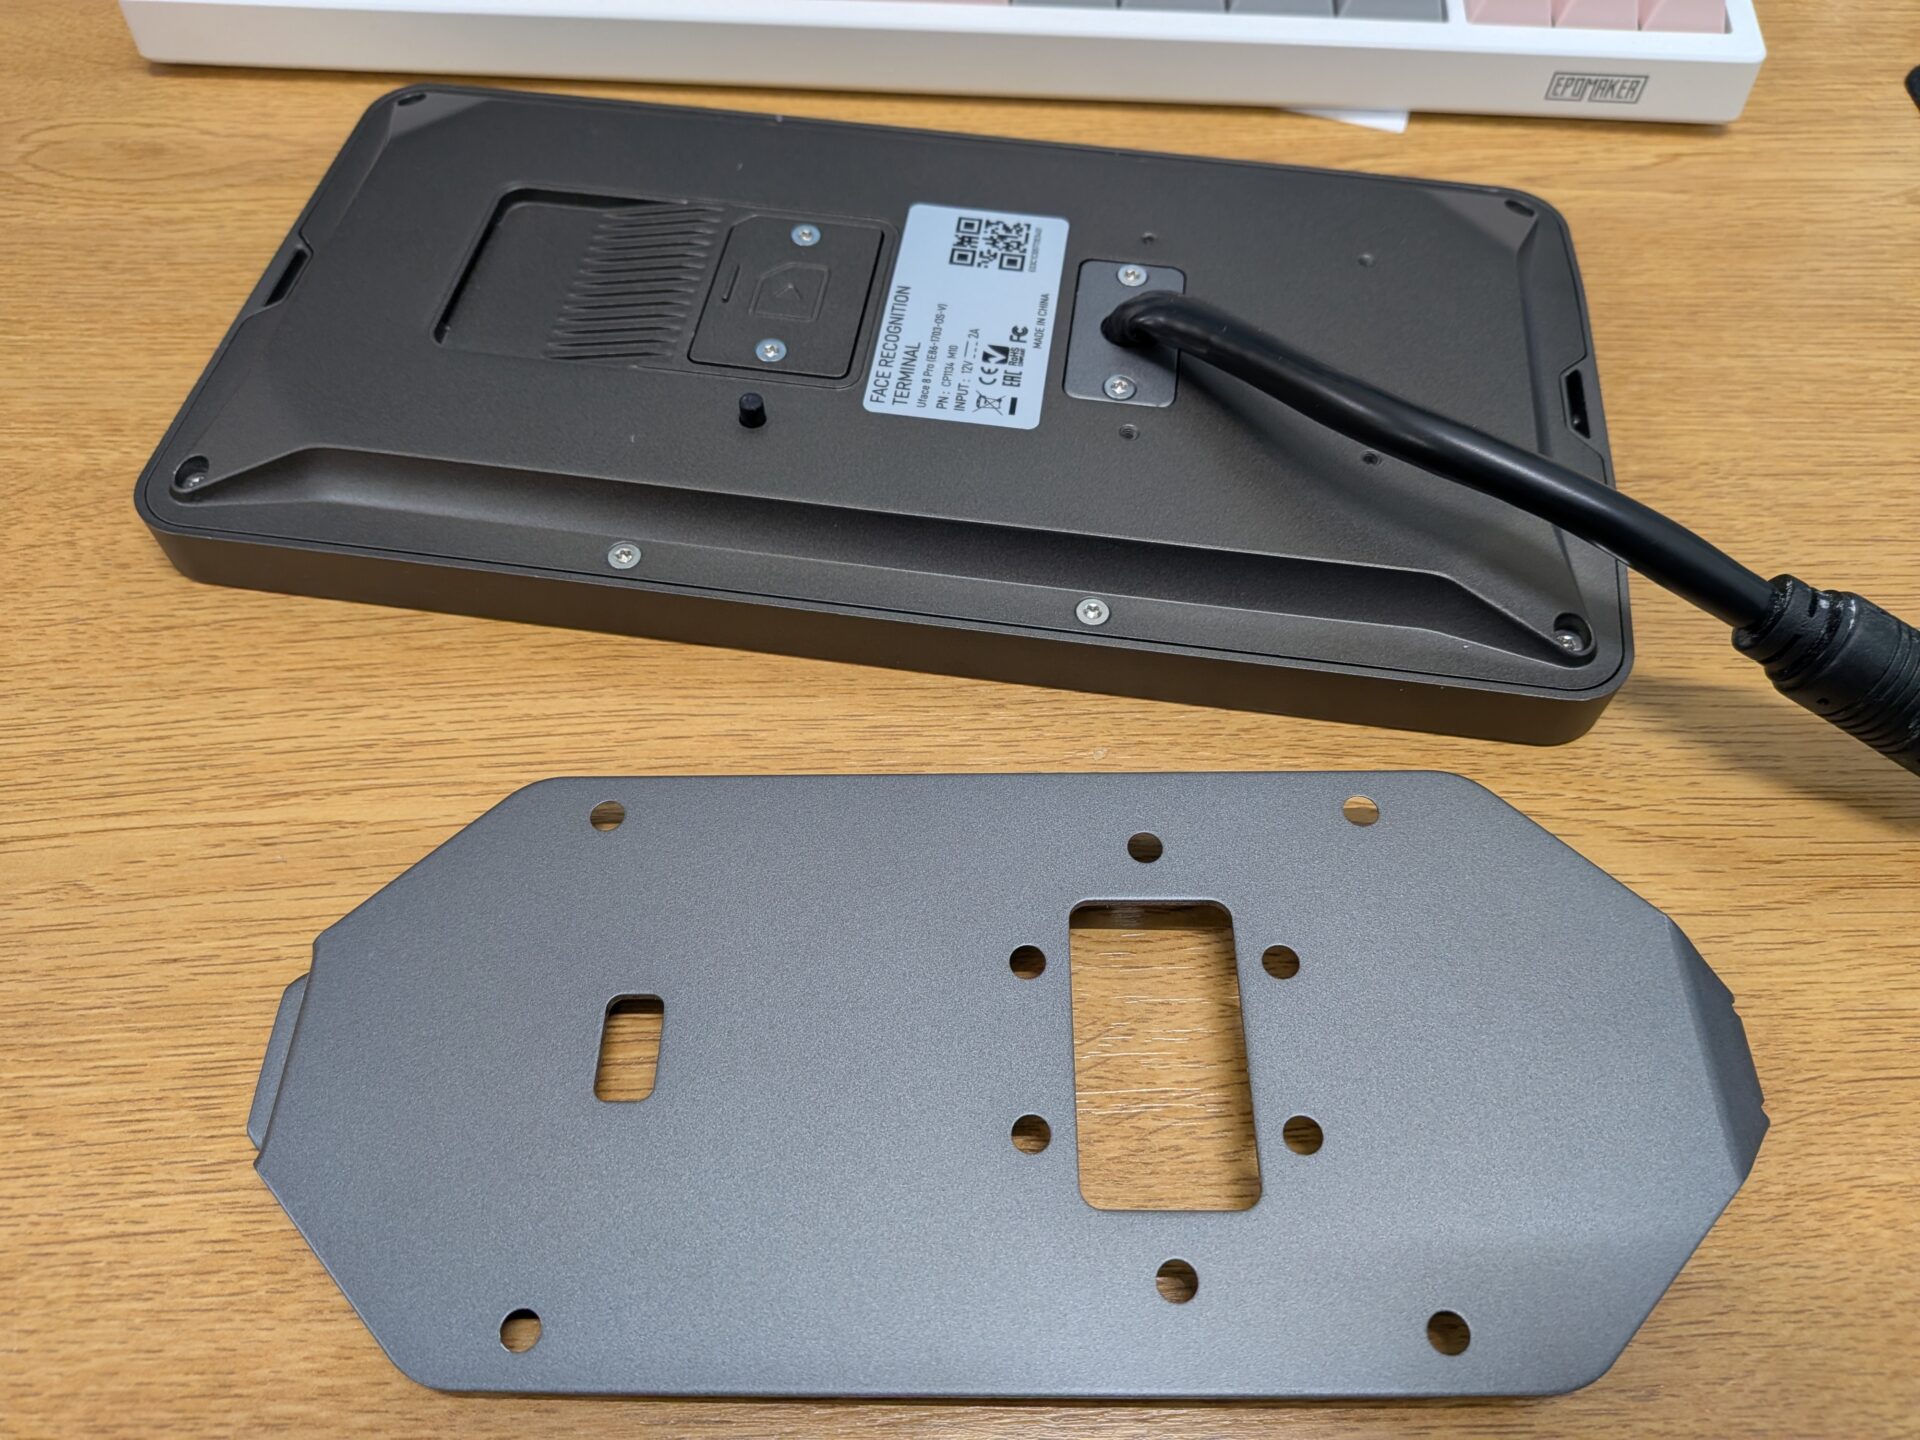
Loosen the bottom nut holding the UFace 8 Pro back plate in place and remove it, threading the cables through the hole as you go. Put the UFace 8 Pro to one side.
Step 2: Attach the Black Back Plate Ball Connector
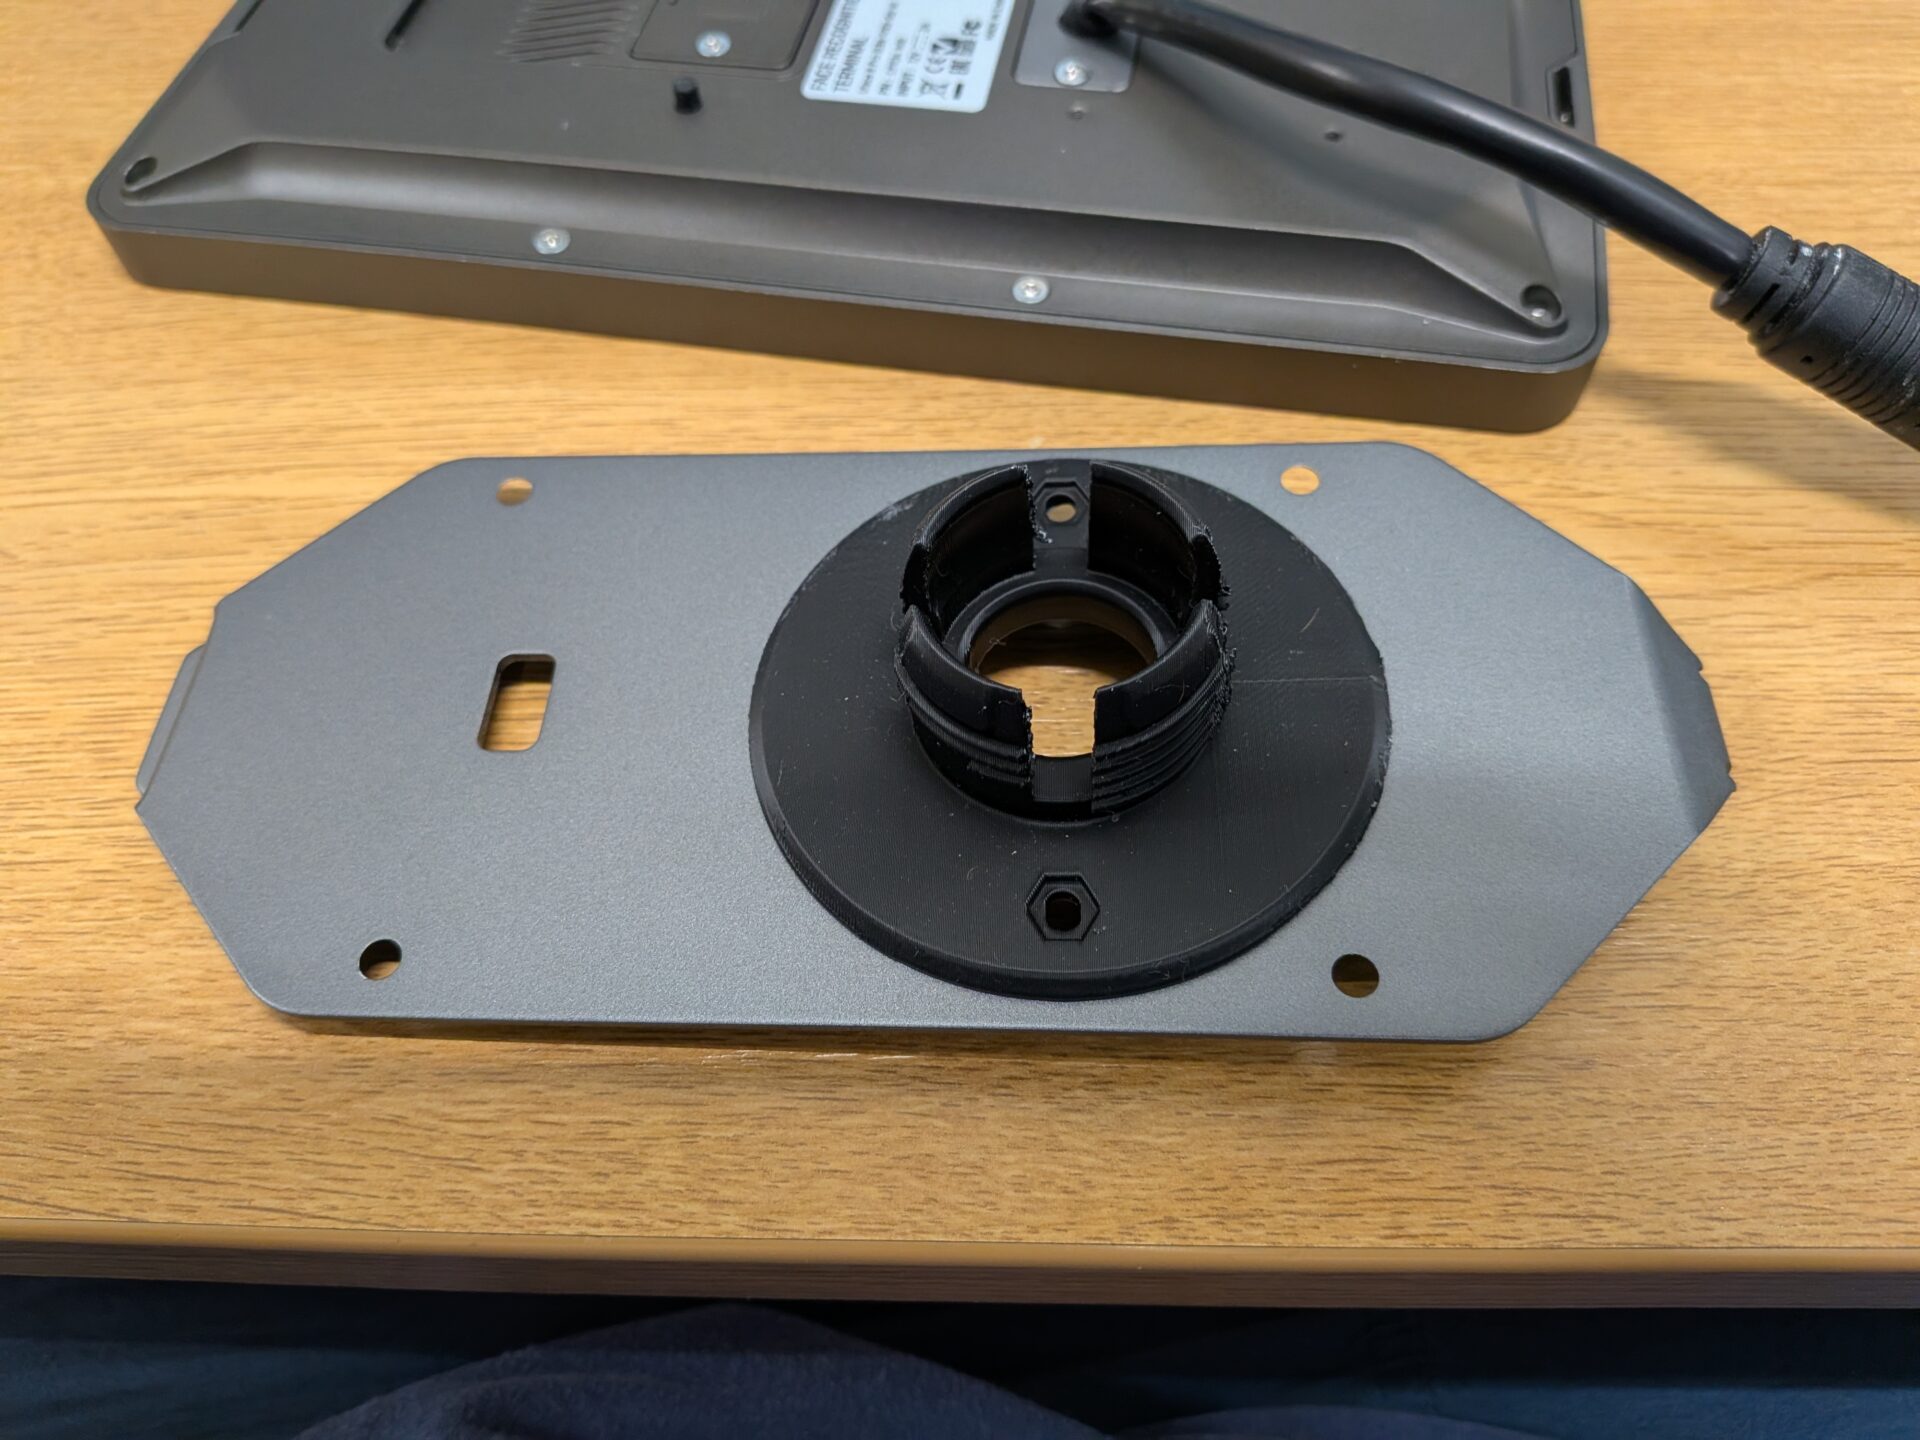
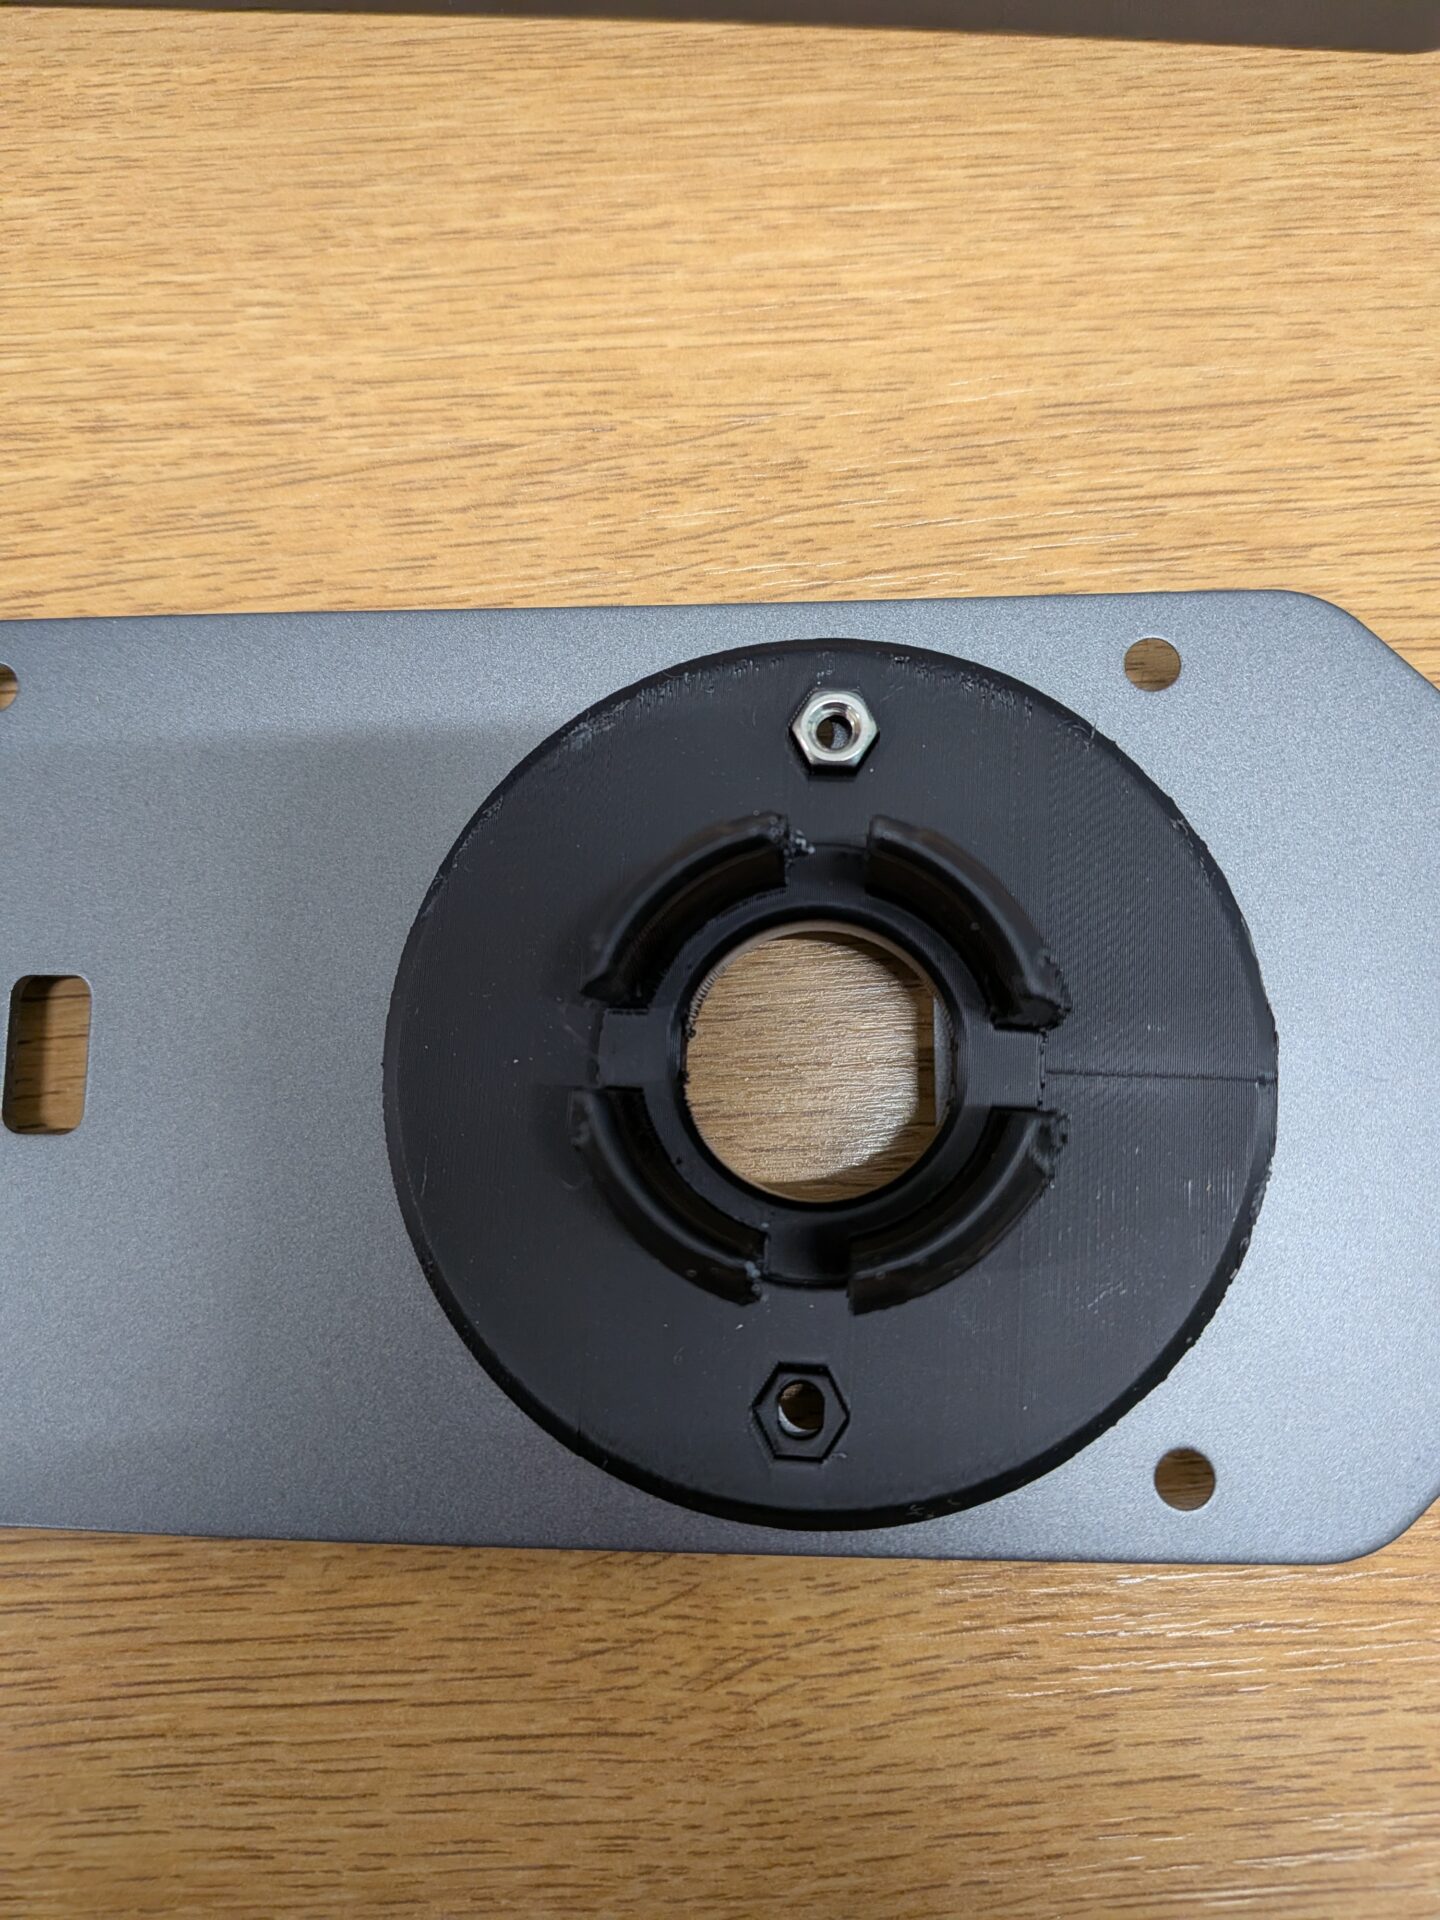
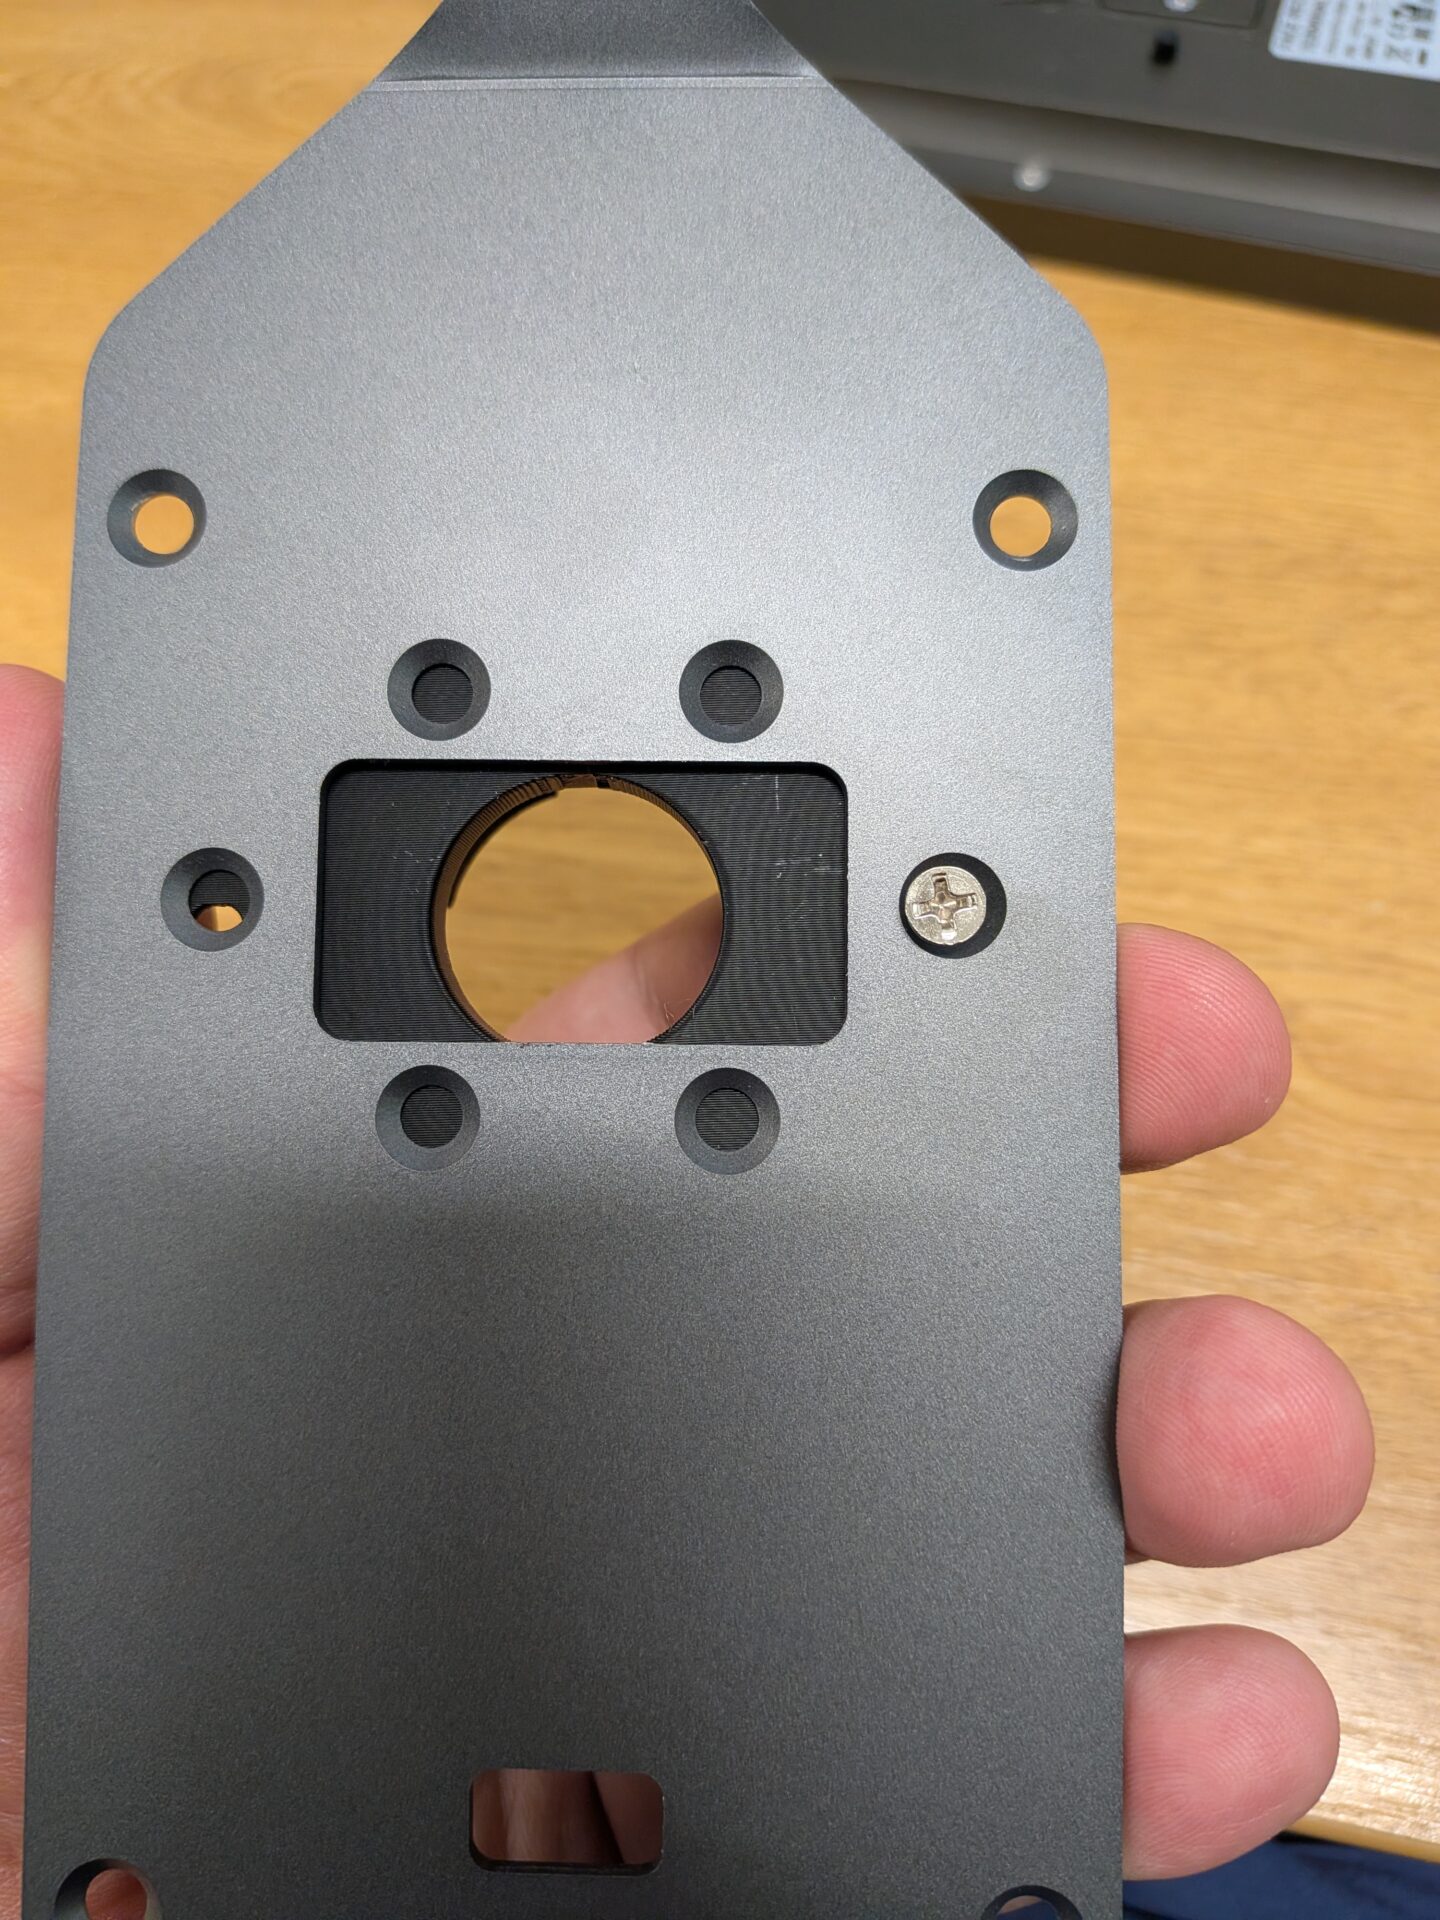
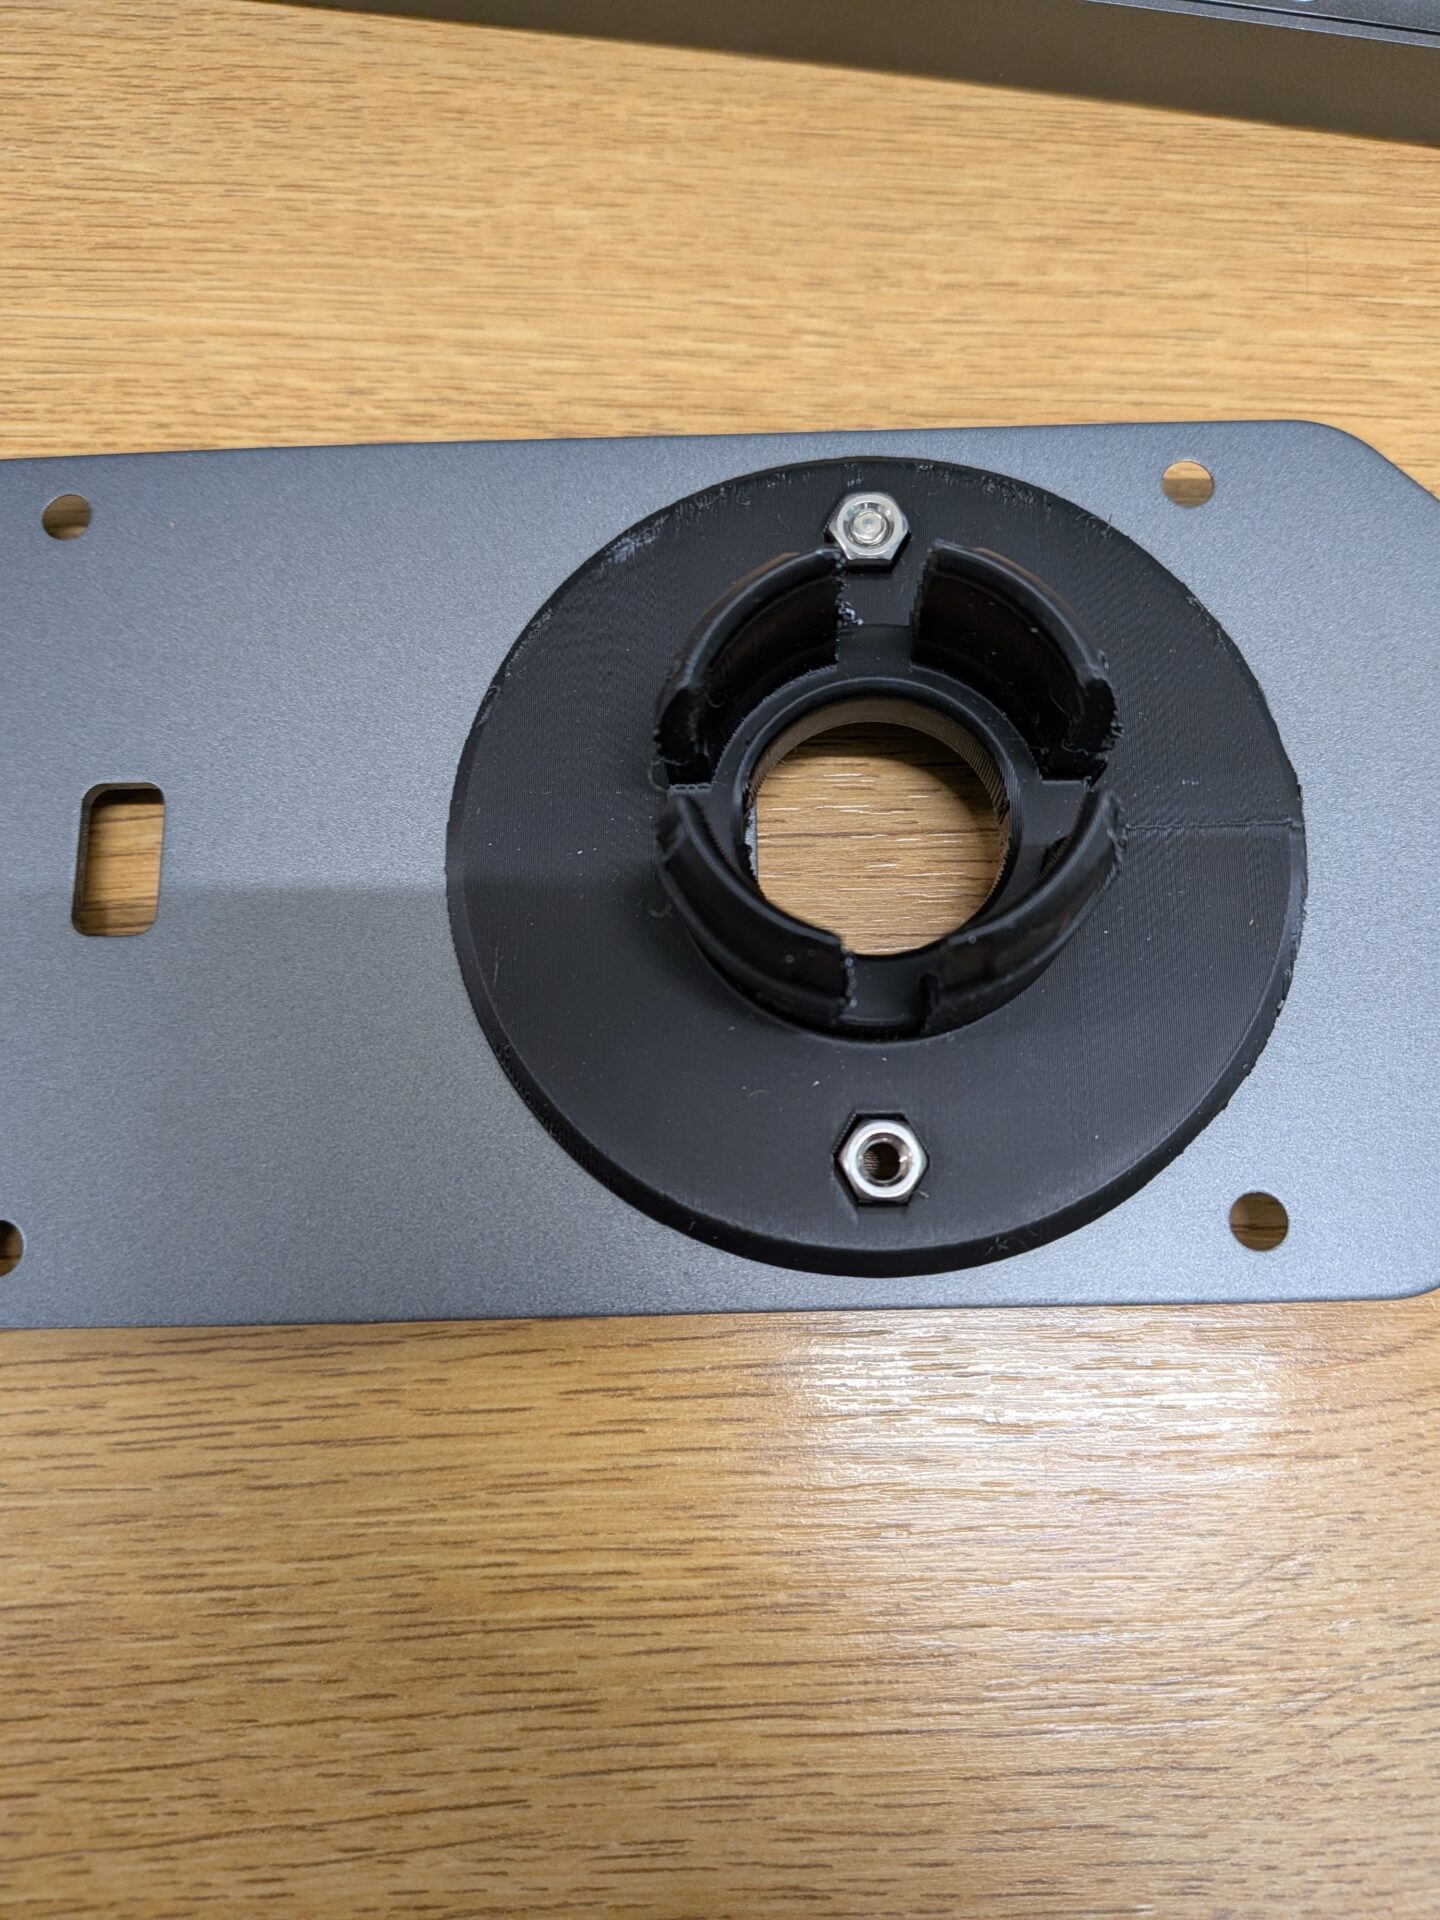
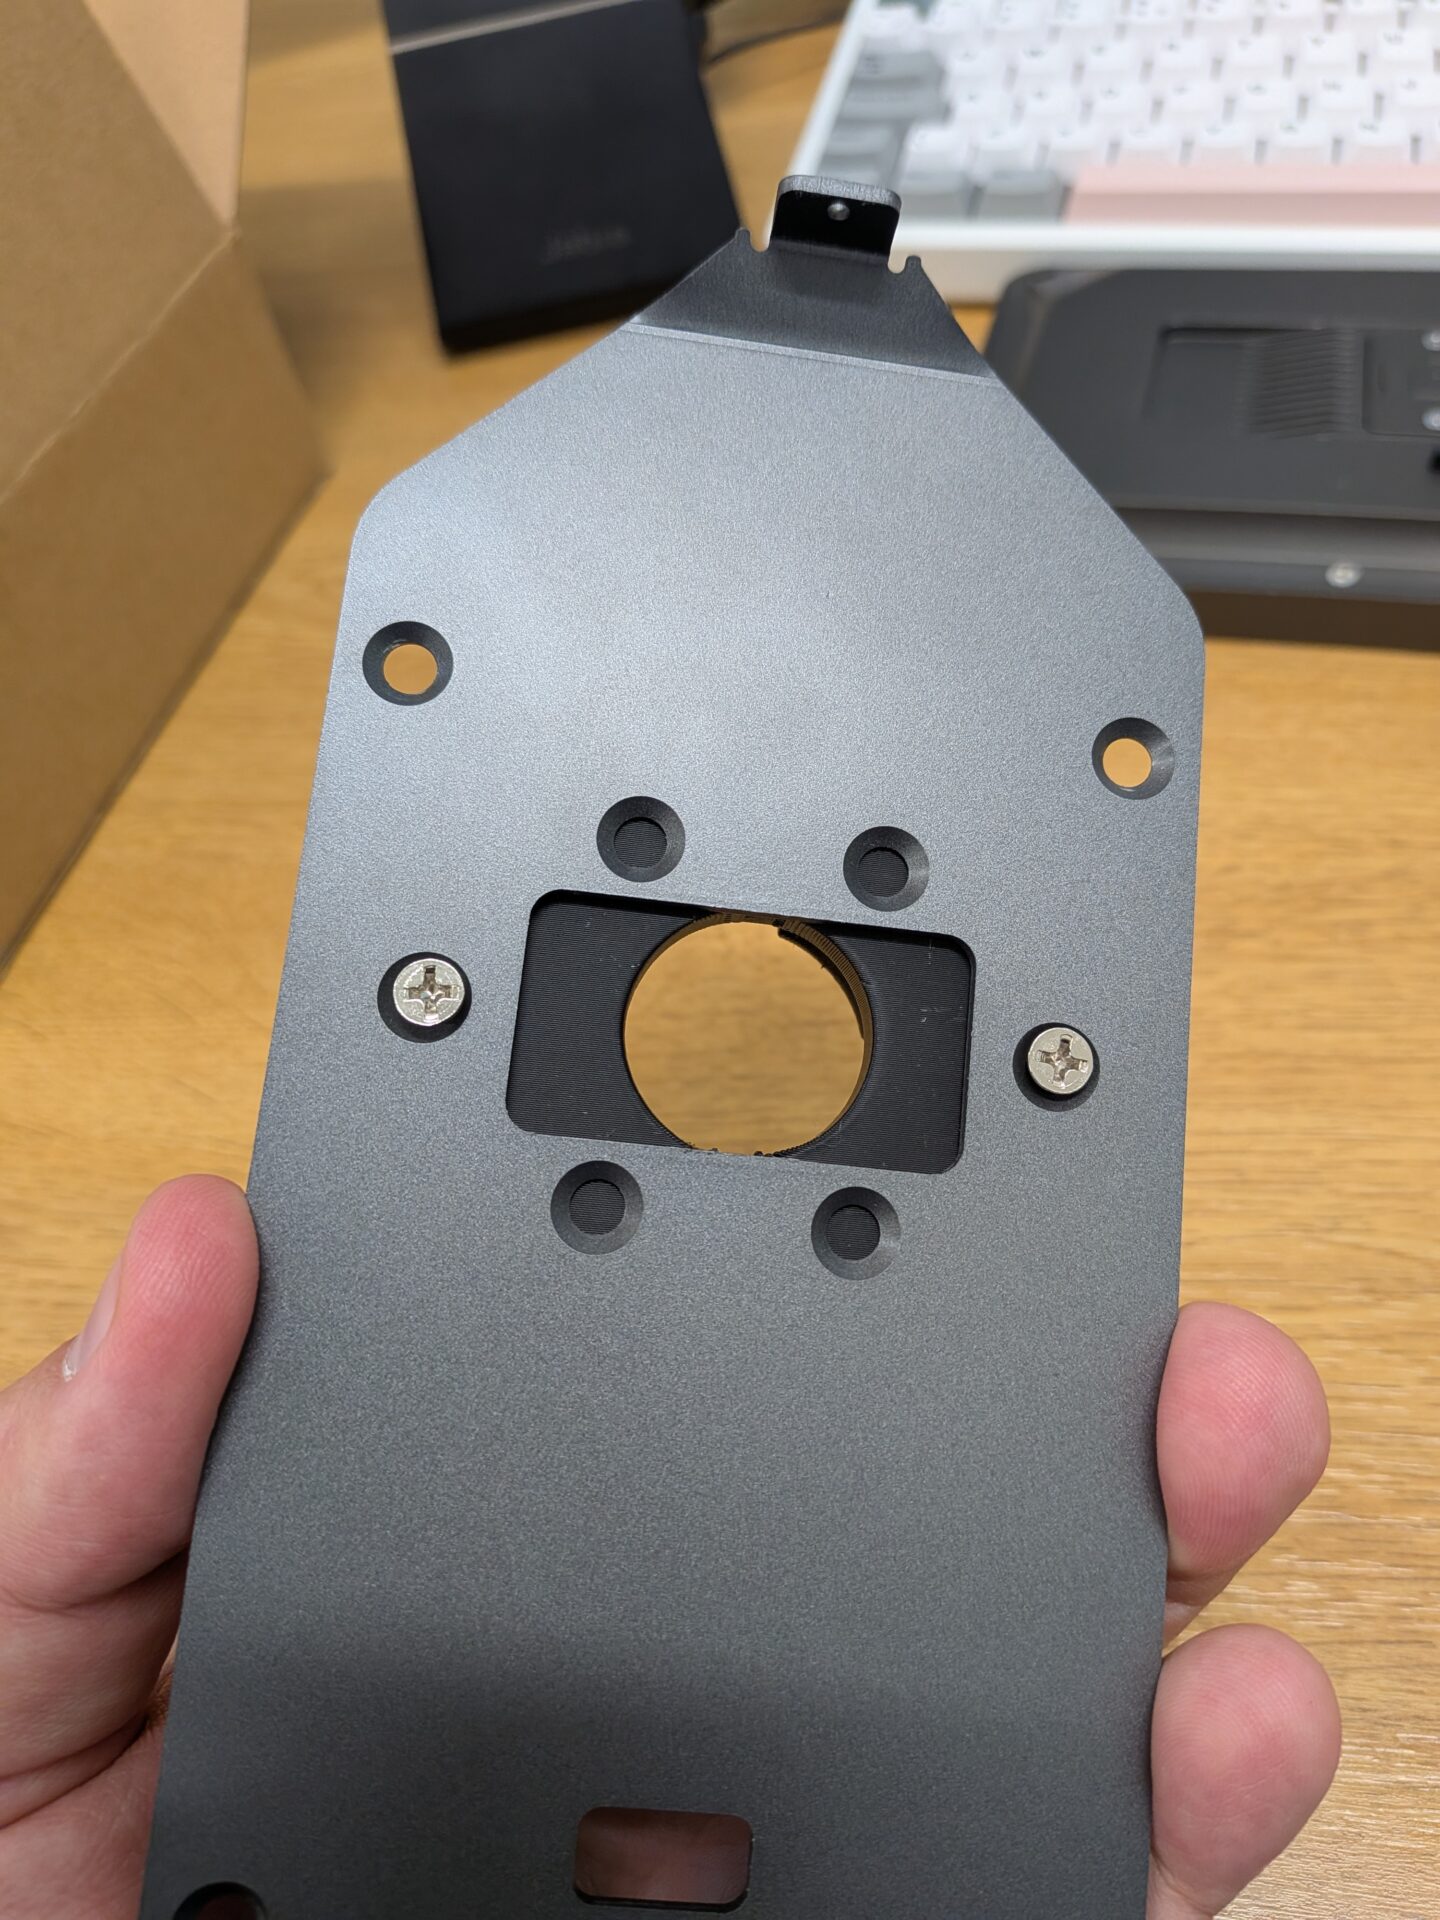
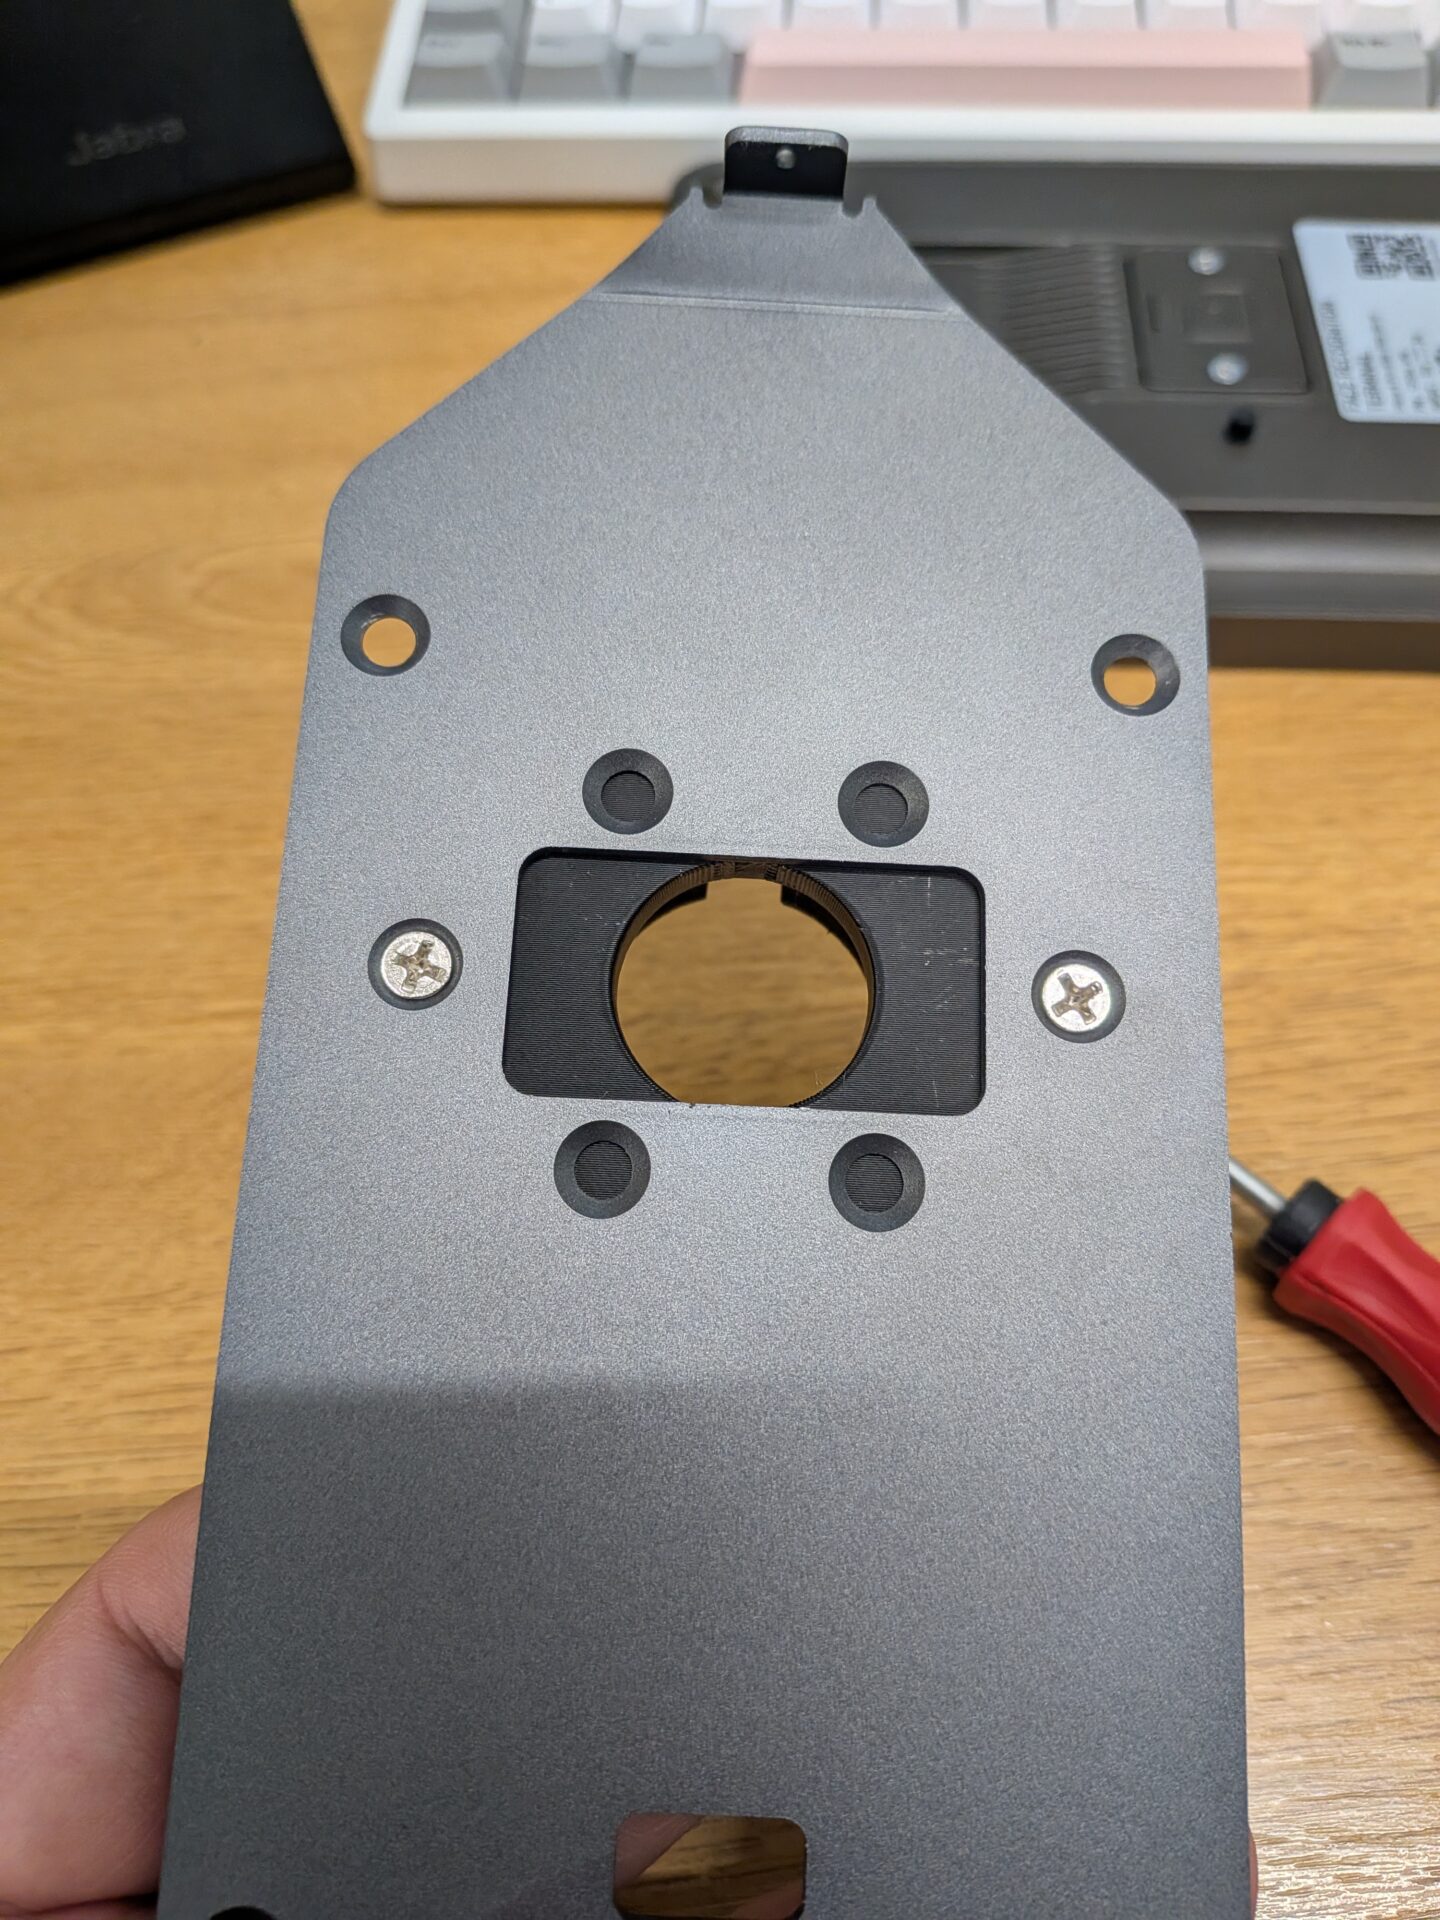
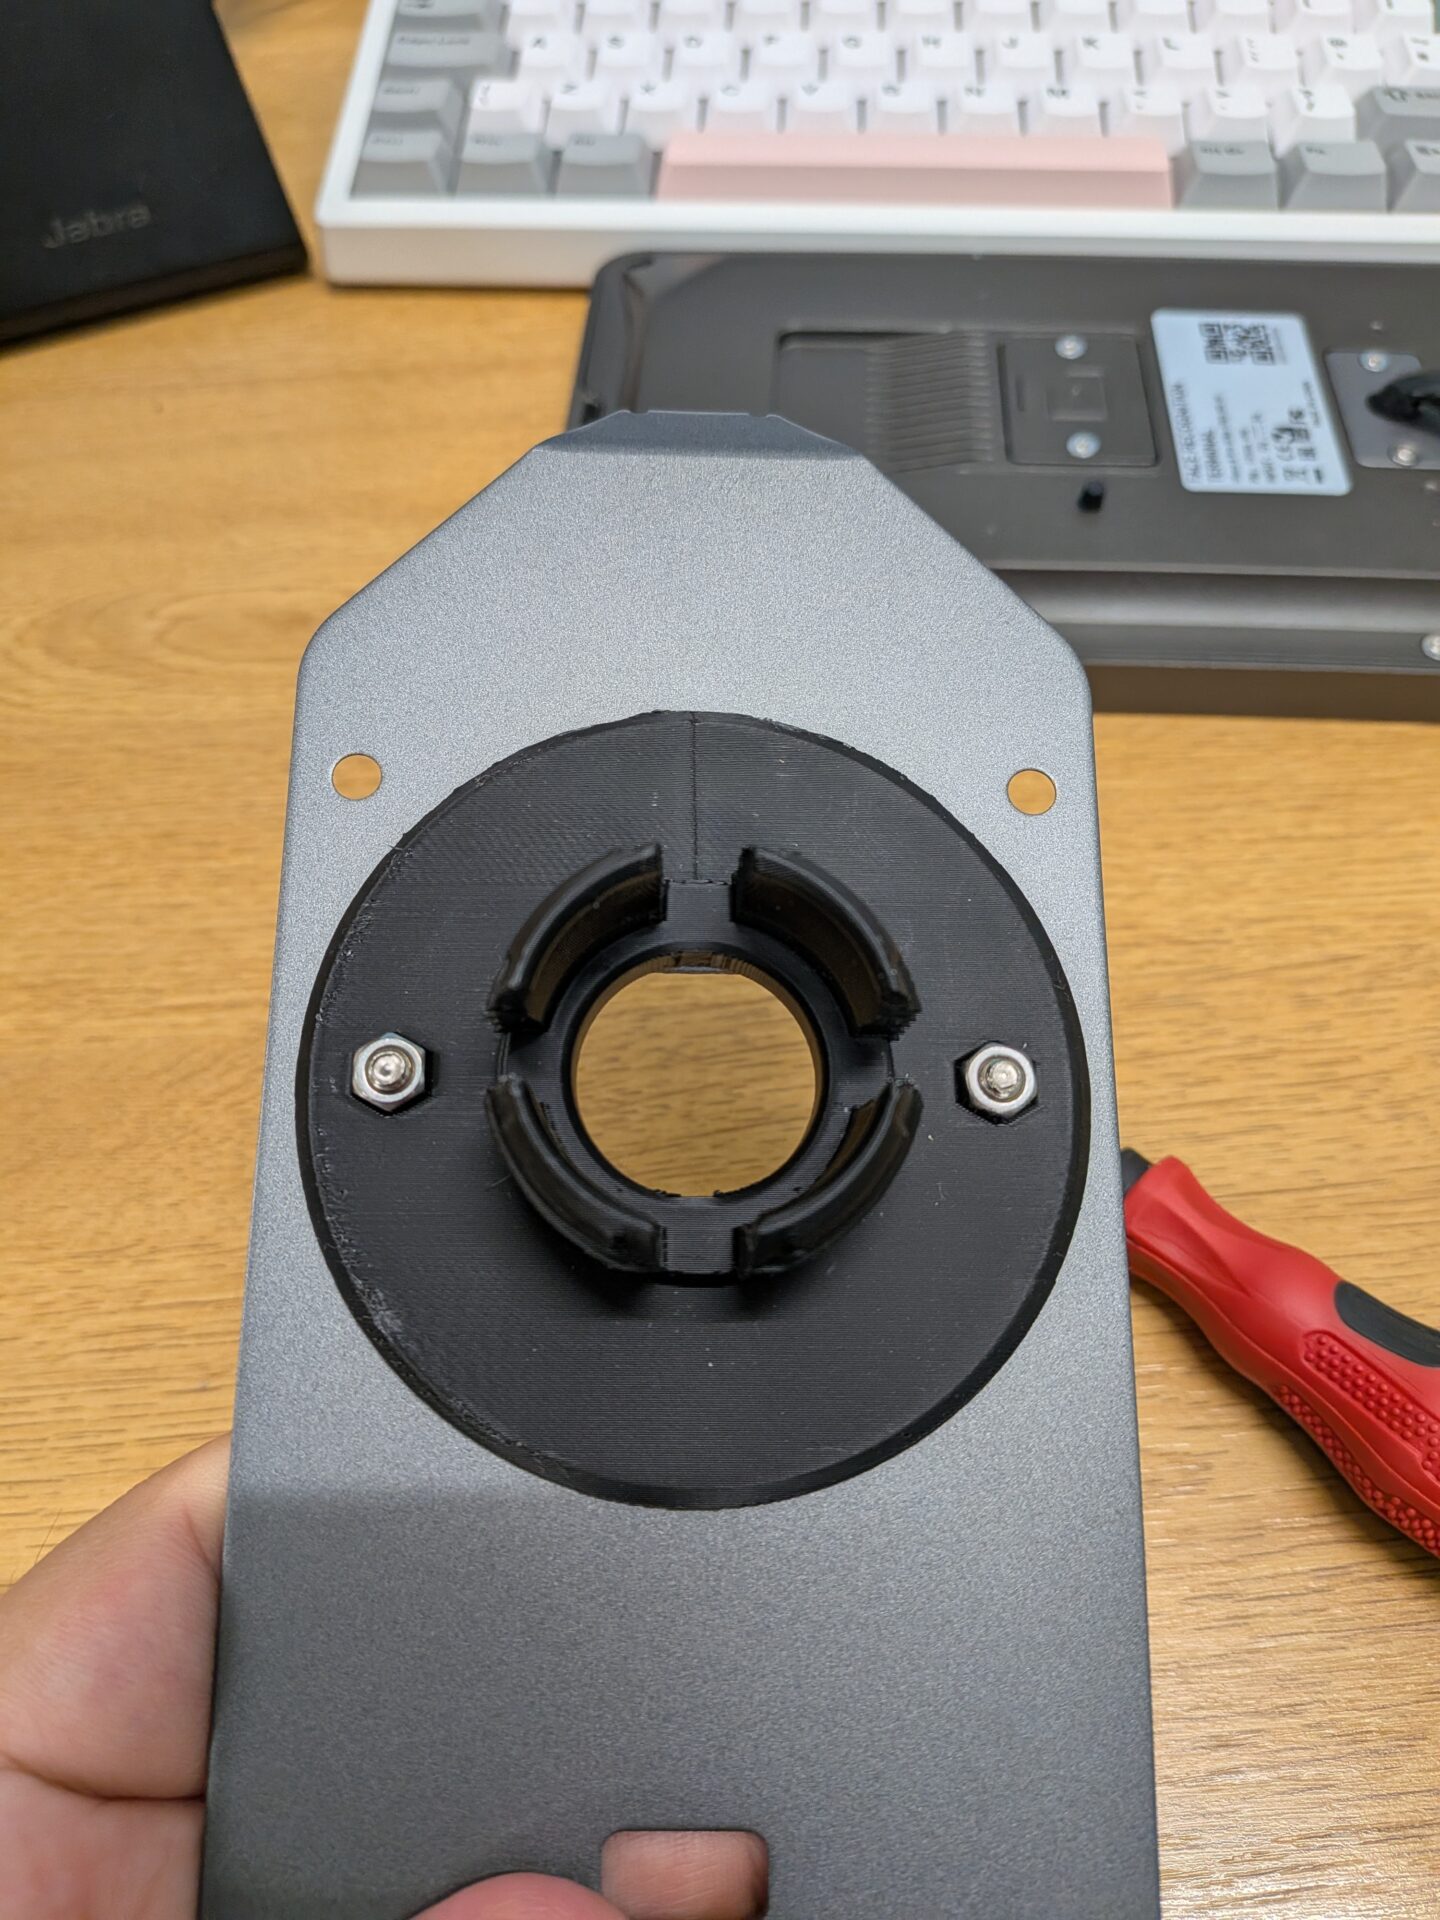
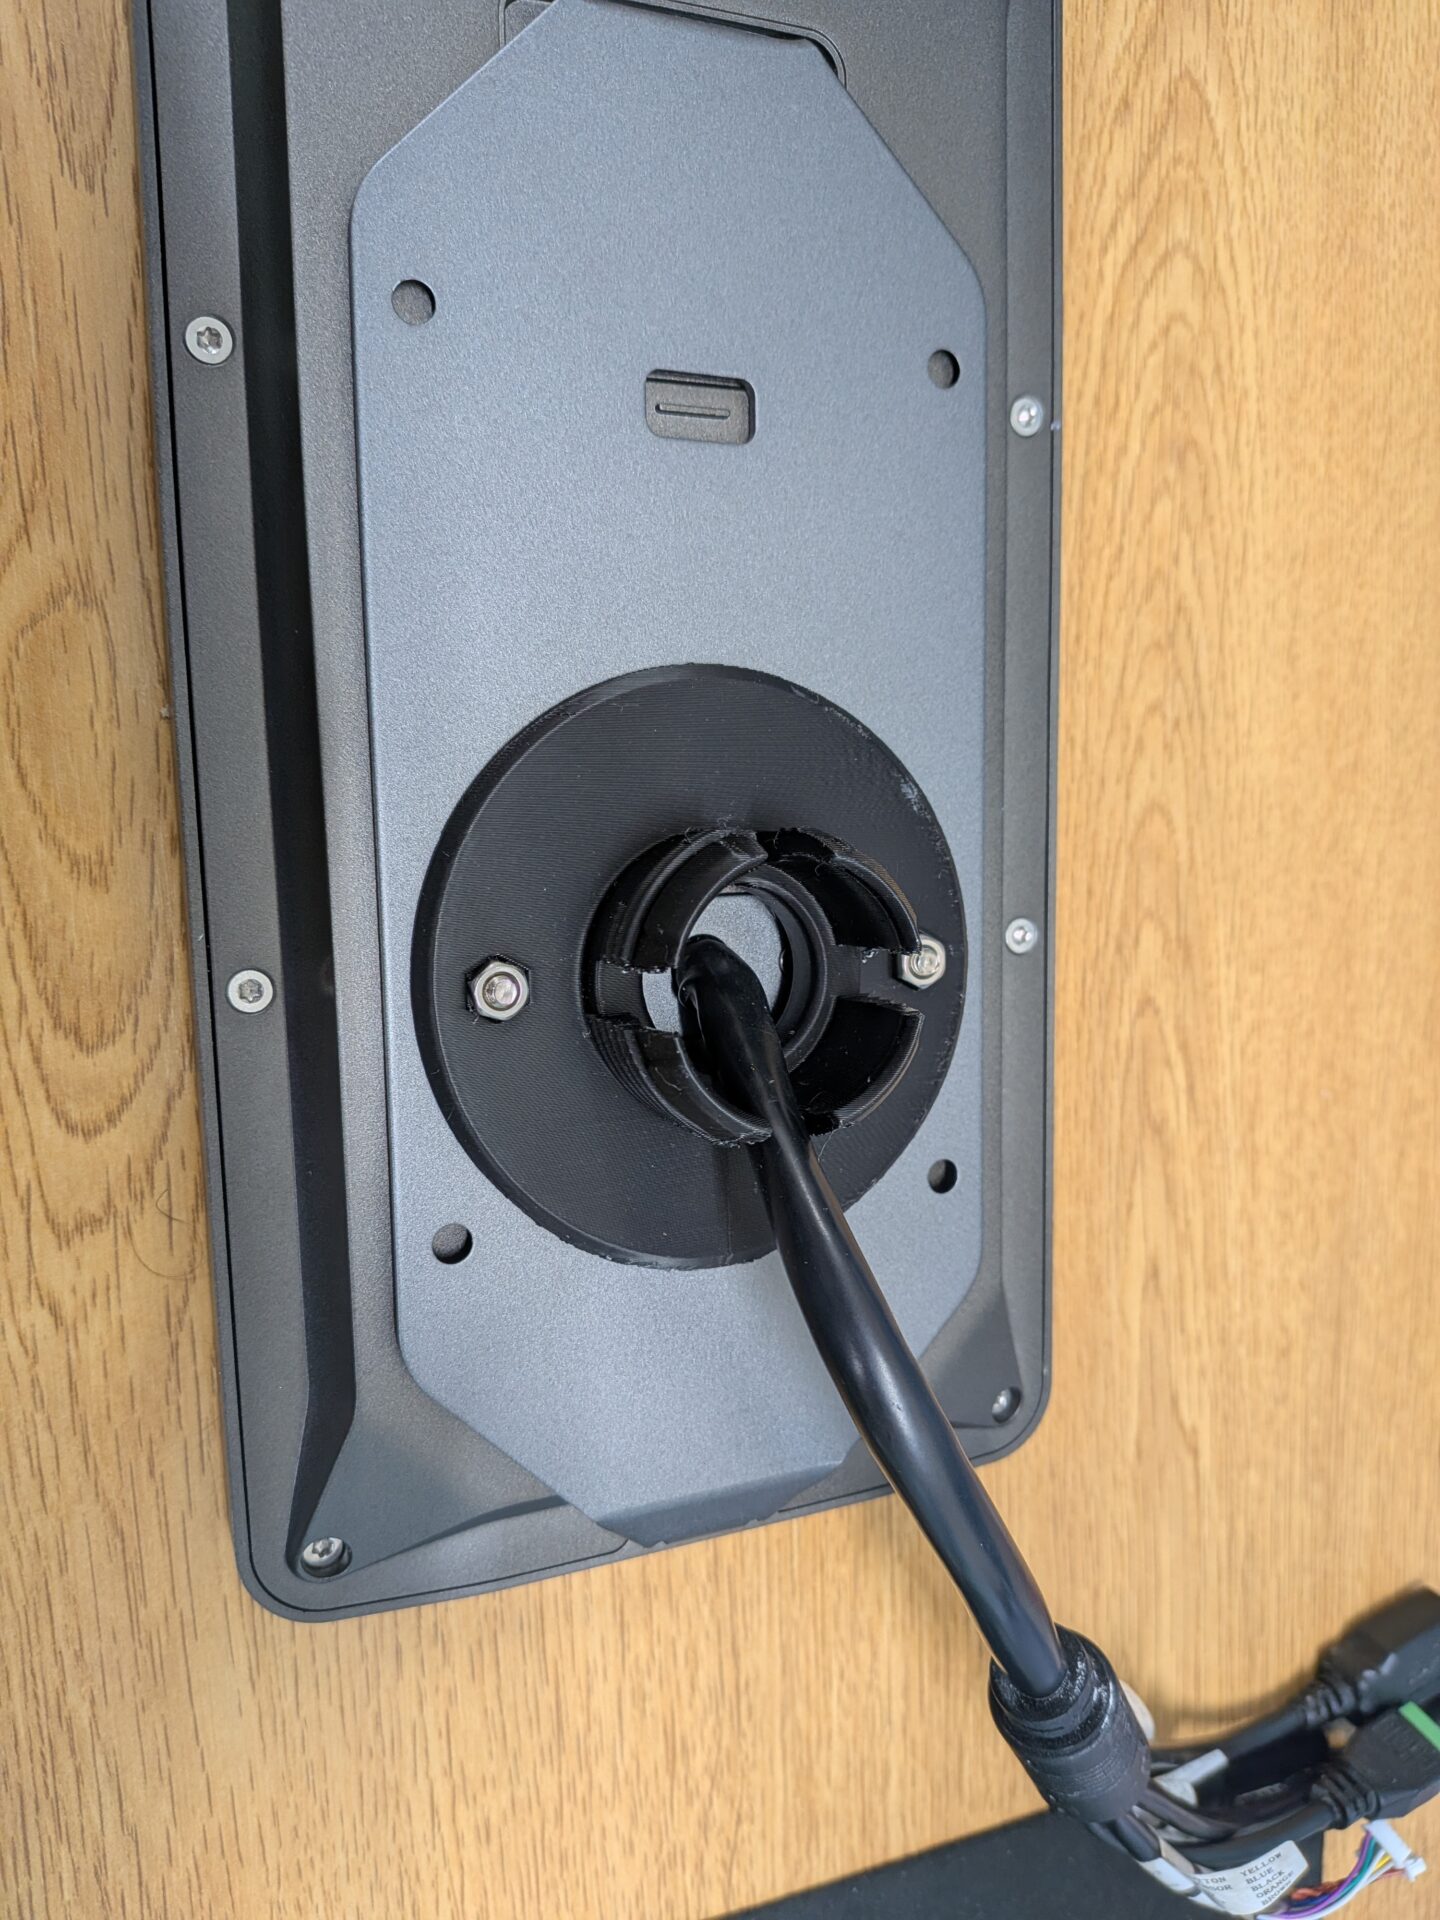
Line up the black back plate ball connector against the screw holes in the UFace 8 Pro back plate. Place one of the nuts into the nut-shaped hole in the black connector. While holding the nut and connector in place, turn the back plate over and screw in one of the silver screws that go with the nuts. Repeat for the second screw.
Step 3: Reattach the Back Plate to the UFace 8 Pro
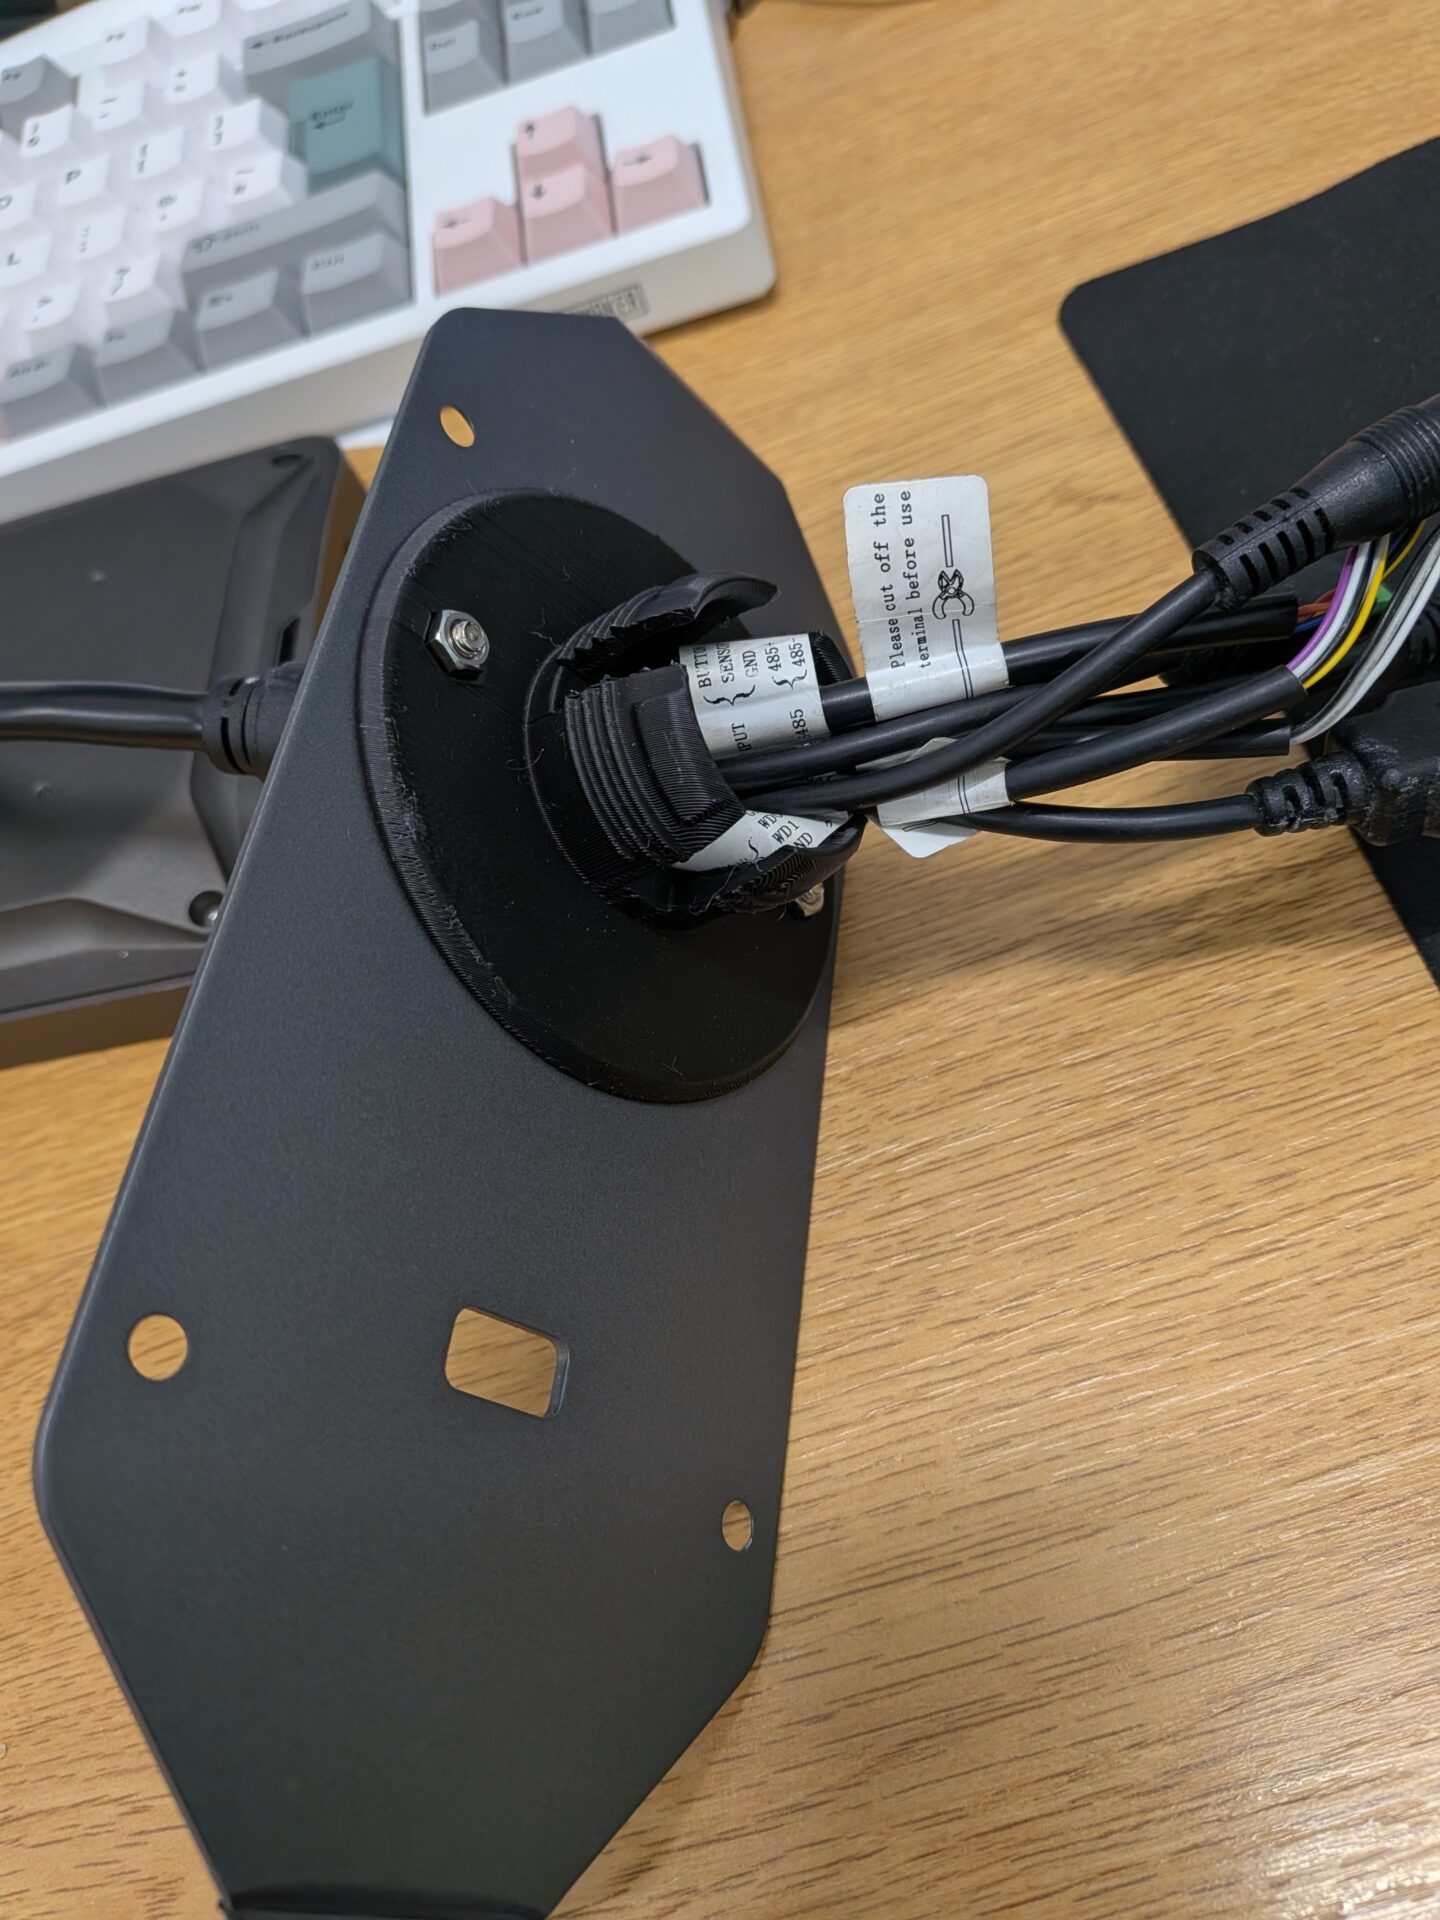
With the black back plate connector installed, refit the back plate to the UFace 8 Pro, threading the cables back through the hole. Tighten the screw at the bottom of the plate to secure it.
Step 4: Attach the Ball Mount Around the Cable
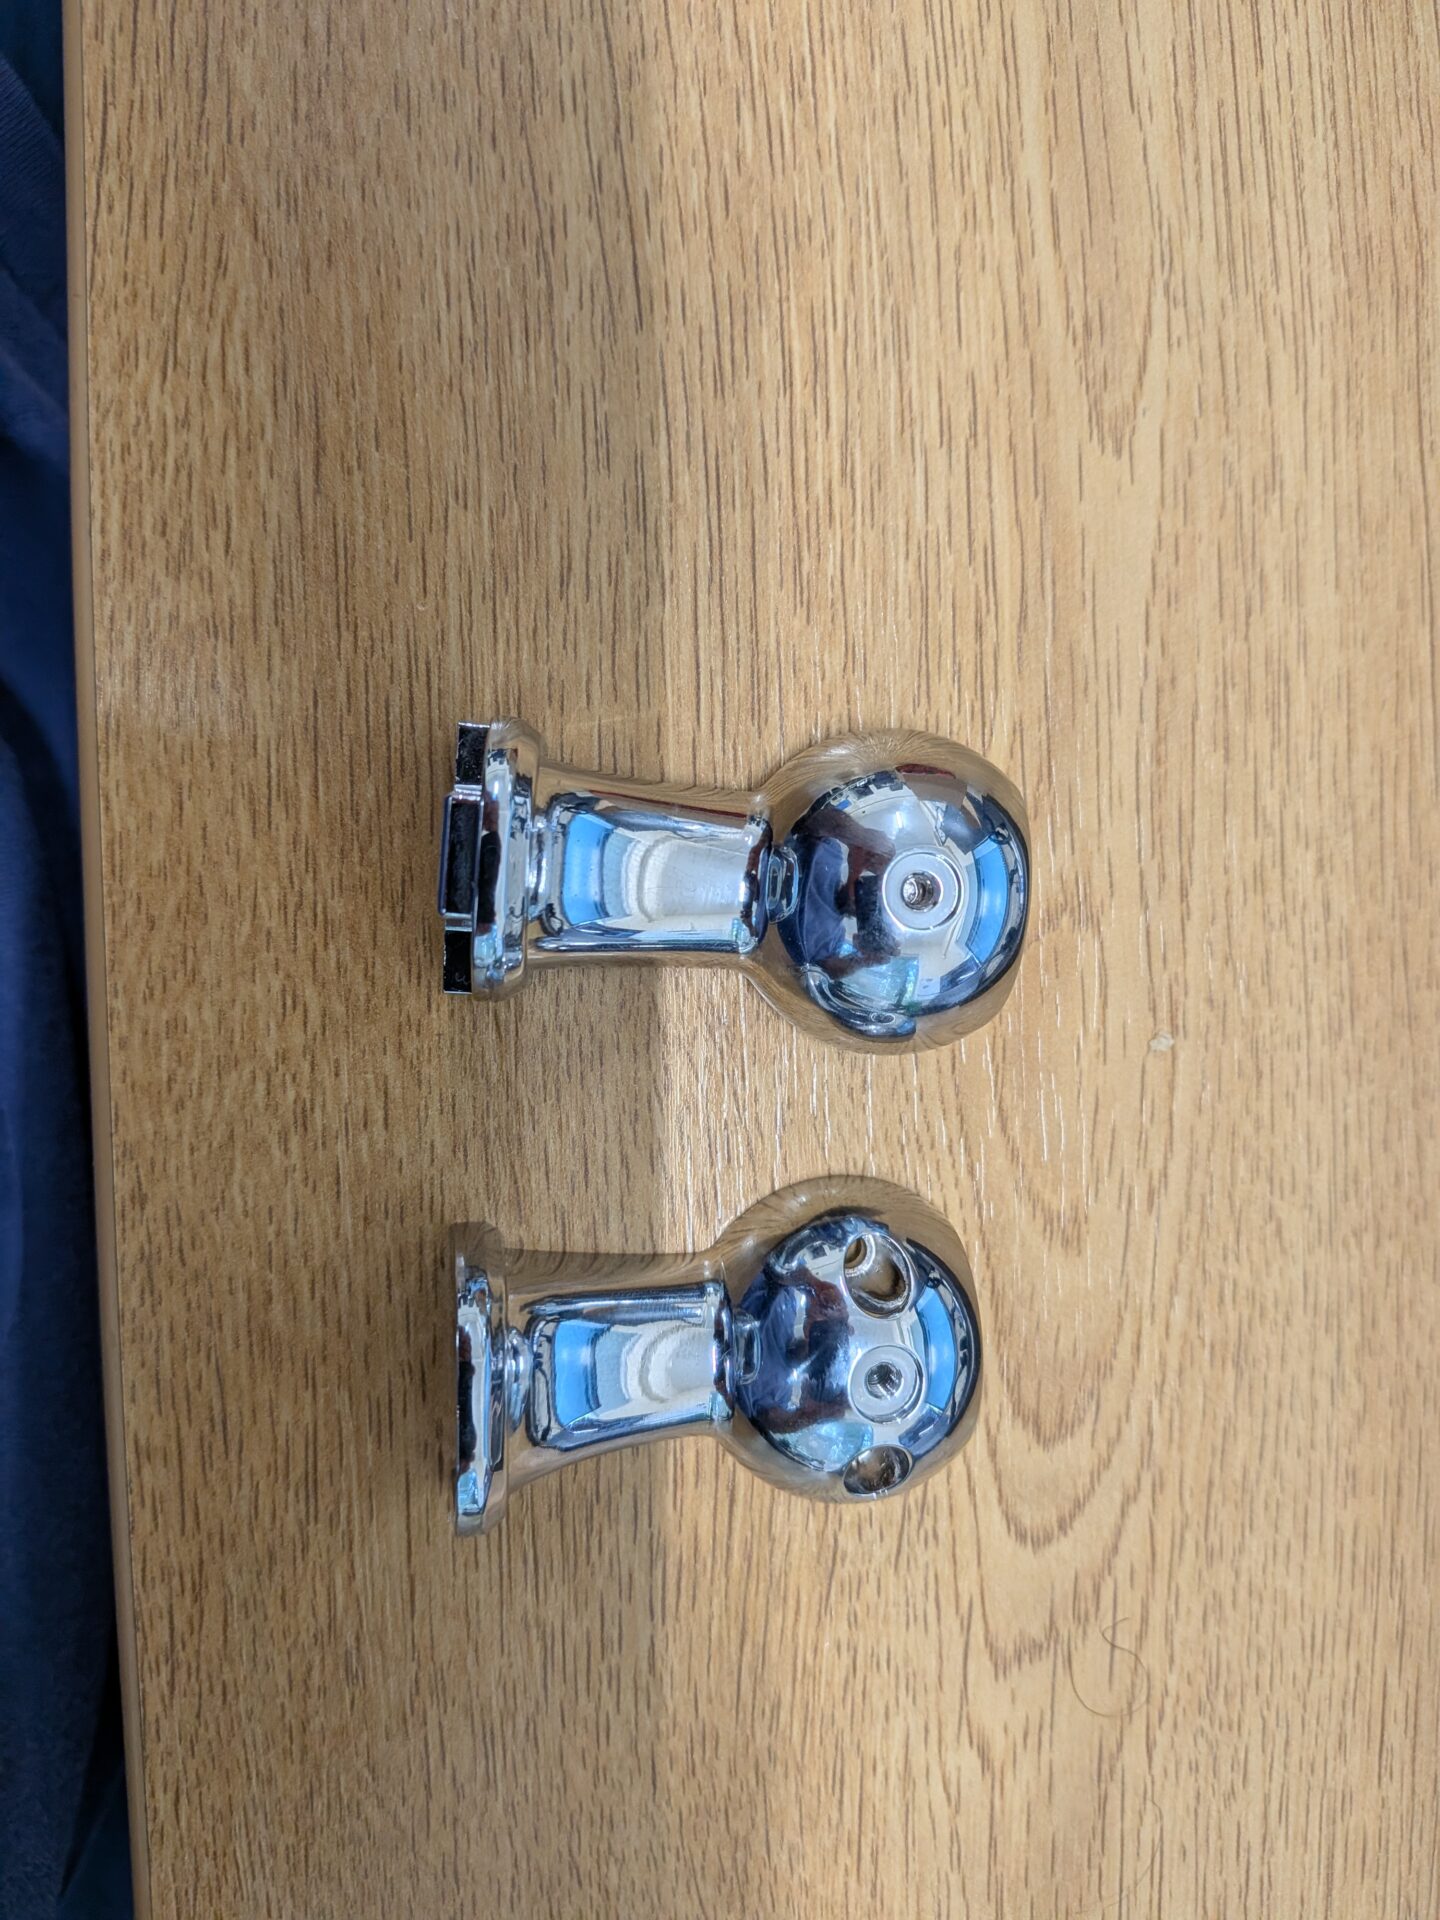
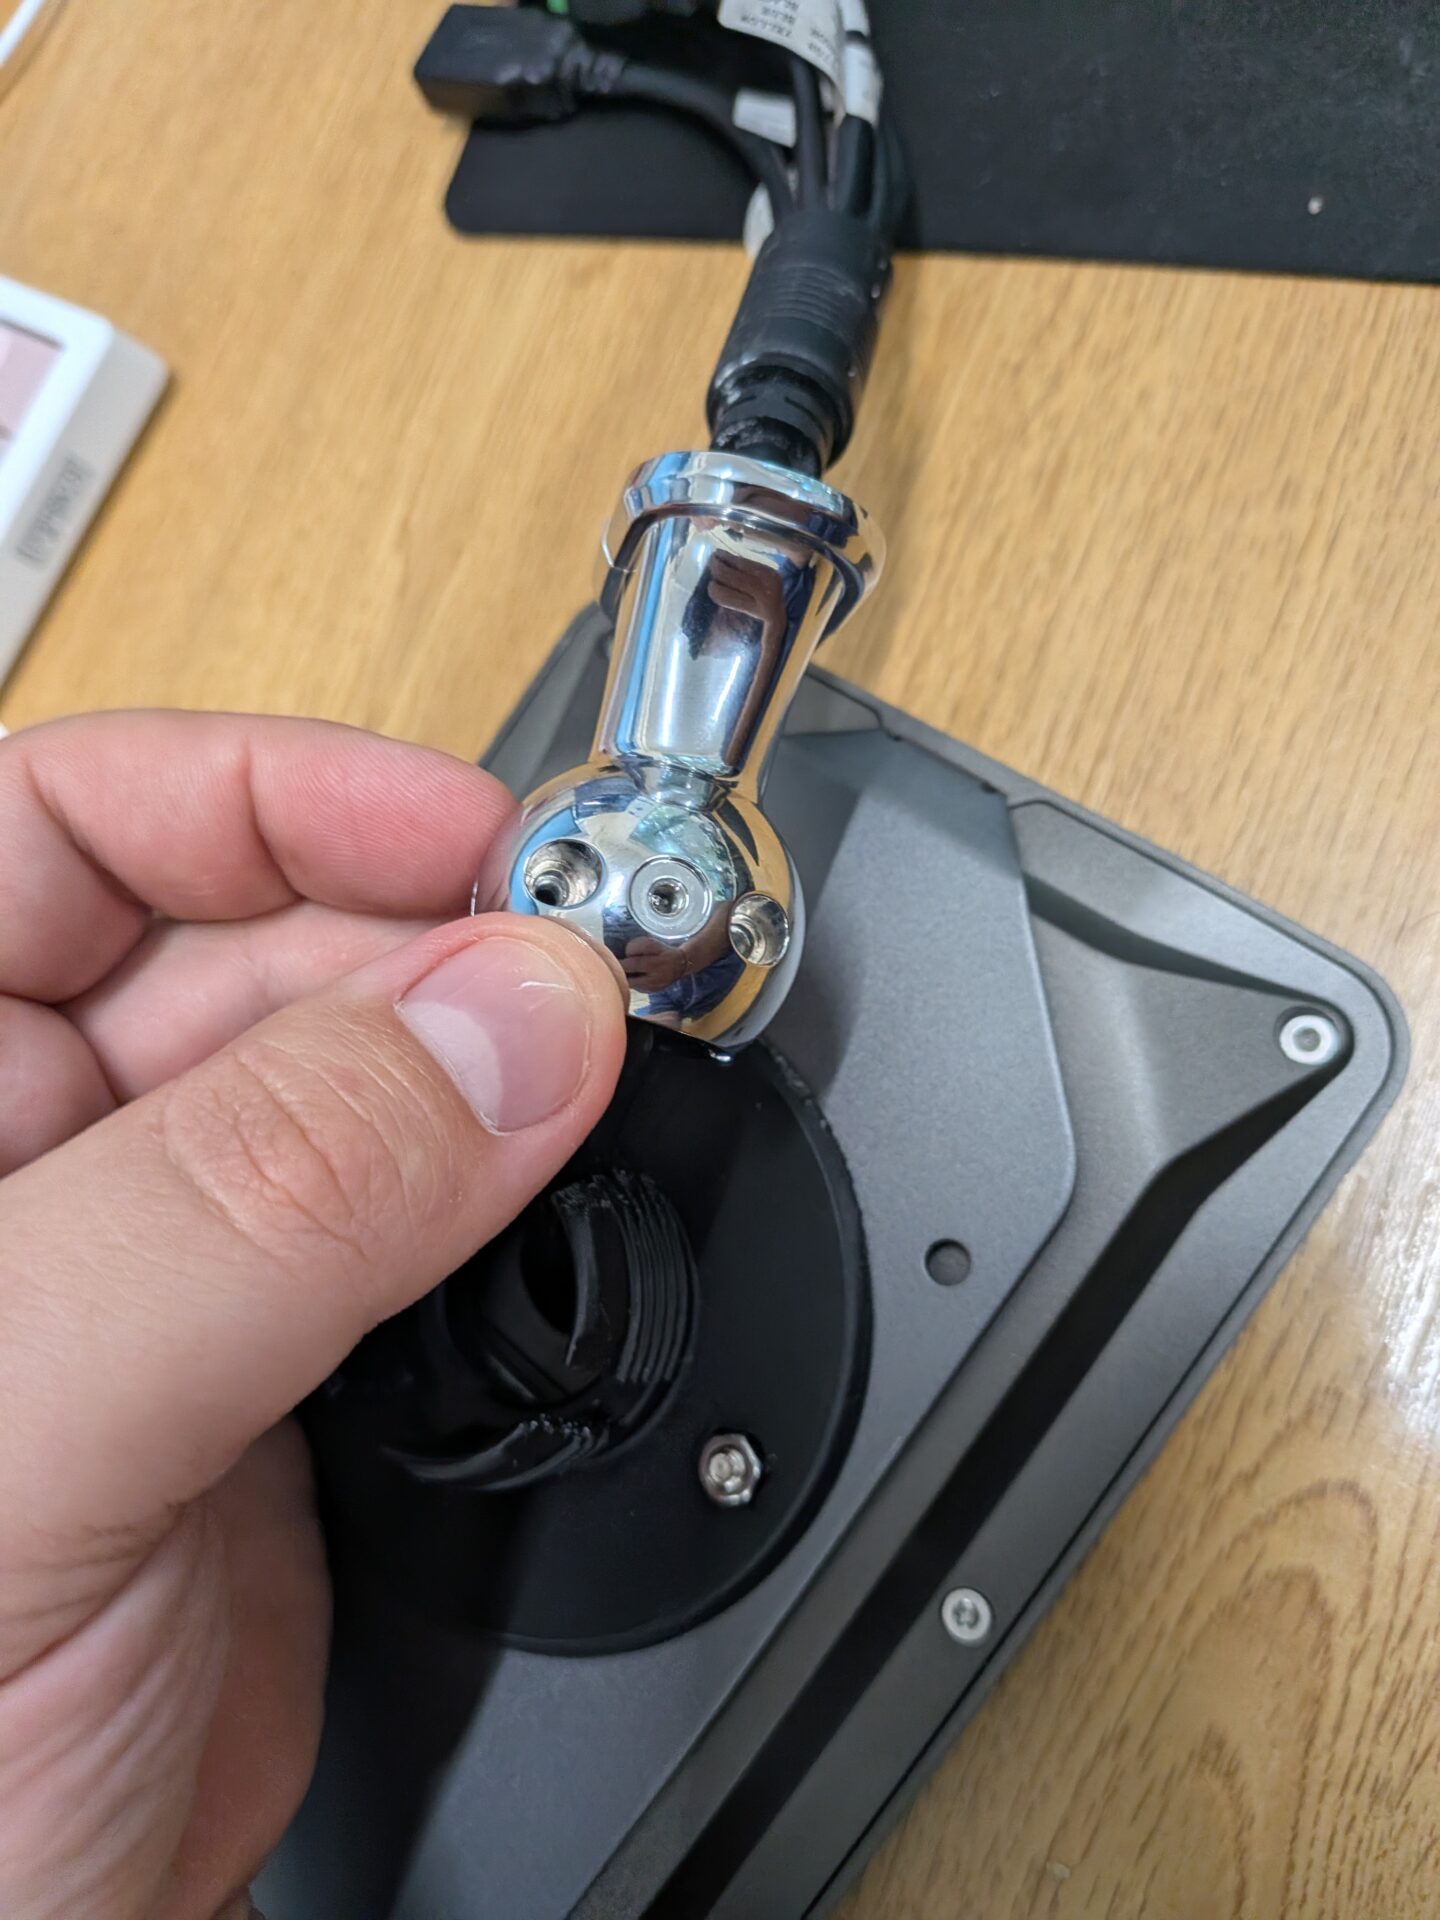
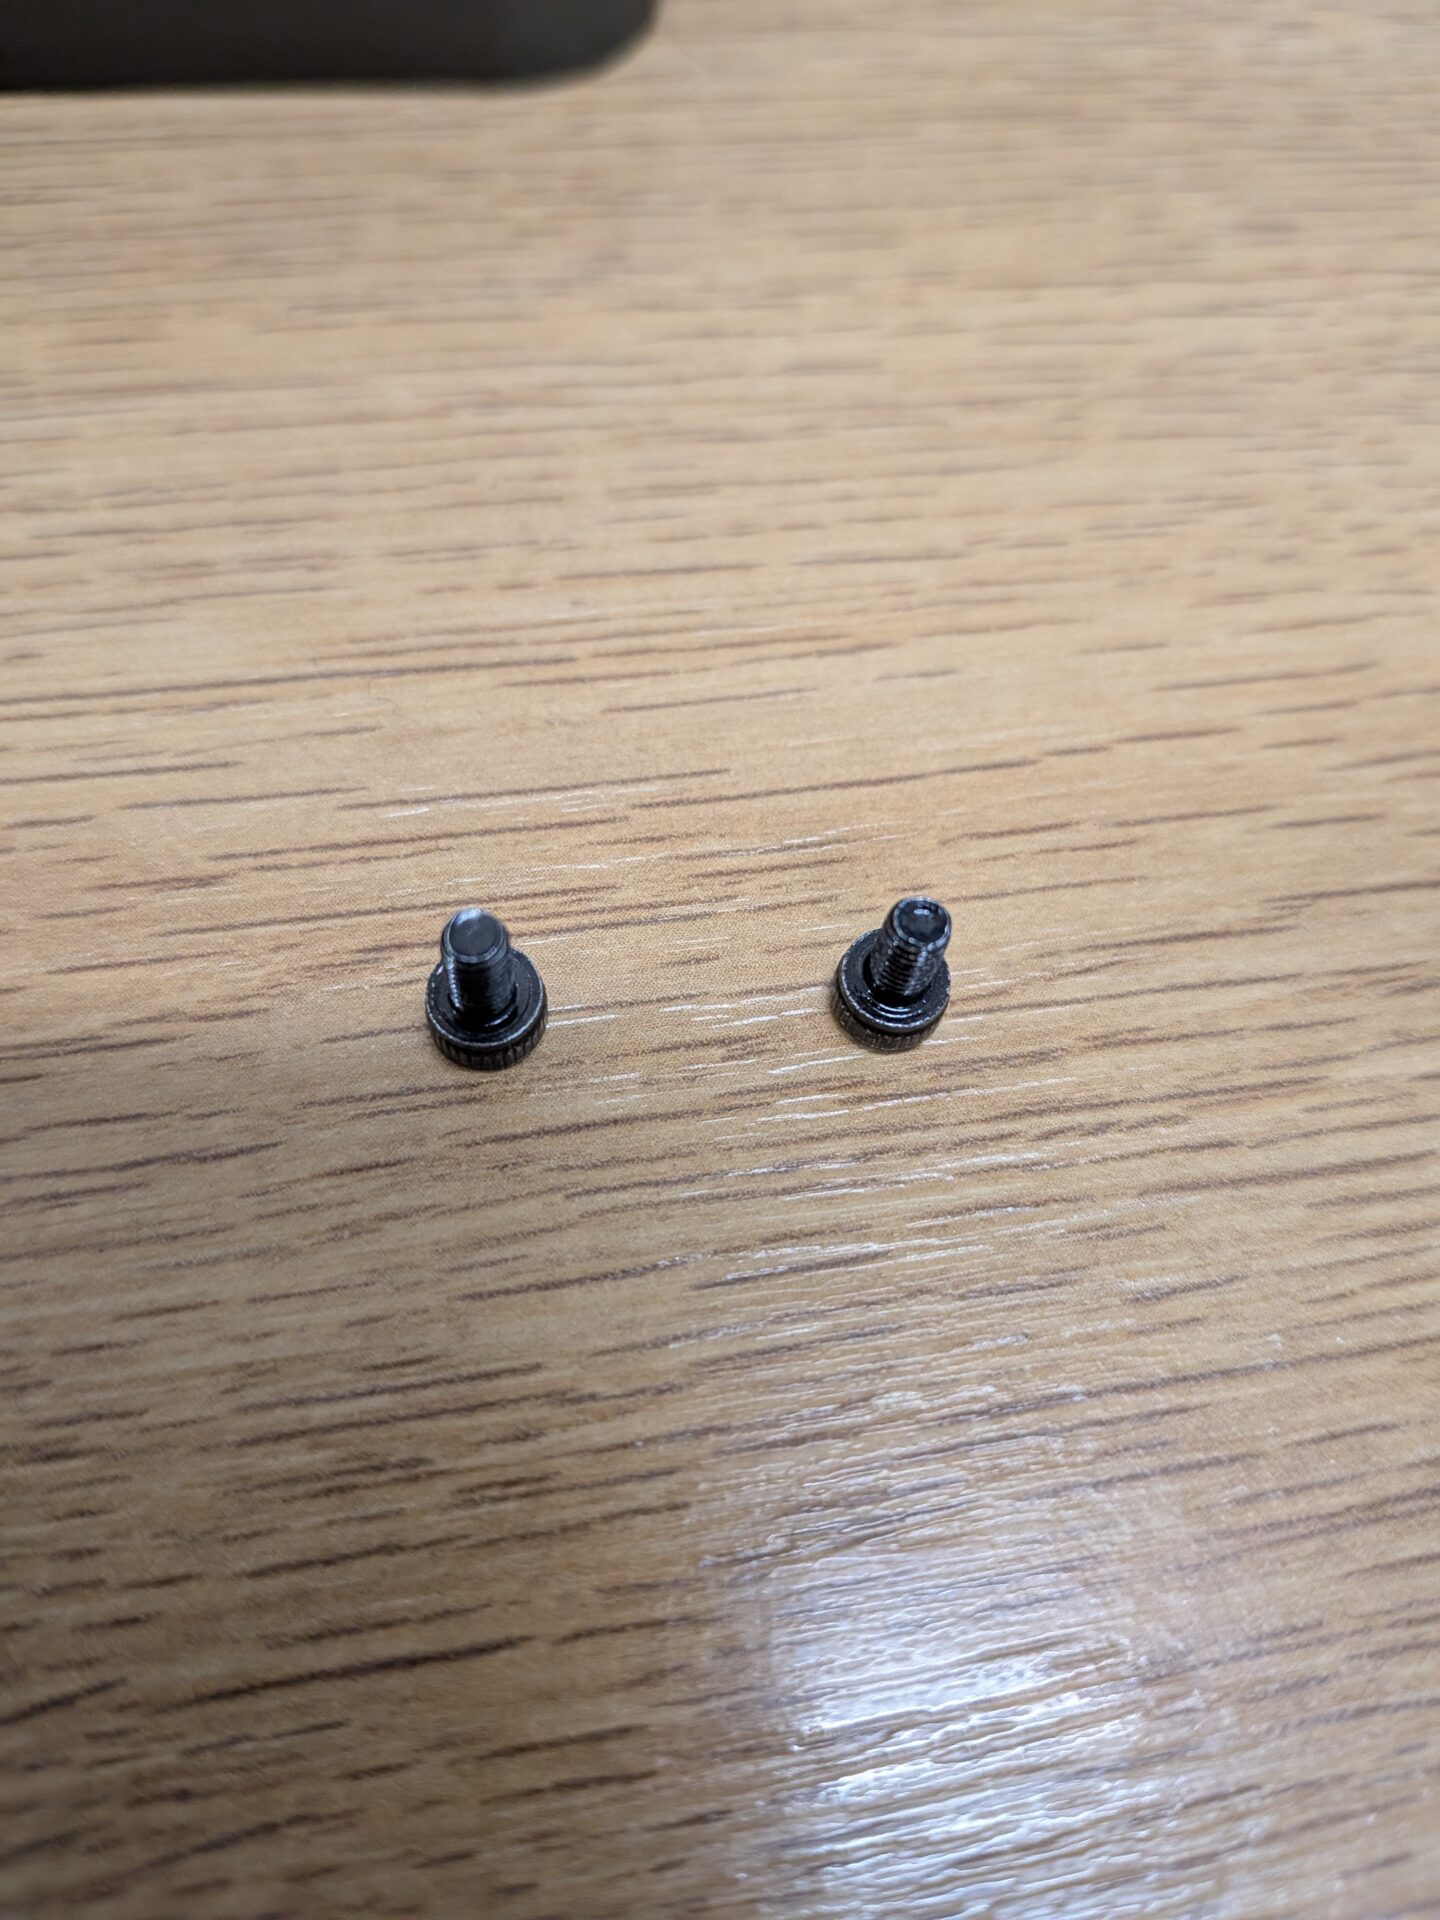
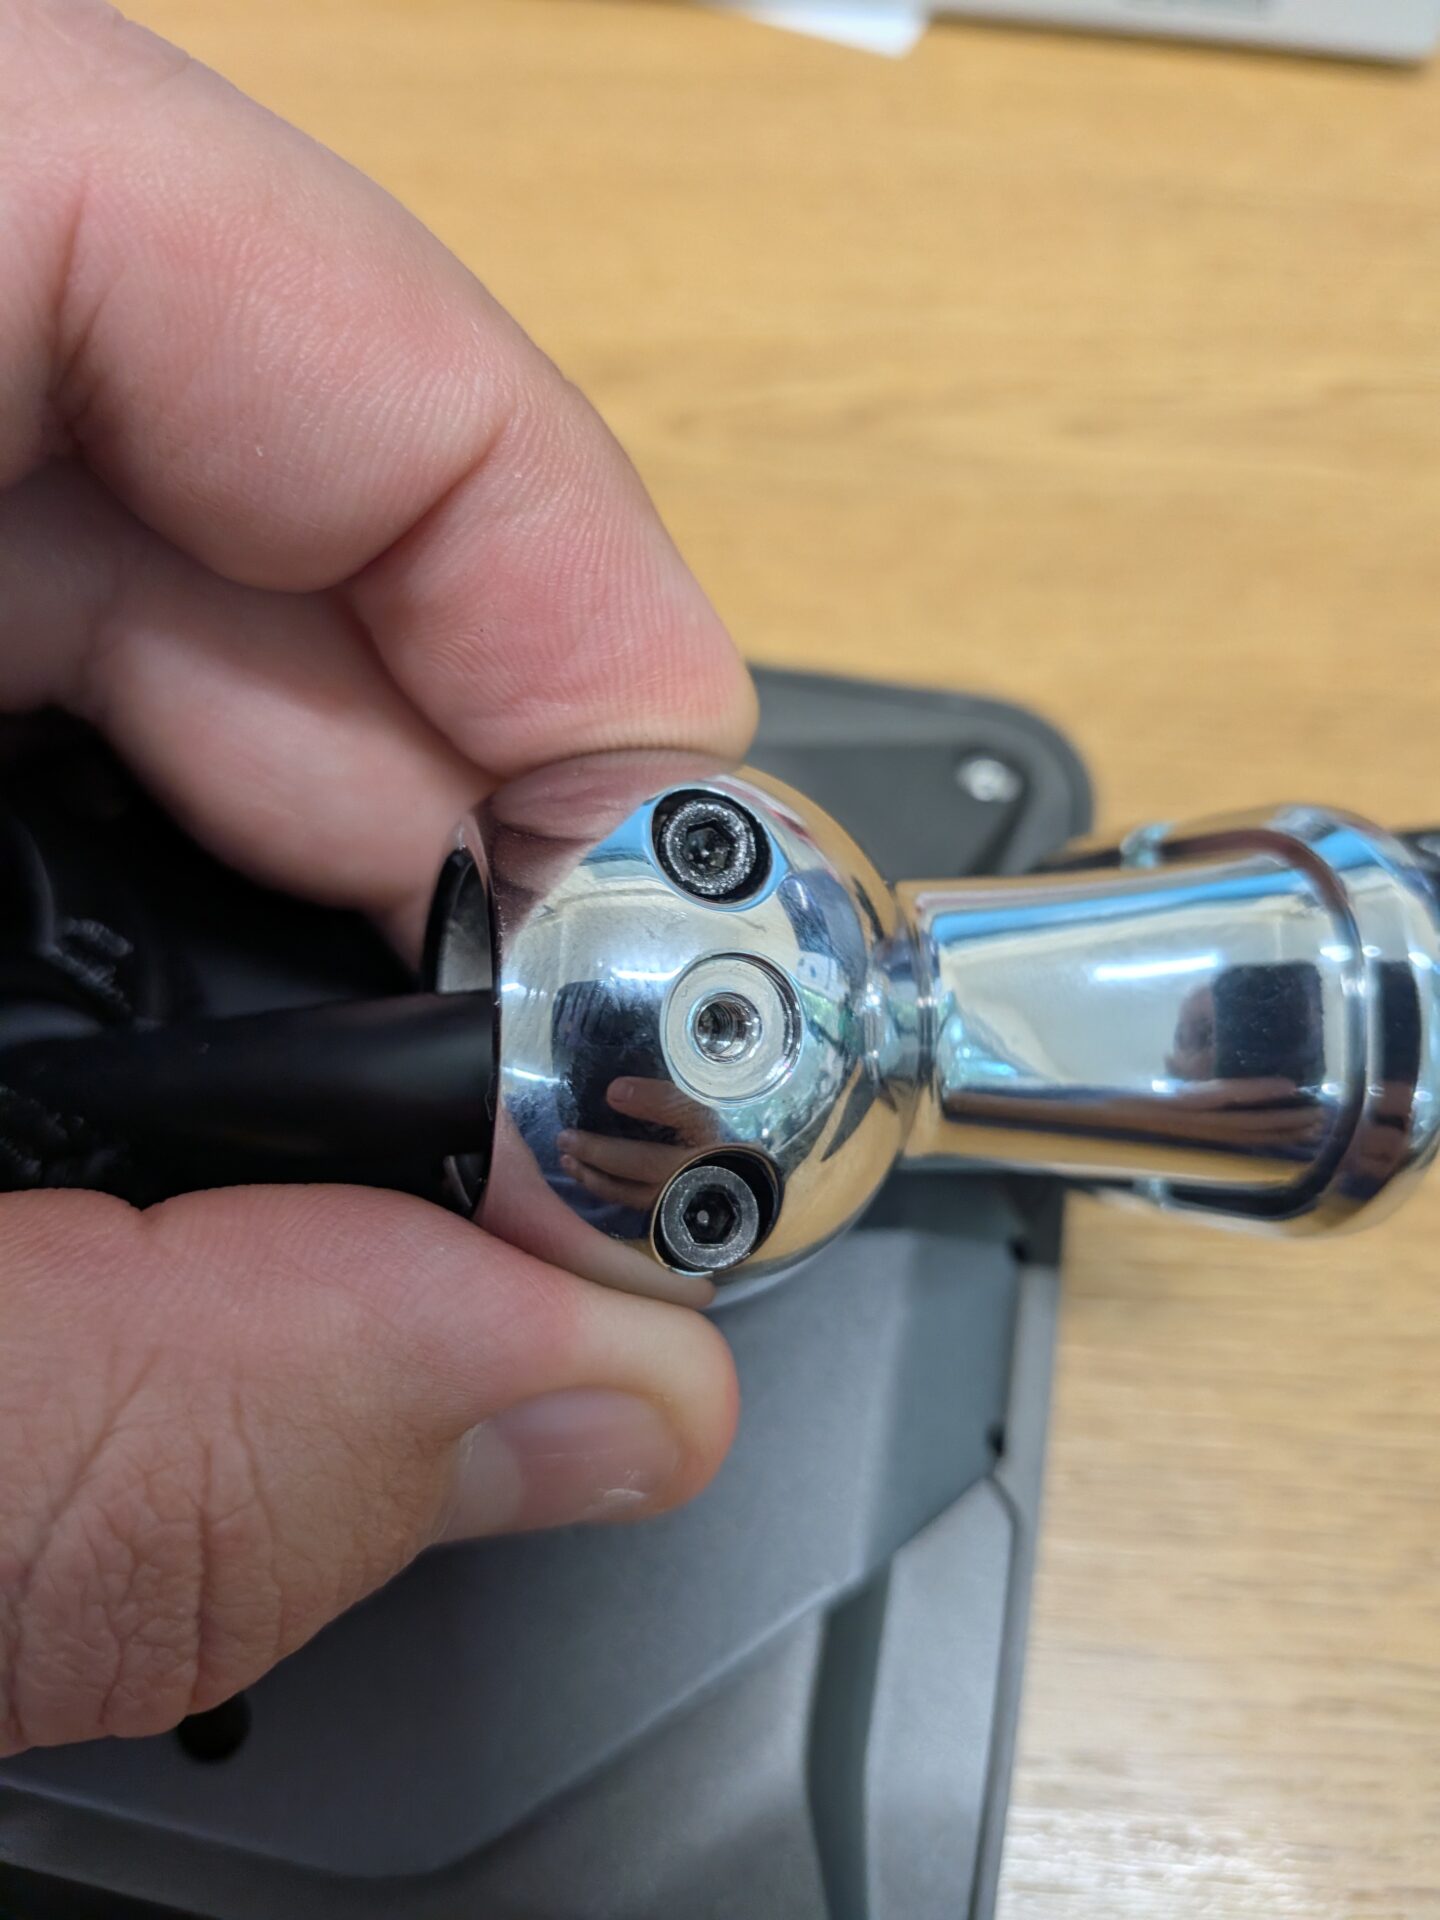
Take the two halves of the ball mount and fit them around the UFace 8 Pro cable, with the ball facing towards the black back connector. Secure the mount around the cable using the two black screws with washers.
Step 5: Connect the Ball Mount to the Black Ball Connector
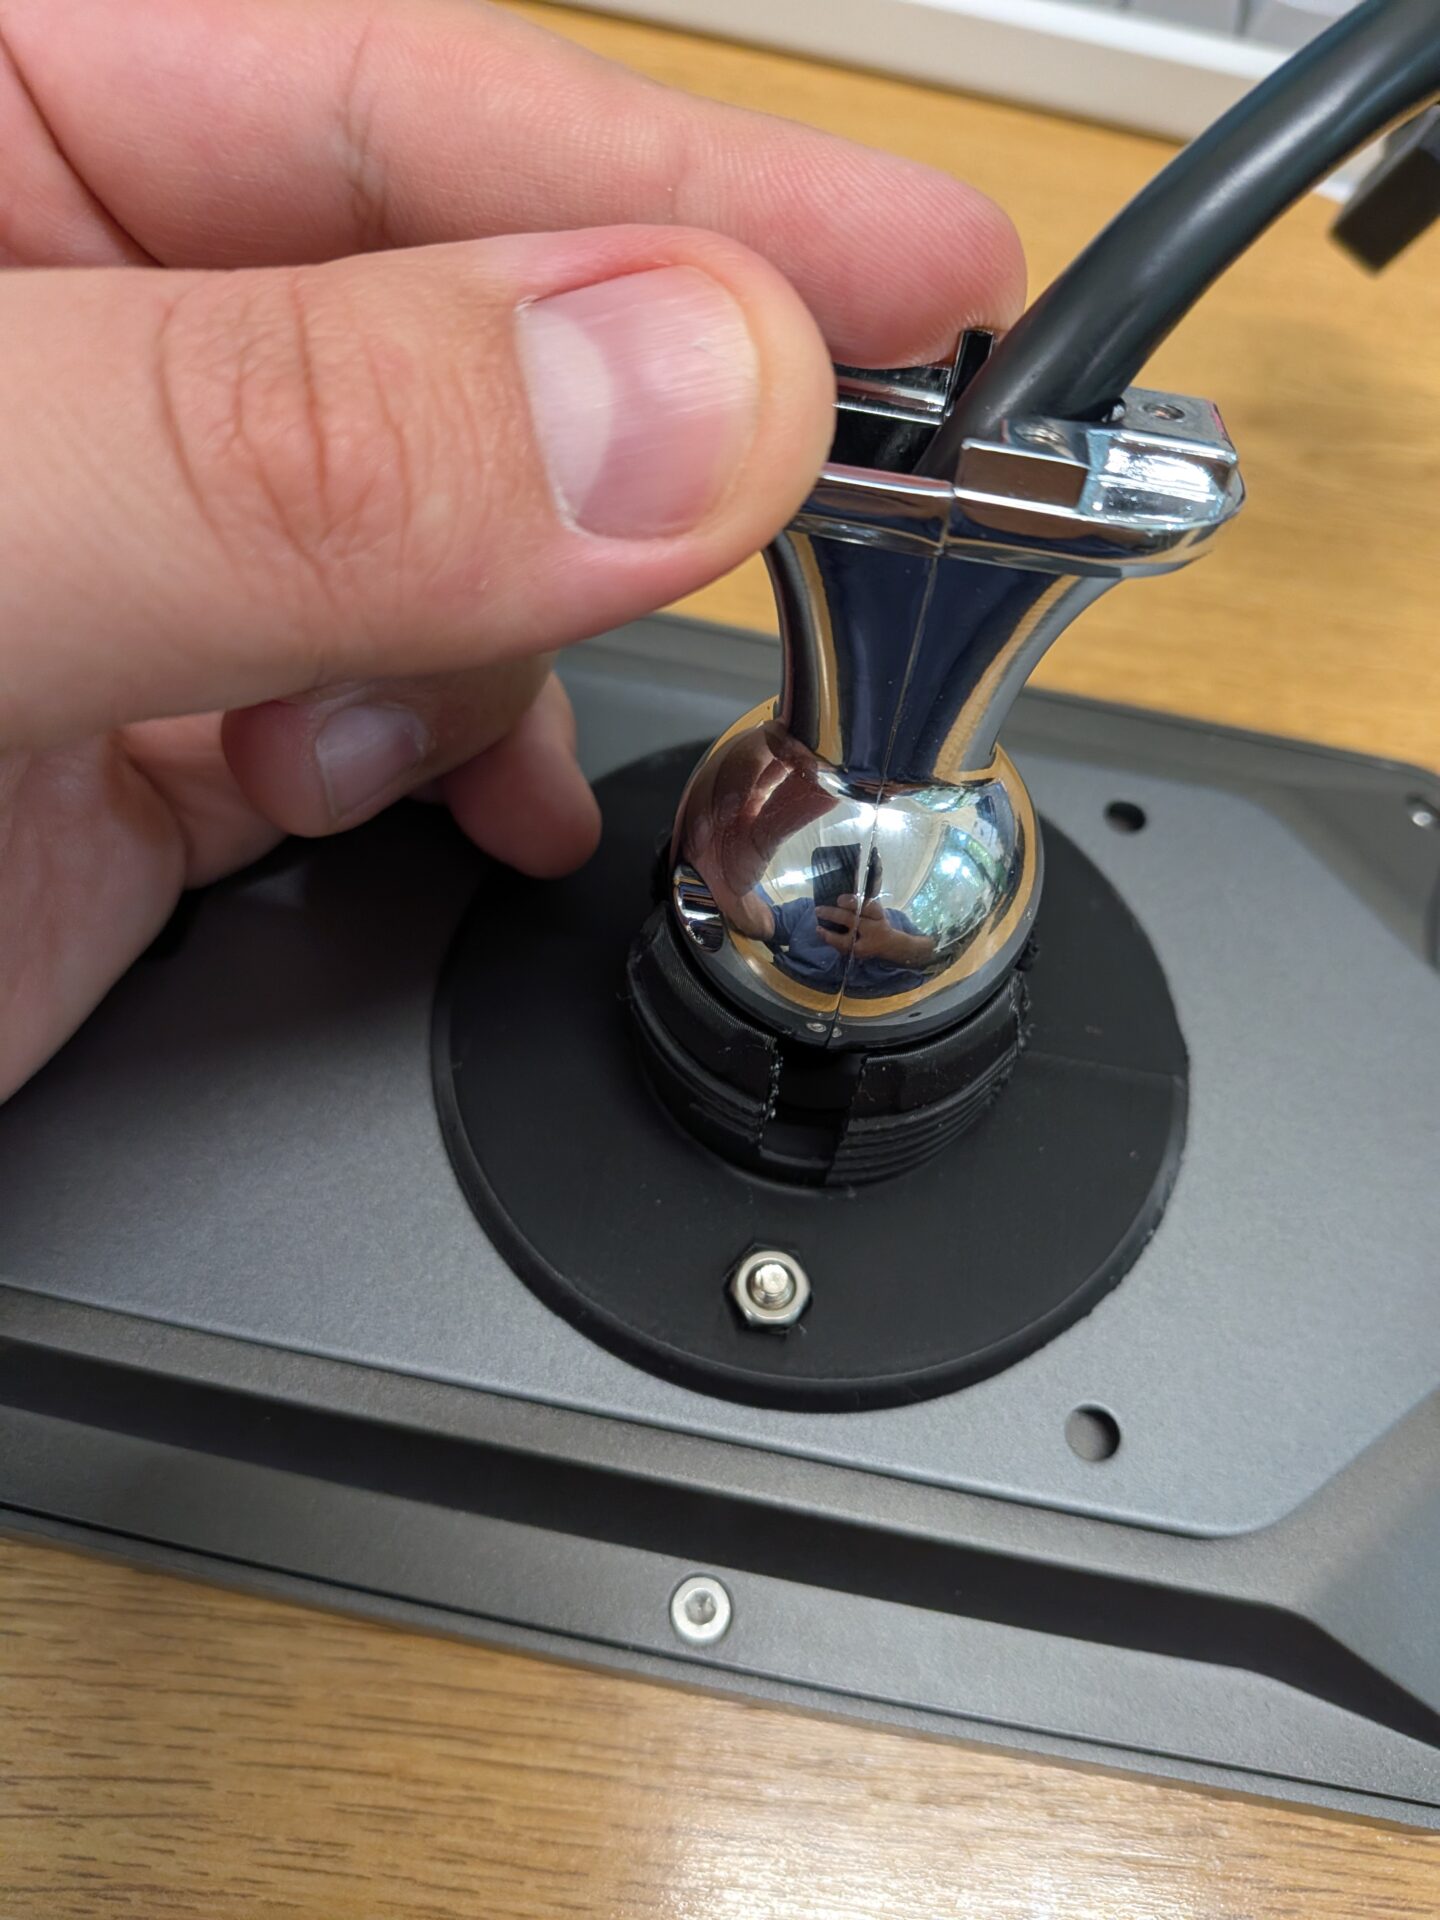
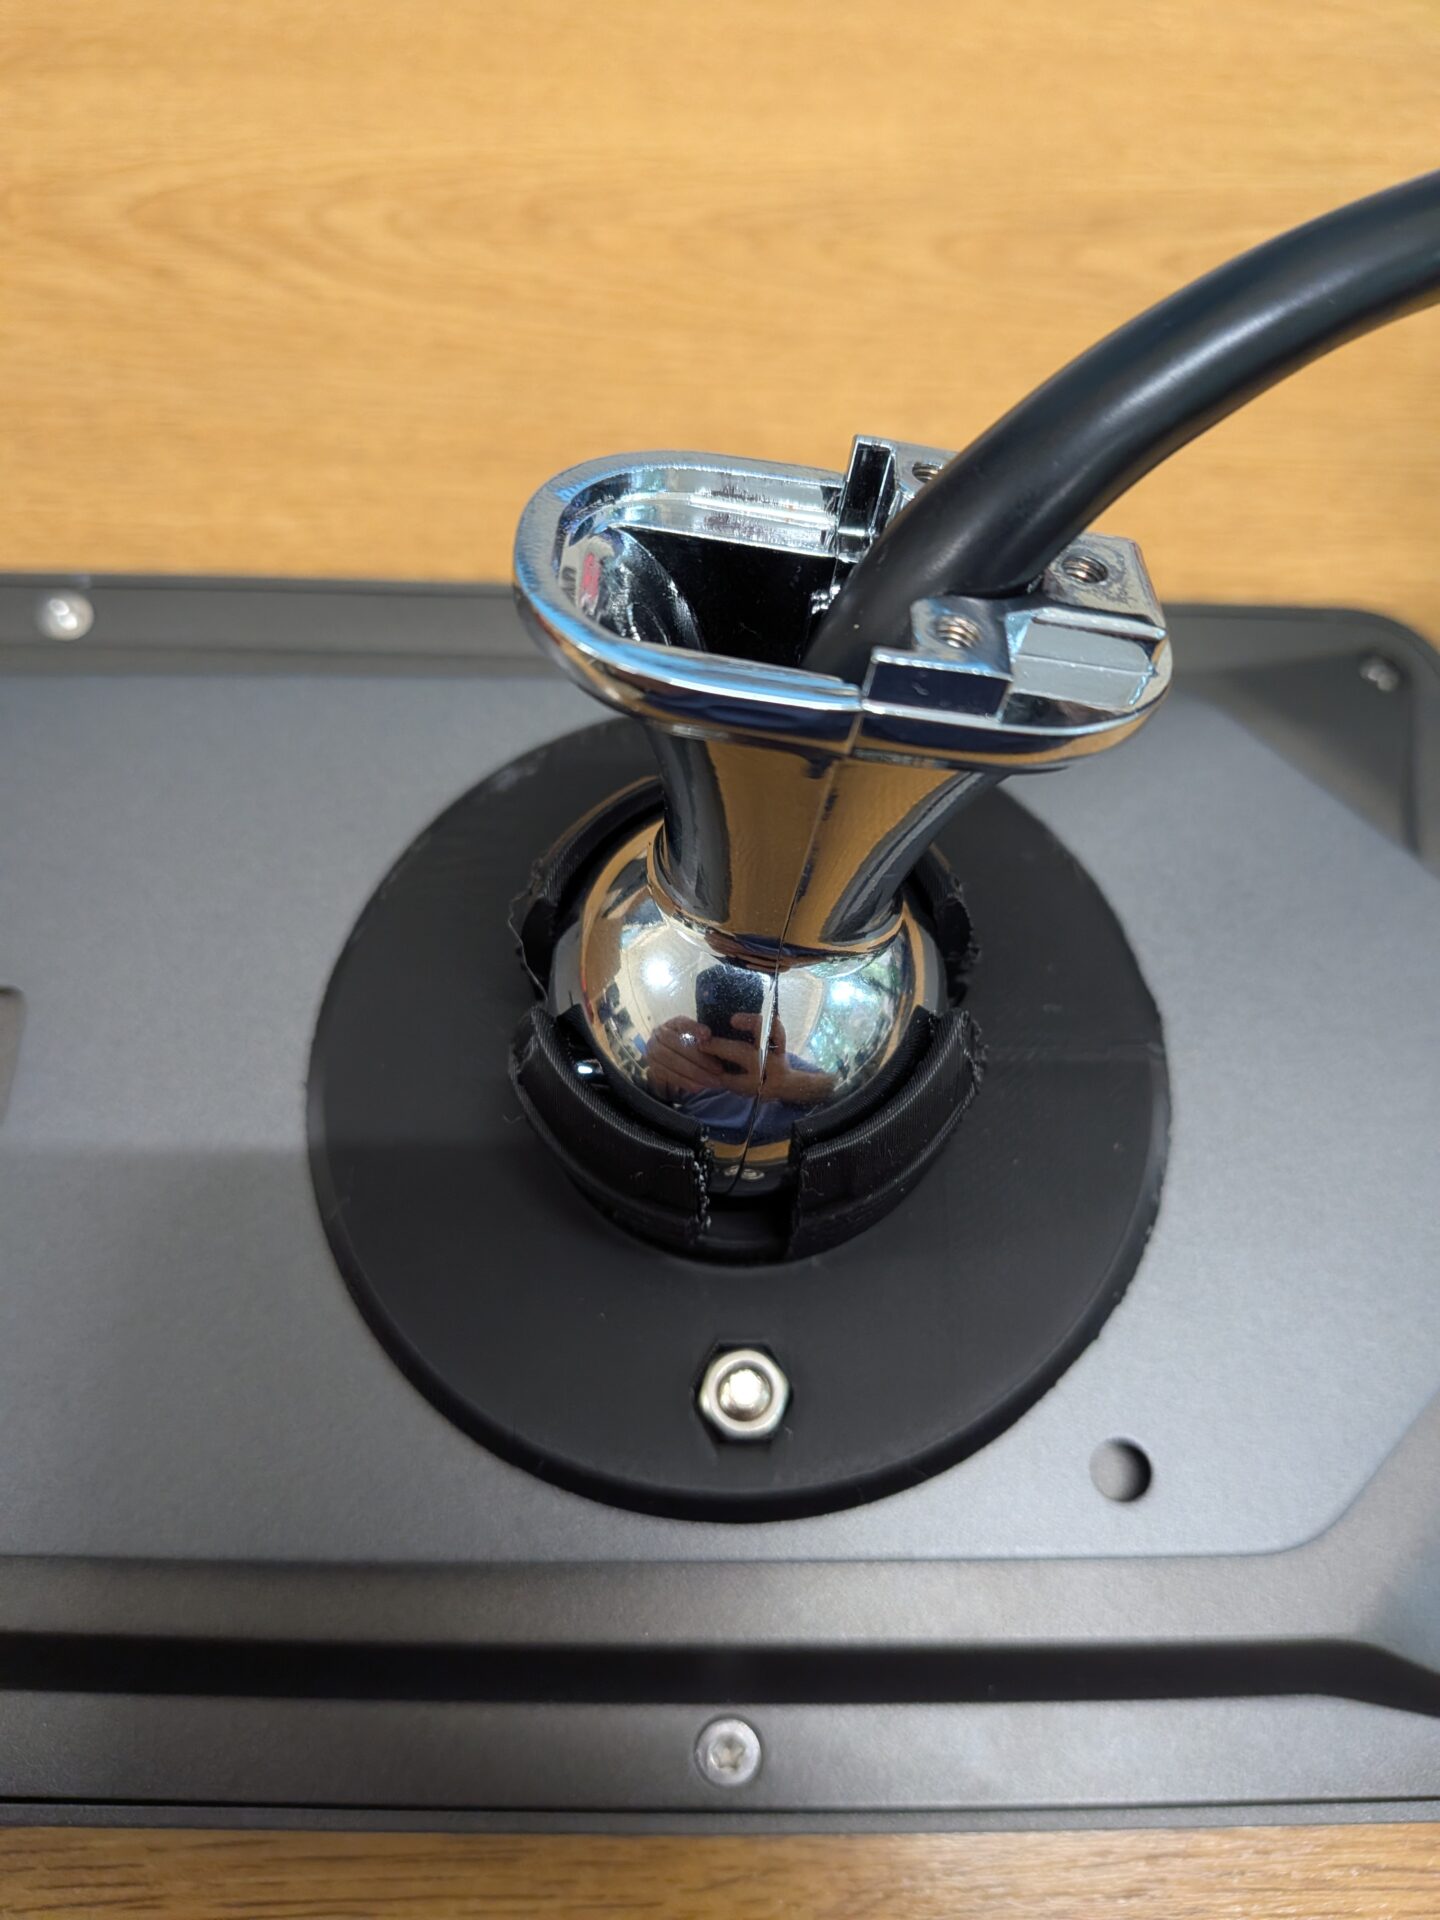
Push the ball mount into the black ball connector. It’s easiest to do this resting on your lap with the screen facing down — it will take a bit of force to click into place.
Step 6: Secure With the Tightening Ring
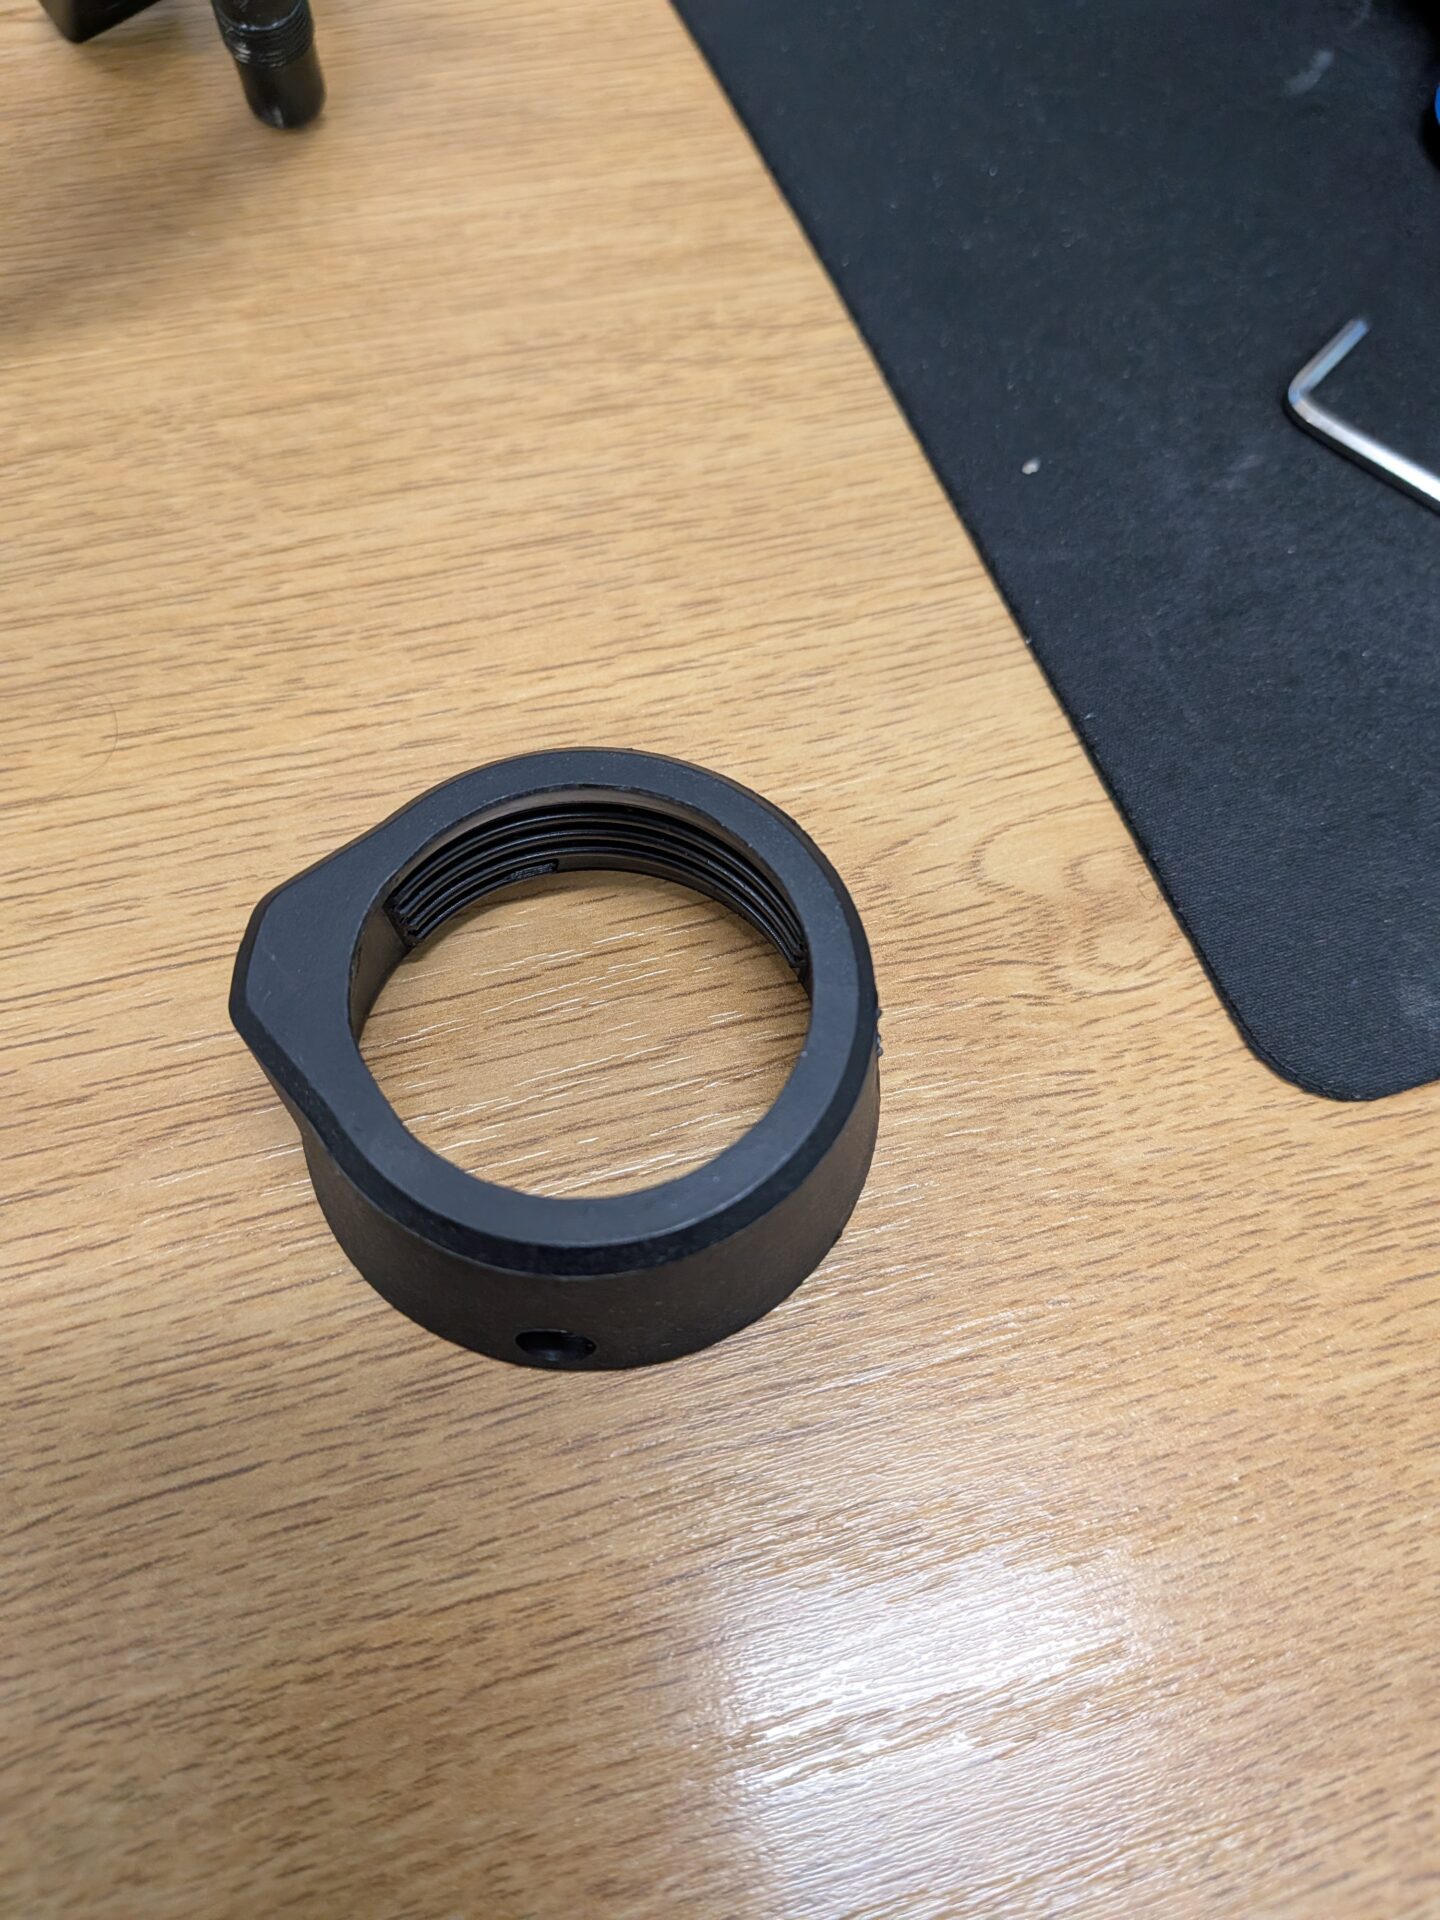
Thread the tightening ring over the UFace 8 cables and the ball mount end. Screw it into the black back connector until you reach the desired tightness — secure enough that the device won’t drop under its own weight, but with enough movement to adjust the angle for people of different heights.
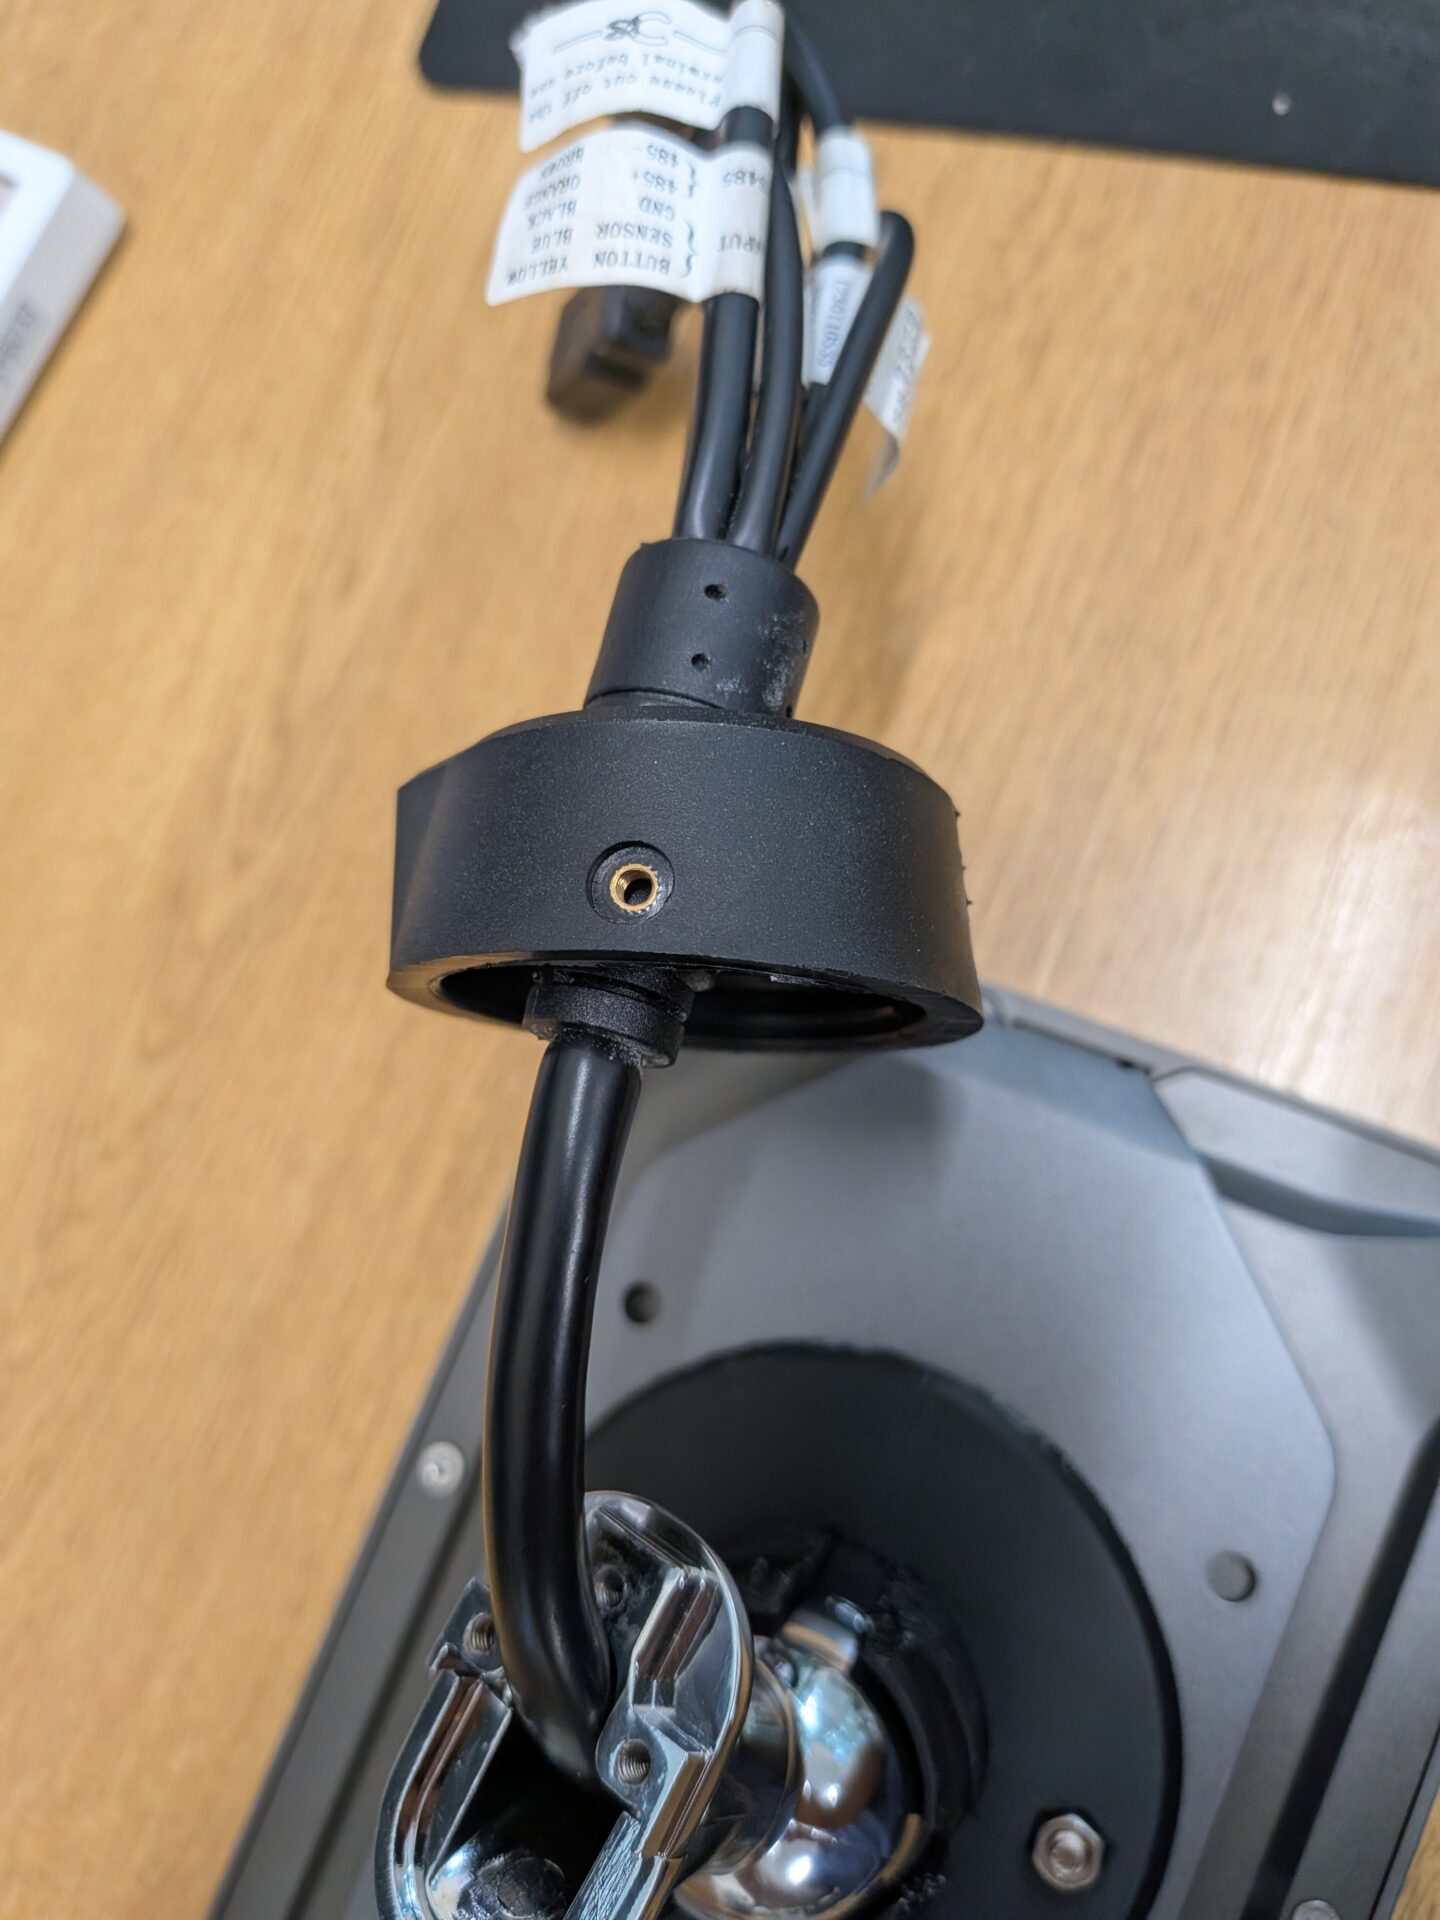
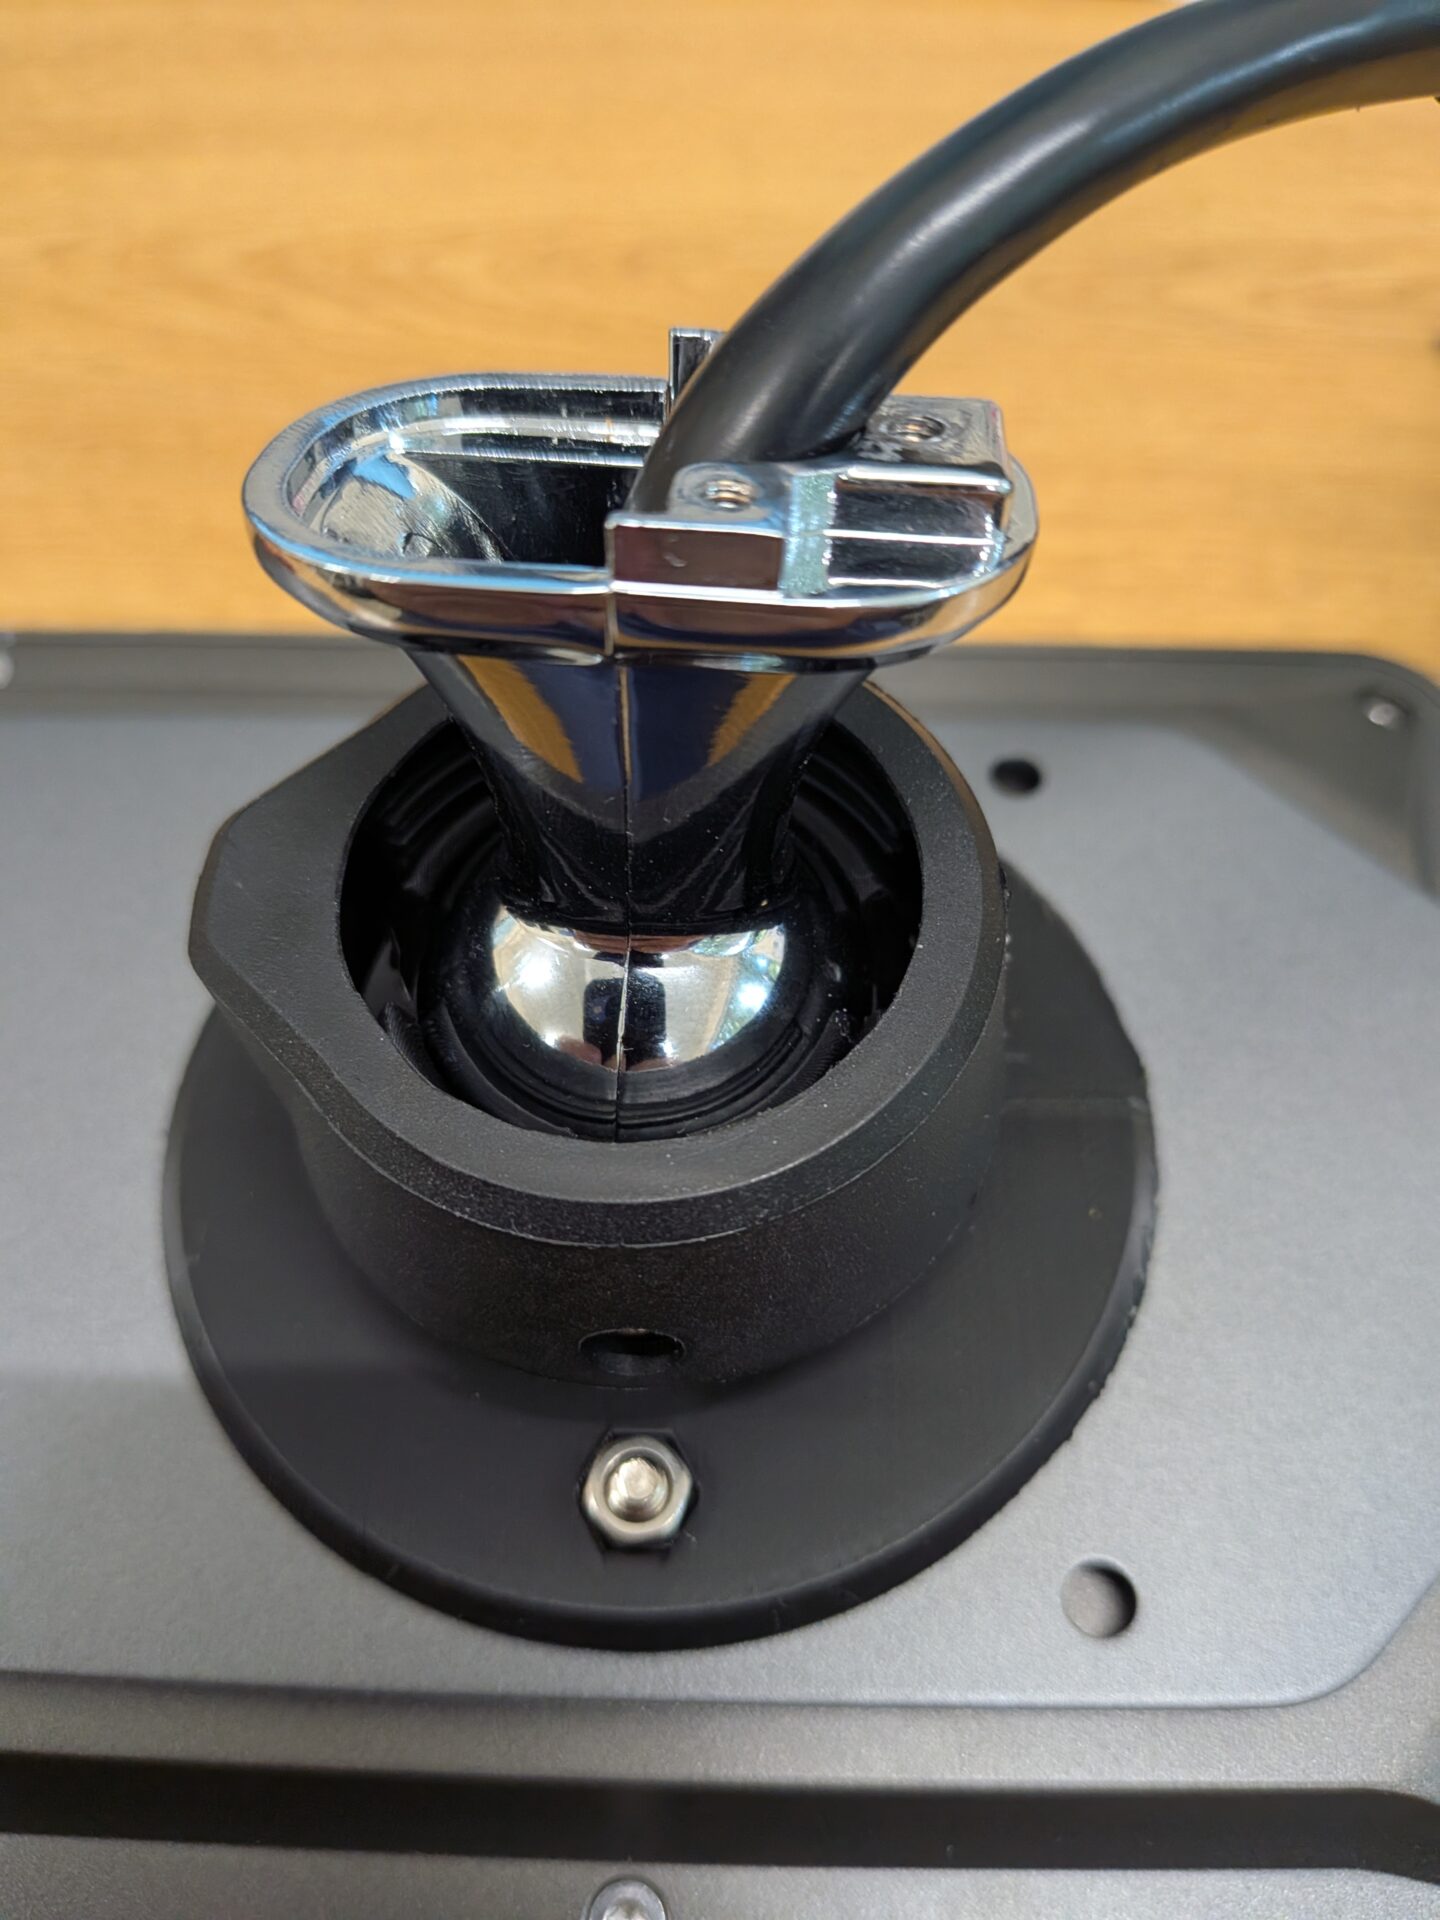
Step 7: Attach the Wall Mounting Plate
Thread the silver wall mounting plate over the UFace 8 Pro cables, with the indented side facing towards the ball mount. Secure it using the 3 silver screws with washers, screwing through the plate and into the ball mount.
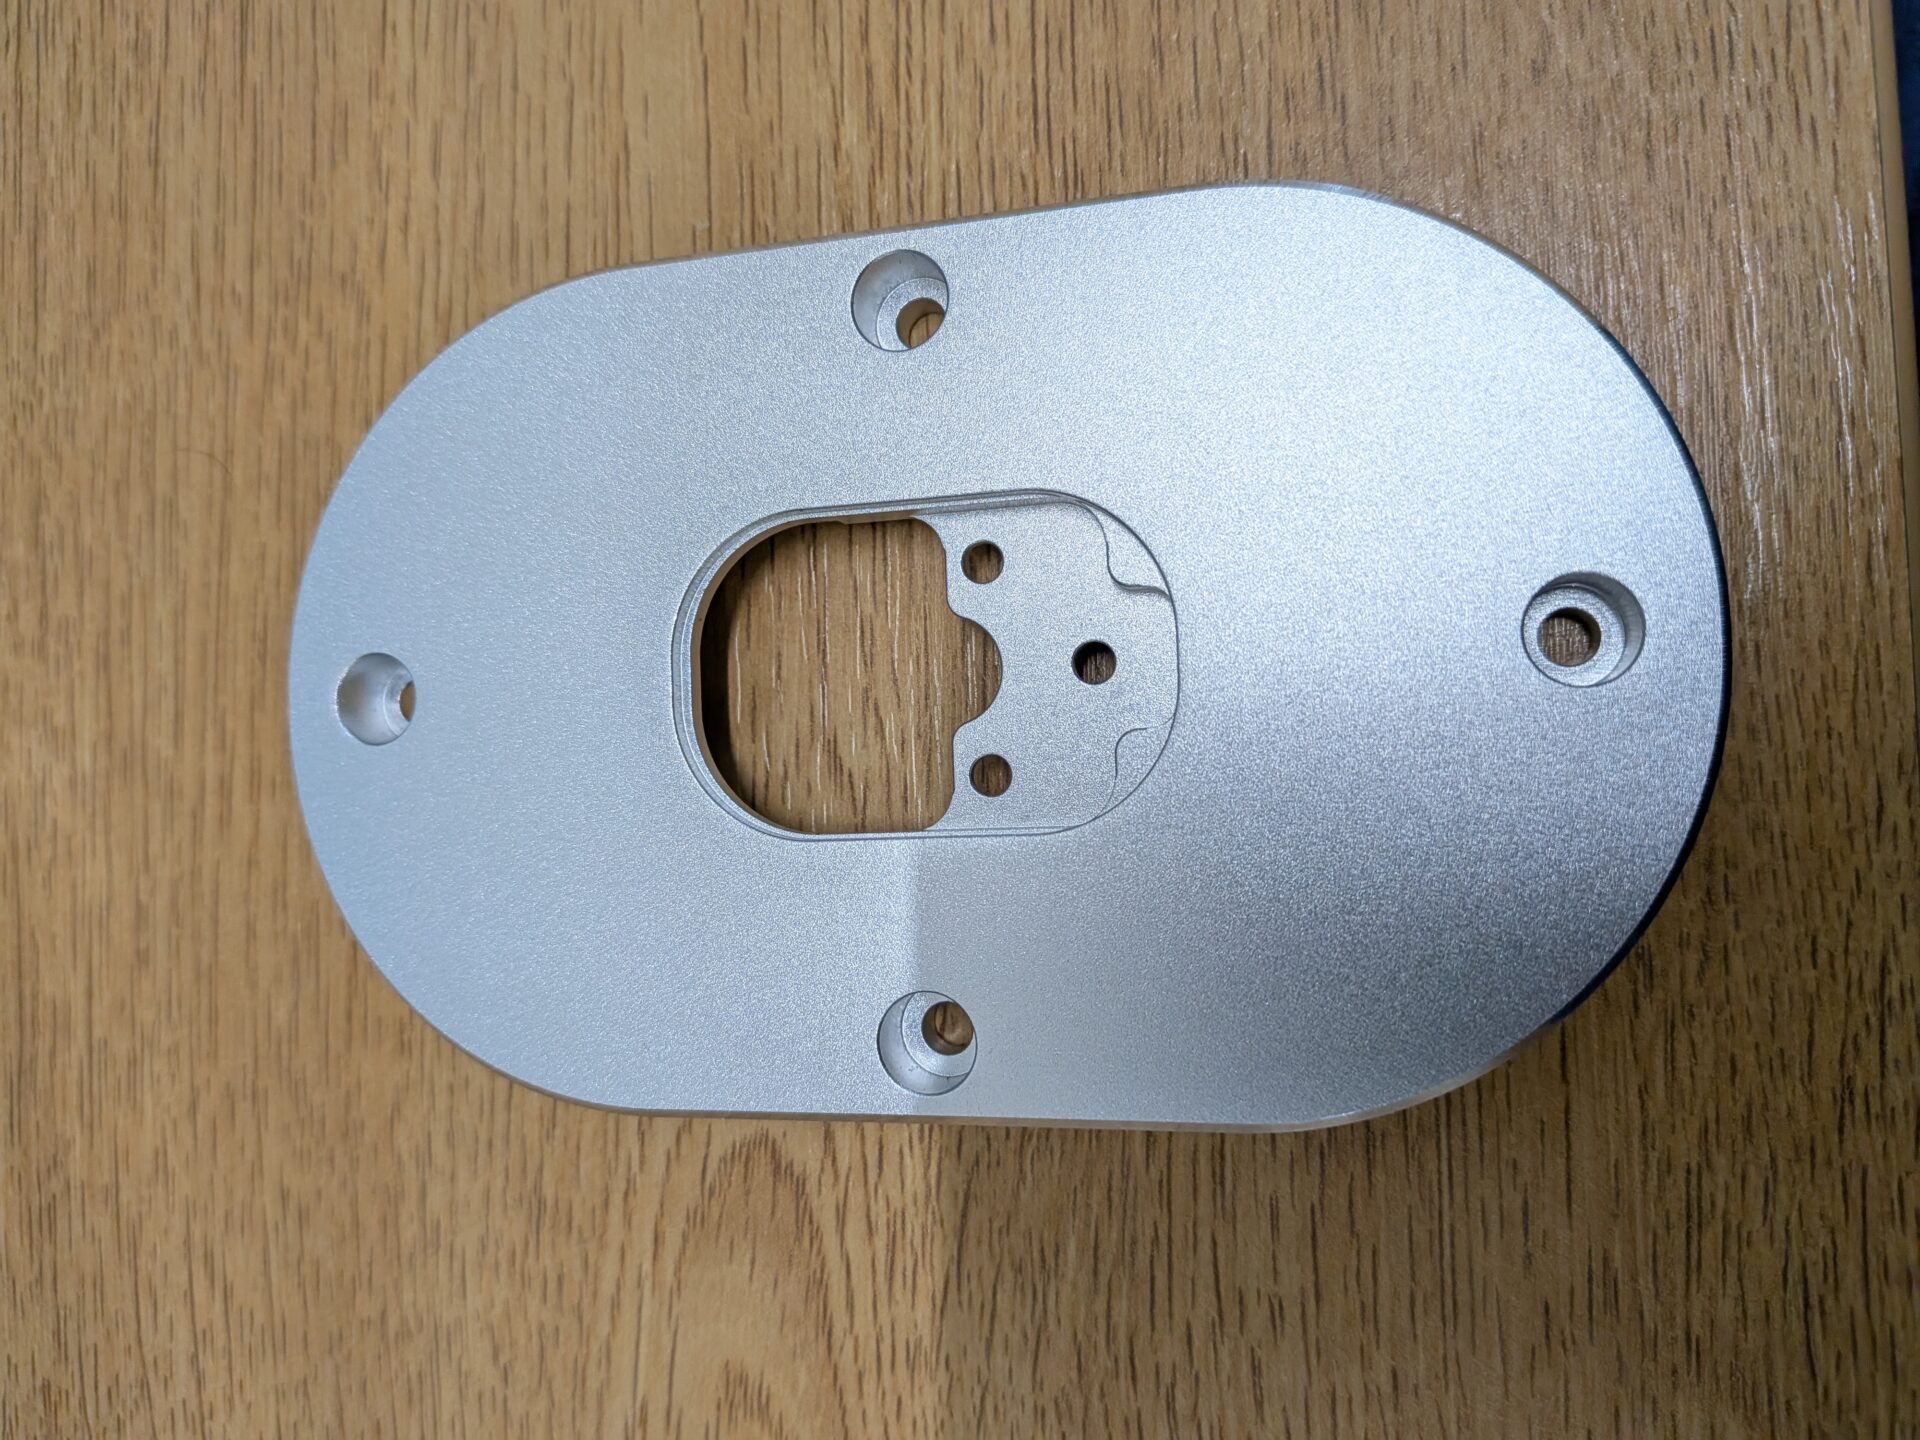
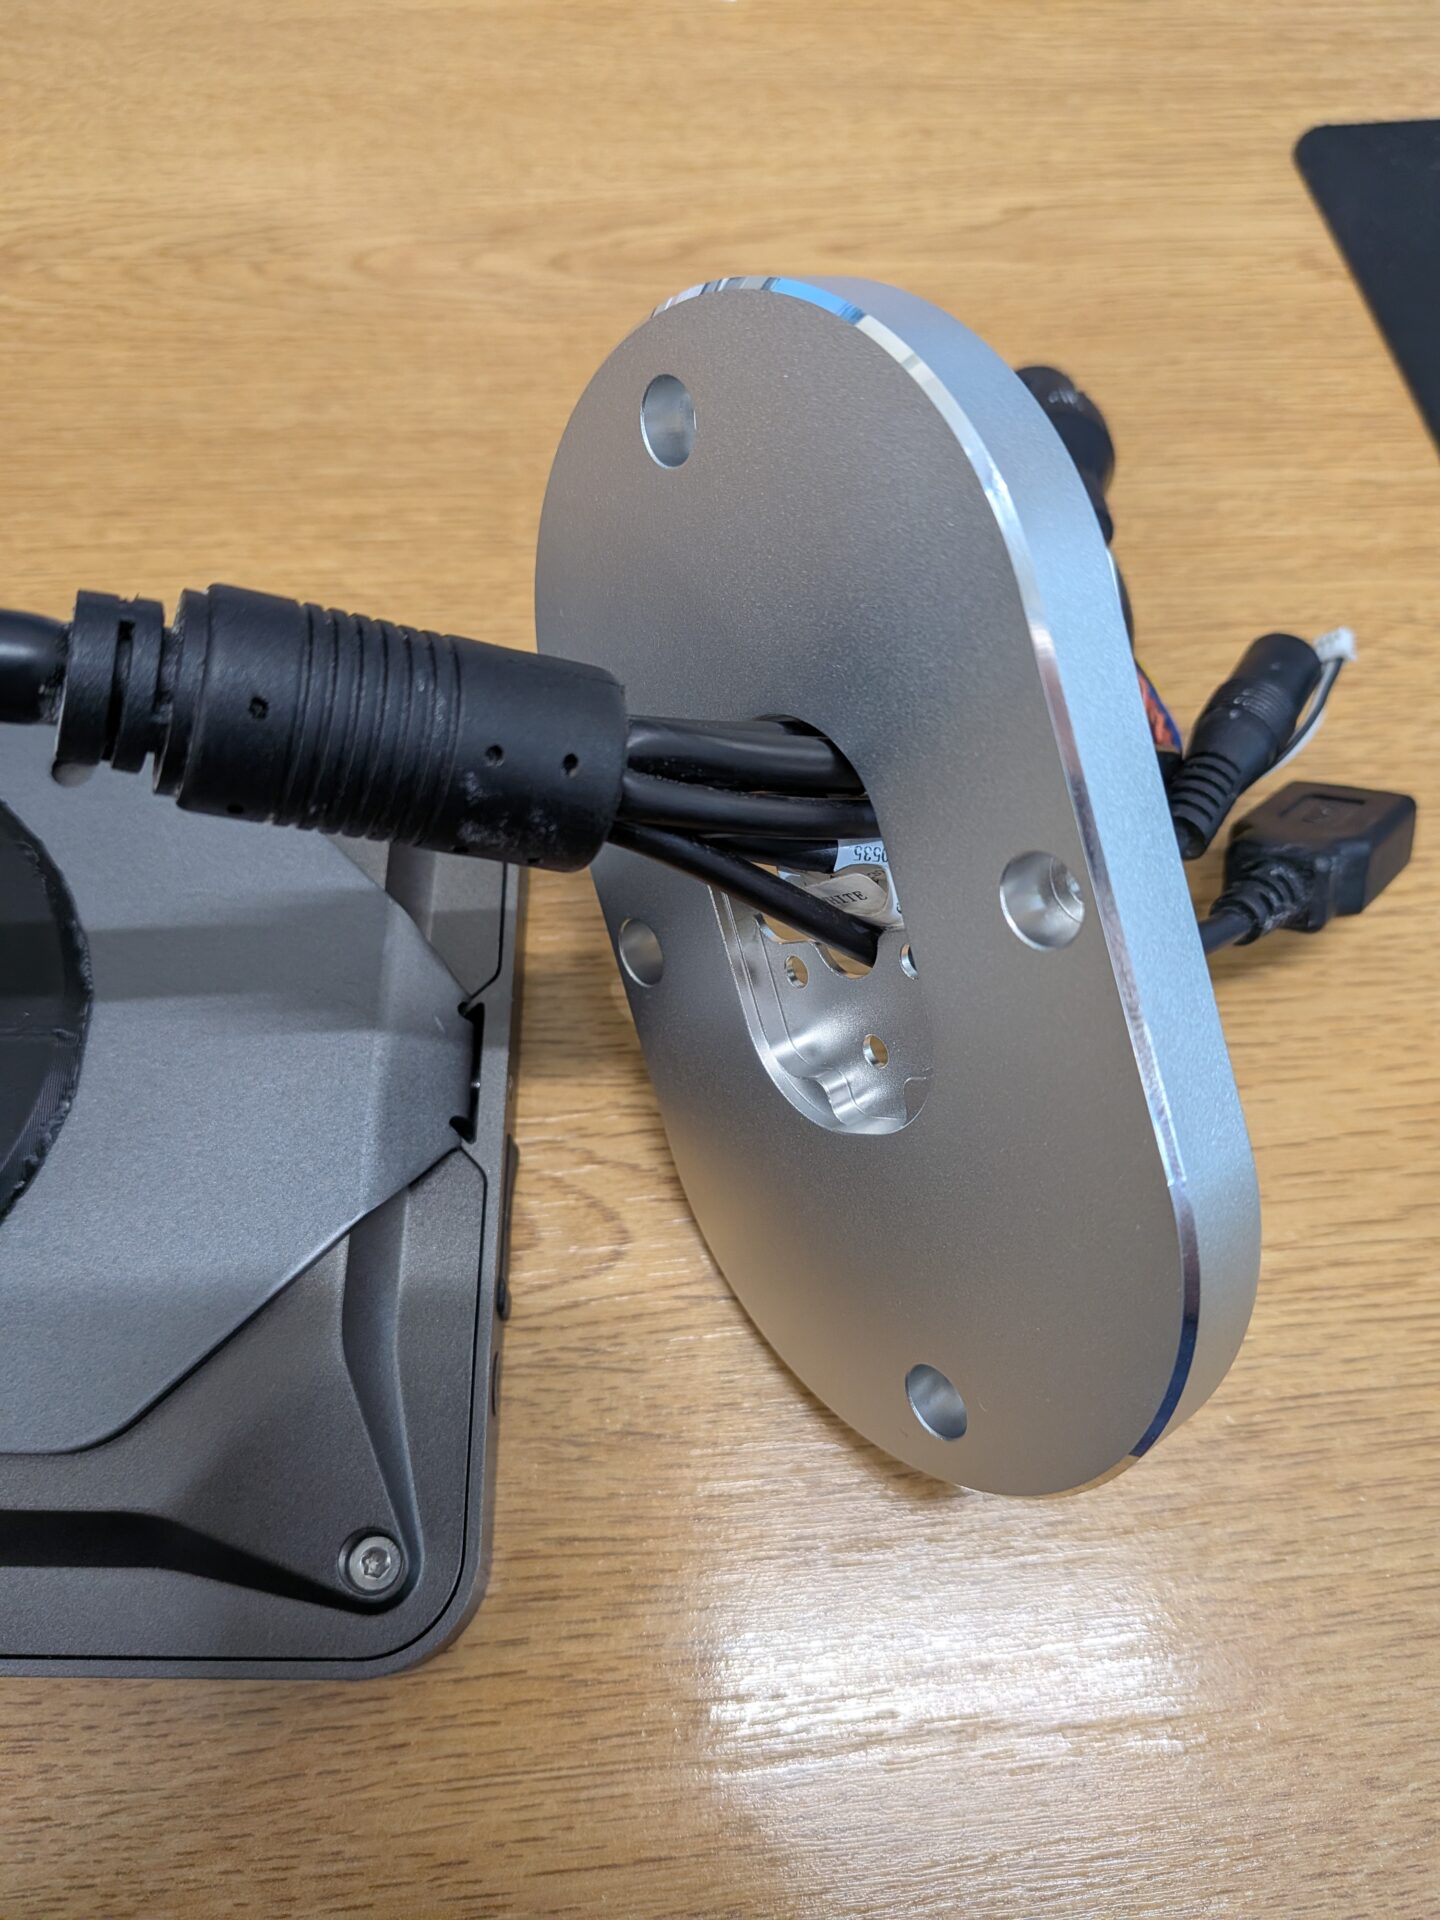
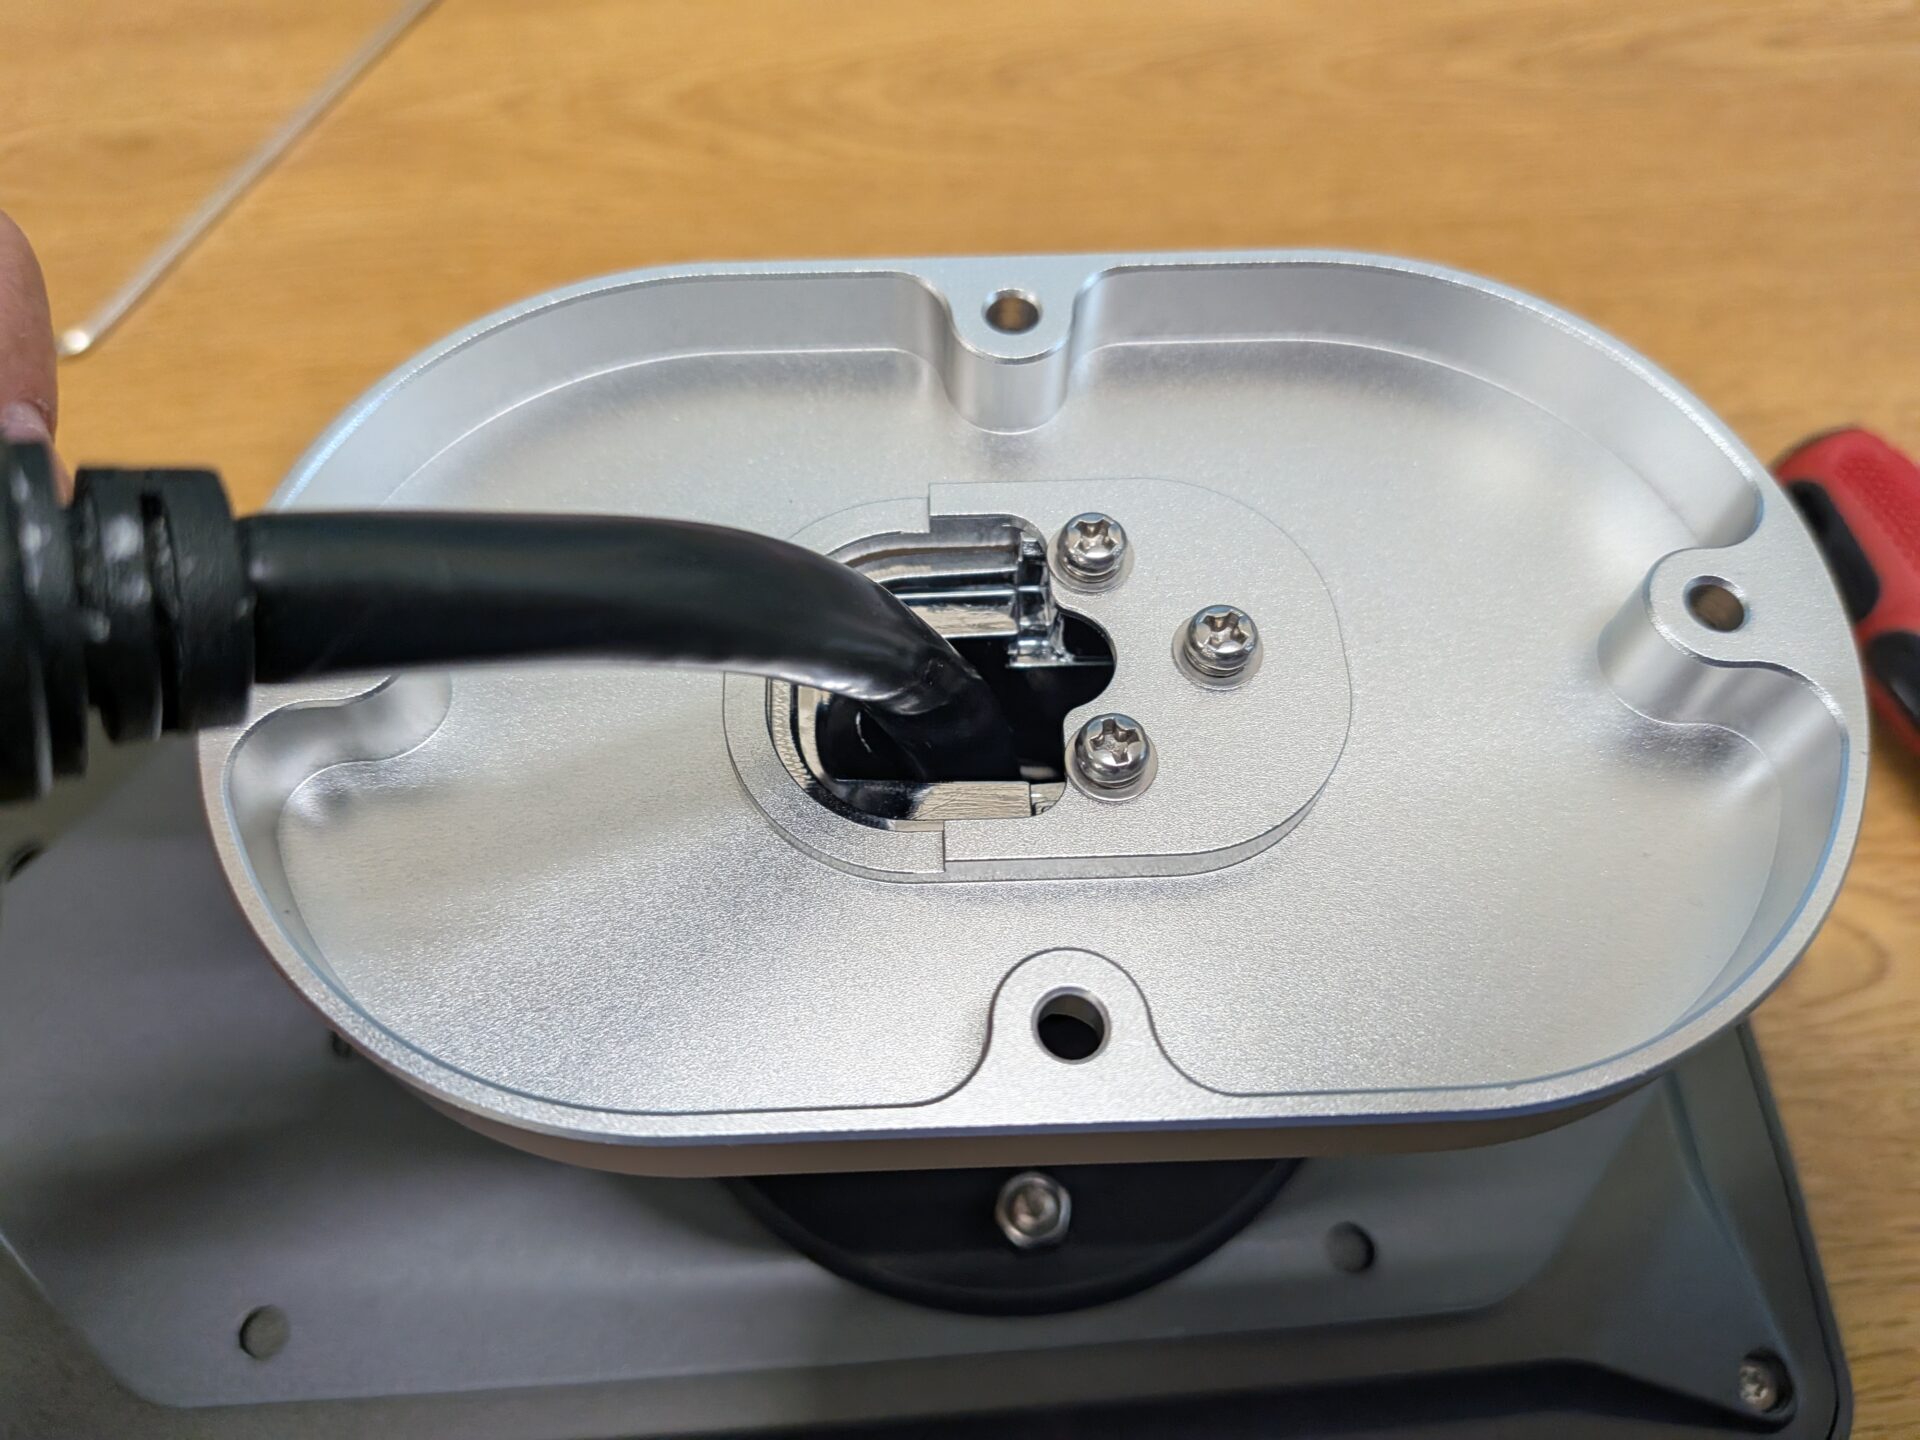
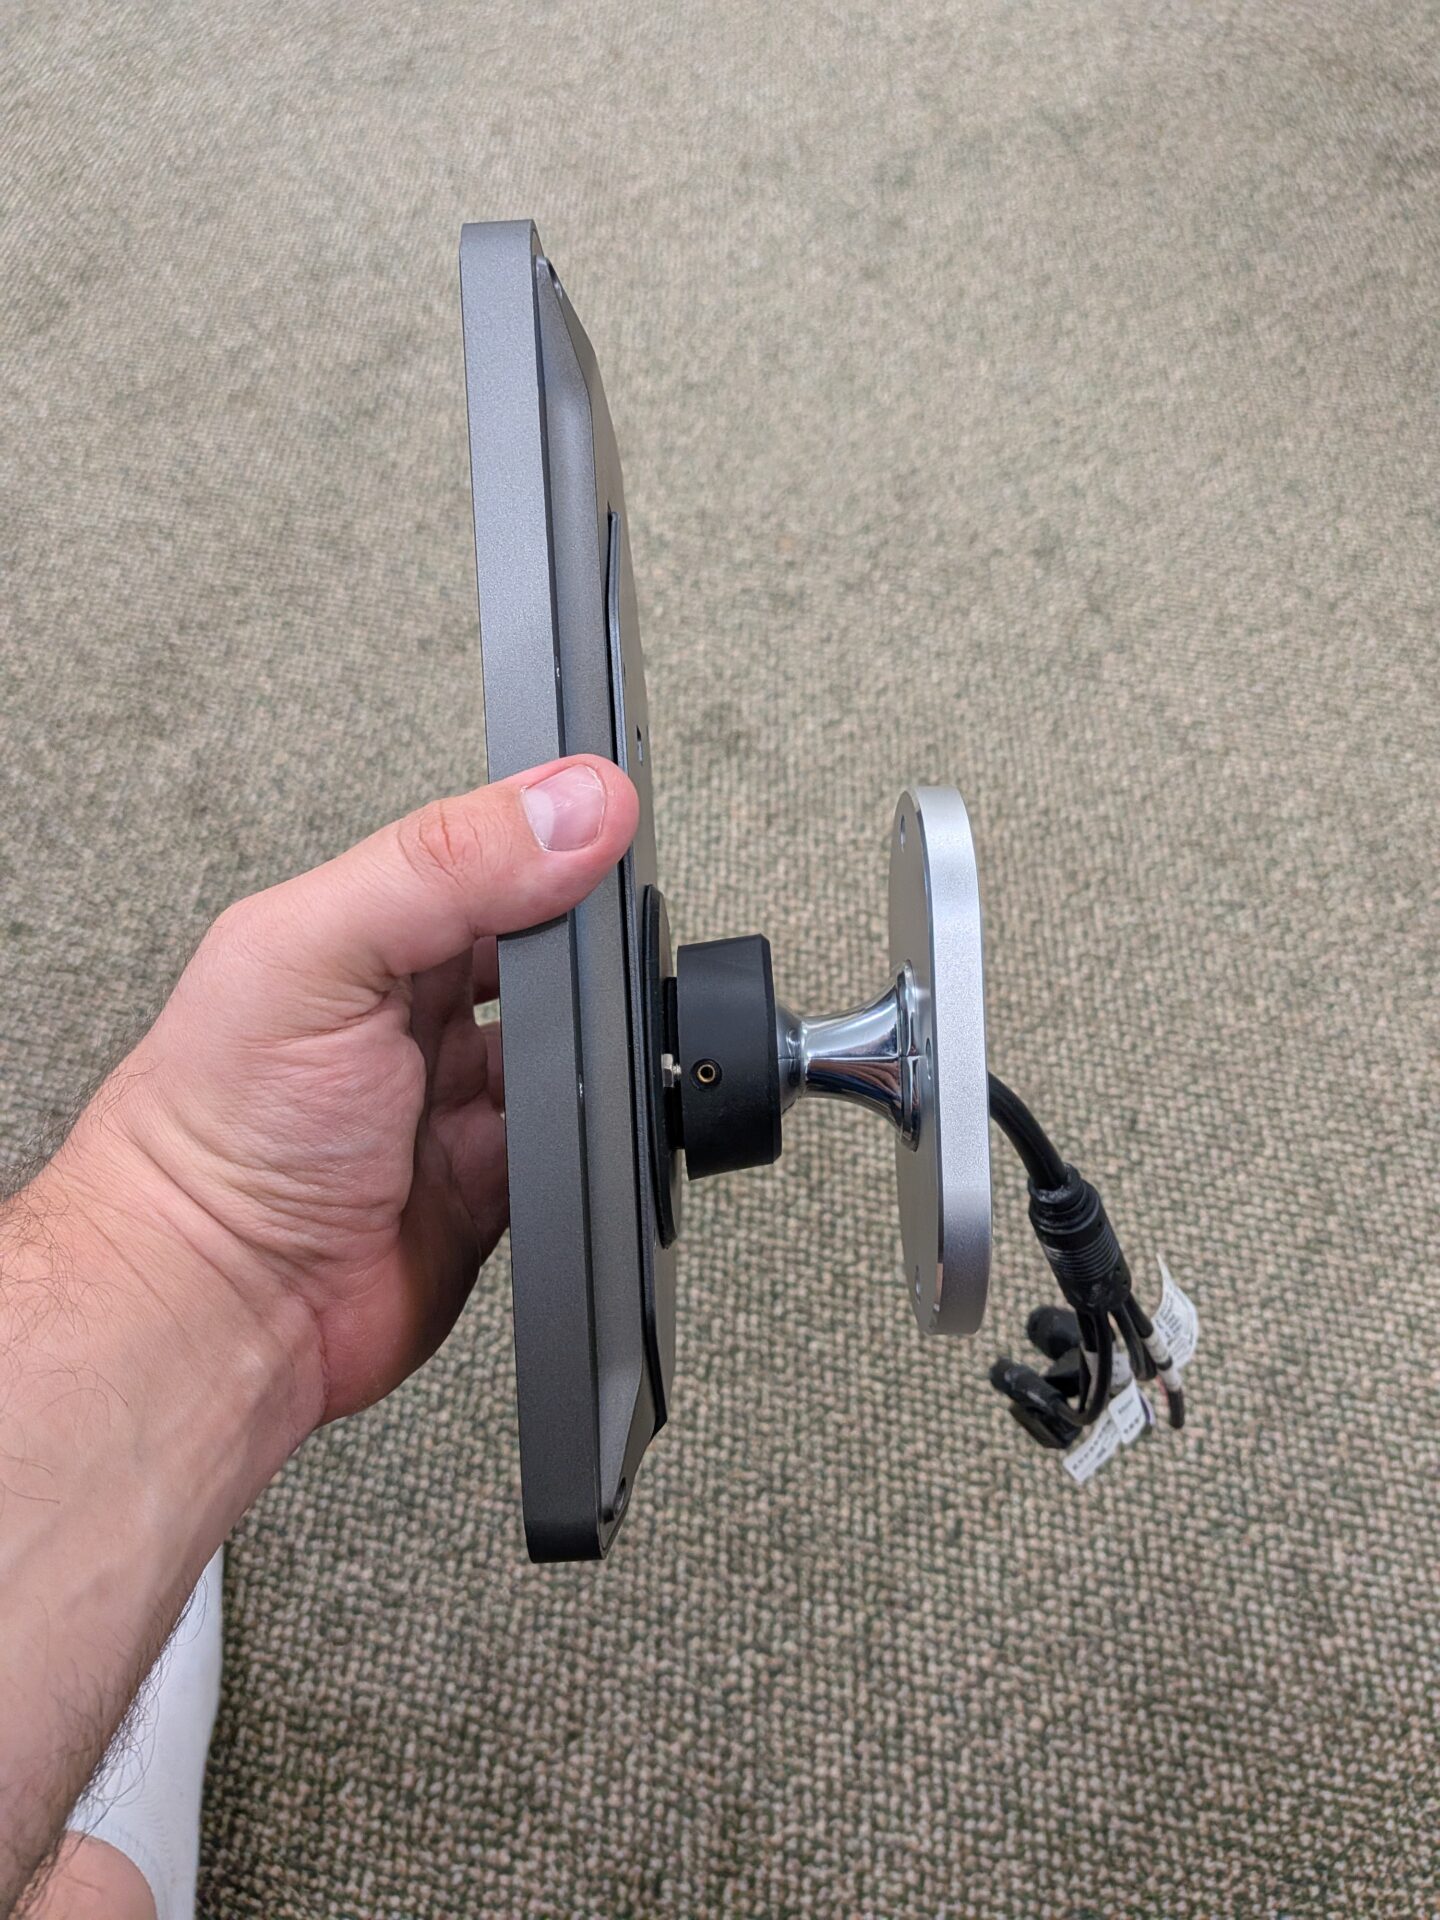
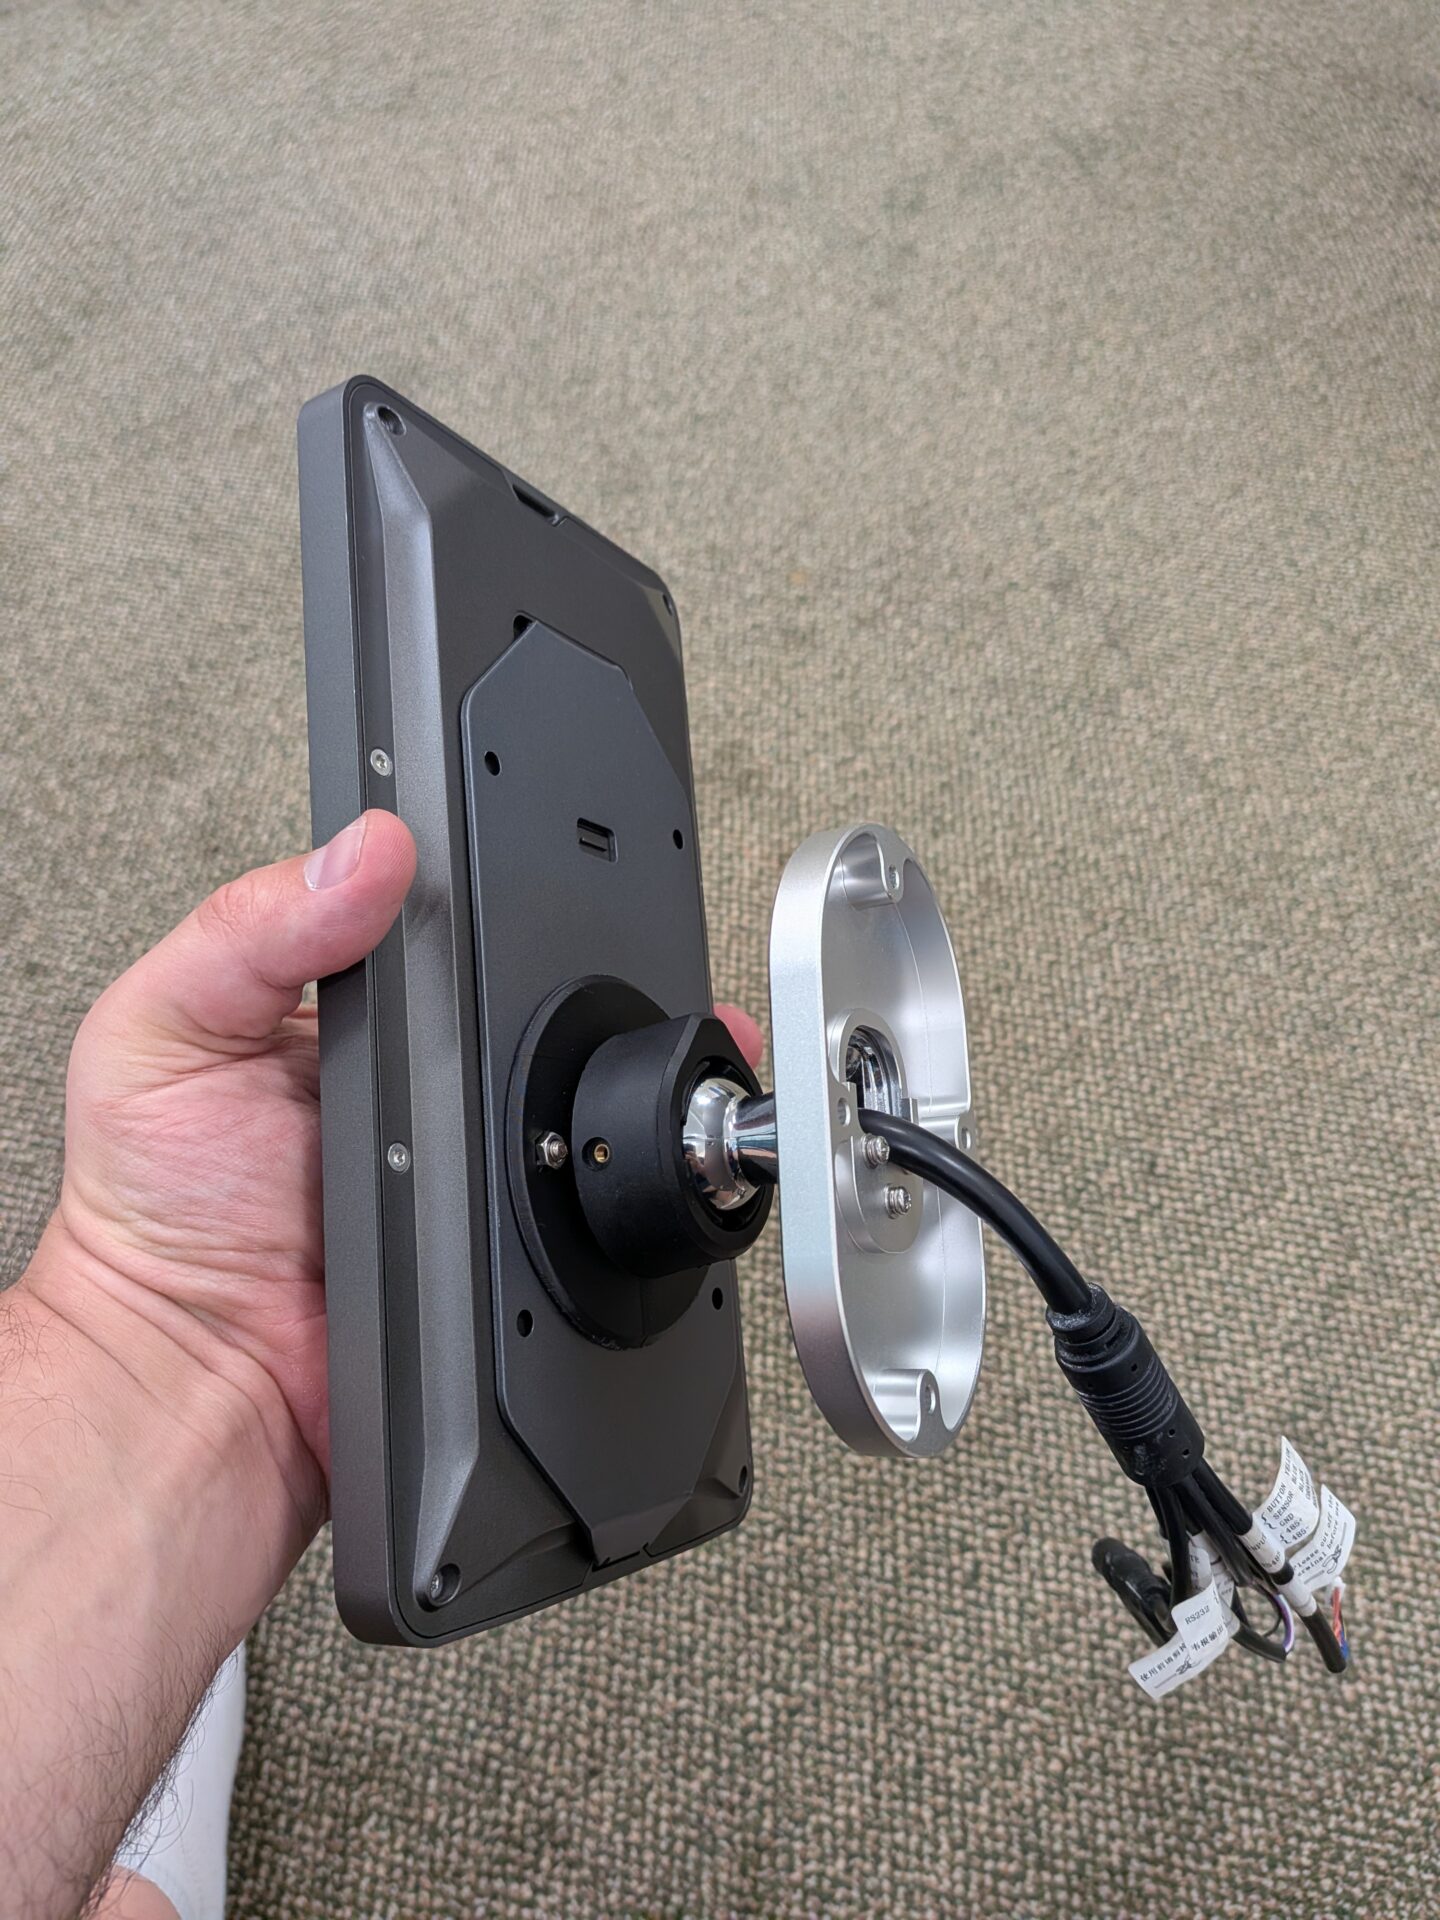
The wall mount is now fully assembled and ready to be screwed to the wall.
Need a hand fitting your wall mount?
If you run into any issues during assembly, our support team is happy to help.
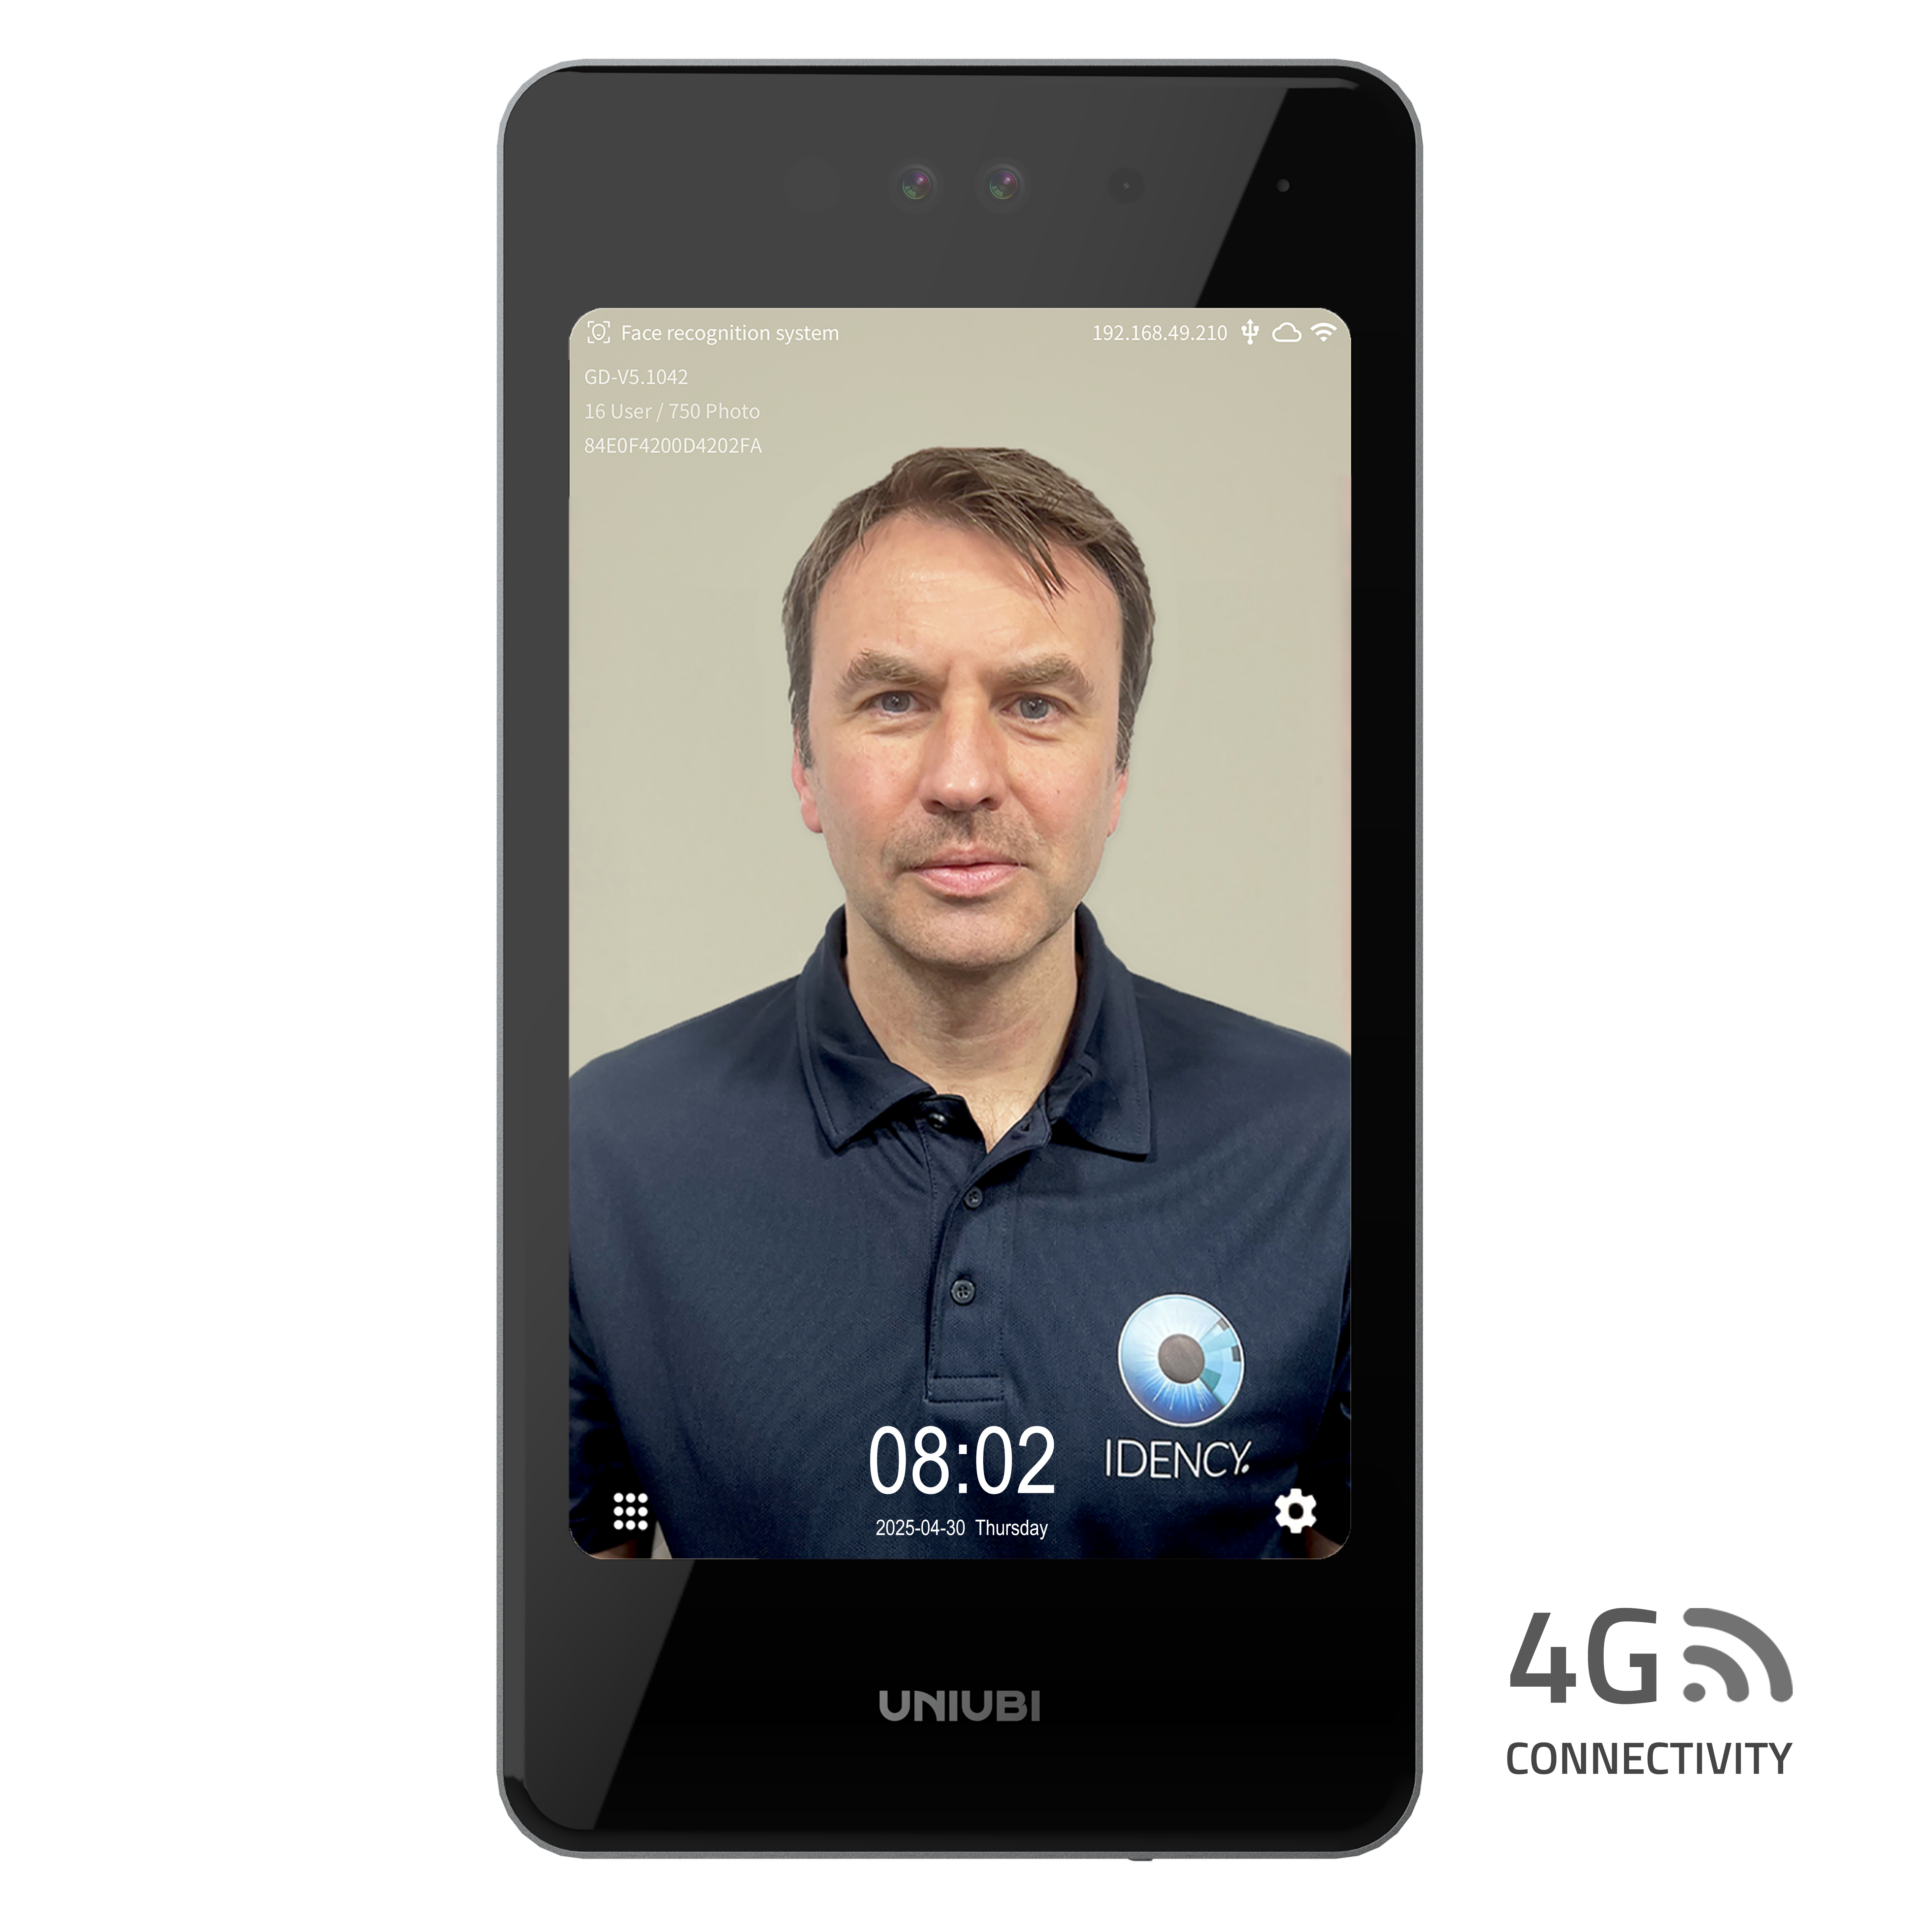
Uni-Ubi UFace 8 Pro (4G) Facial Recognition Terminal
£1,299.99 inc.VAT | £1,083.33 ex.VAT

















 English (UK)
  English
  English (Canada)
  Français du Canada
  Svenska
  Português
  Nederlands
  Italiano
  Français
  Español
  Deutsch